Table of Contents
Advertisement
Quick Links
Advertisement
Table of Contents

Related Manuals for Geemarc AmpliDECT 595 Photo


Summary of Contents for Geemarc AmpliDECT 595 Photo
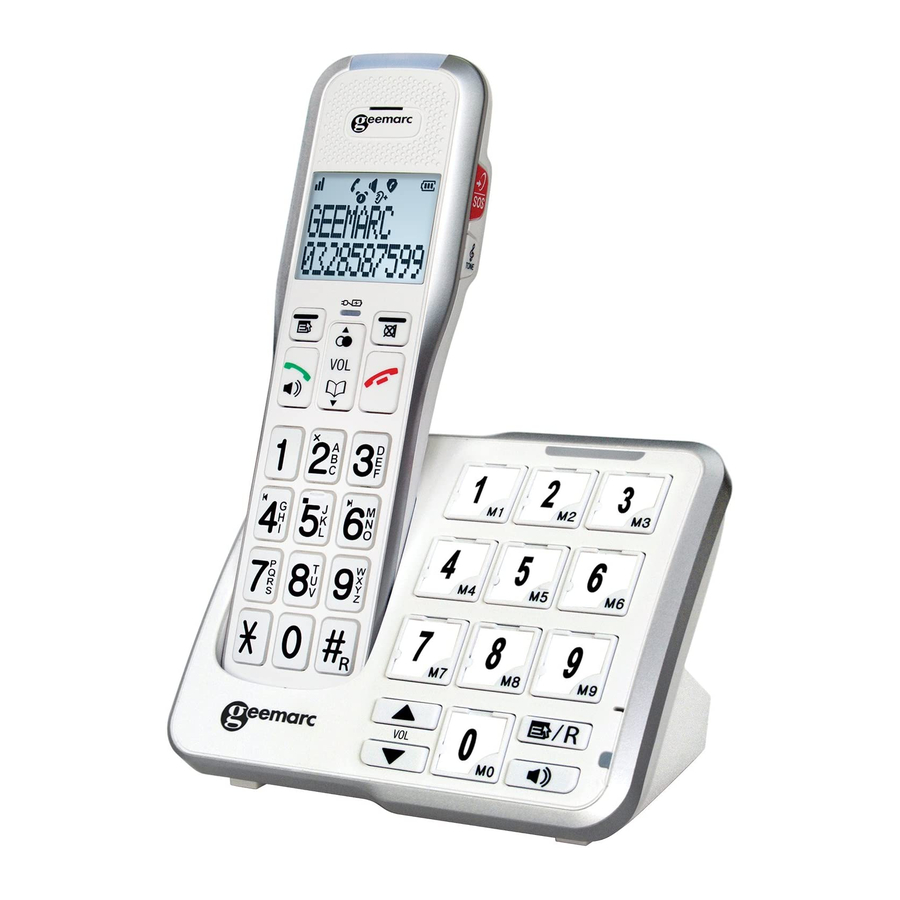
- Page 1 Amplified cordless telephone with answering machine English...
-
Page 2: Table Of Contents
TABLE OF CONTENTS IMPORTANT SAFETY INSTRUCTIONS ......1 SET UP THE TELEPHONE ..........2 Package Contents ................2 Location ..................2 Connect the Corded Base Station ........... 3 Install and Charge the Handset Battery ........... 4 GET TO KNOW YOUR PHONE ........... 5 Overview of the Handset .............. - Page 3 Edit a Phonebook Entry ..............20 Delete a Phonebook Entry ............. 20 Delete the Entire Private Phonebook ..........20 Check the Phonebook Usage ............21 Set the Fast Dial Numbers............. 21 5.8.1 Add or Edit the Fast Dial Number ........21 5.8.2 Delete one or all Speed Dial Number ......
- Page 4 Record SOS message ..............32 Play SOS message ............... 32 Delete the SOs message ............... 32 ALARM SETTING ............... 33 10.1 Turn ON/OFF the Alarm ............... 33 10.2 Rename the Alarm ............... 33 10.3 Set the alarm melody ..............33 10.4 Voice memo for the Alarm .............
-
Page 5: Important Safety Instructions
IMPORTANT SAFETY INSTRUCTIONS When using your telephone equipment, basic safety precautions should always be followed to reduce the risk of fire, electric shock and injury, including the following: 1. Read and understand all the instructions. 2. Follow all warnings and instructions marked on the product. 3. -
Page 6: Set Up The Telephone
SET UP THE TELEPHONE Package Contents The package contains the following items: • 1 Base station • 1 Cordless handset • 1 AC power adapter • 3 NiMH rechargeable battery • 1 Telephone line cord • 1 User’s manual Location For maximum coverage and reduce the interference, here are some guidelines you should consider when you place the base unit, place it at a convenient, high, and central location with no obstructions between the... -
Page 7: Connect The Corded Base Station
Connect the Corded Base Station Plug one end of the telephone line cord Plug the large end into a telephone jack of the larger power or a DSL filter. adapter into an electrical outlet not A DSL filter (not included) controlled by a wall is required if you have switch... -
Page 8: Install And Charge The Handset Battery
Install and Charge the Handset Battery Slide the battery cover downwards. Install the 3 batteries into the socket as indicated, matching correct polarity (+,-). Align the cover flat against the battery compartment, and then slide it upwards until it clicks into place Charge the handset by placing it face forward in the base. -
Page 9: Get To Know Your Phone
GET TO KNOW YOUR PHONE Overview of the Handset 1. EARPIECE 2. LCD DISPLAY 3. CHARGE LIGHT ( Steadily on when the handset is charging in the charger. 4. SOFT KEYS MENU/OK In idle mode: Press to access the main menu. In sub-menu mode: Press to confirm the selection. - Page 10 5. UP/CALL LIST ( ) In idle mode: Press to access the call list. In menu mode: Press to scroll up the menu items. In phonebook list/redial list/call list: Press to scroll up the list. In editing mode: Press to move the cursor one character to the left. During a call: Press to increase the listening volume.
- Page 11 12. TALK OFF During a call: Press to end a call and go back to idle screen. In In menu/editing mode: Press to go back to idle screen. 13. ALPHANUMERIC KEYPAD, HARSH R or 0 In predial or editing mode: Press to insert a digit / character / 0/ key in idle mode: Press and hold to make a flash.
-
Page 12: Overview Of The Corded Base
Overview of the Base /HANDSET LOCATOR While the phone is idle, press to page all handsets. 2. IN USE On when handsets are in use, or when the answering system is answering an incoming call. On when a handset is being registered. Flashes when there is an incoming call or in page mode. - Page 13 5. MICROPHONE 6. SPEAKER MODE INDICATOR On when the speaker is on. 7. SPEAKERPHONE KEY NOTE: wait 2 seconds before to dialling the phone number. 8. VOL ( During speaker mode, press to decrease the speaker volume. While in idle mode, press to decrease the base ringer volume.
-
Page 14: Handset Lcd Display Icons And Symbols
Handset LCD Display Icons and Symbols The screen display gives you information on the current status of the telephone. Indicates the current signal strength. More bars indicate more signal strength. If the handset is too far from the base, this icon will disappear on the LCD Steadily on when a call is in progress or an intercom is in progress. -
Page 15: Handset Menu Structure
Handset Menu Structure In idle mode, pressing LEFT SOFTKEY will access the menu. Refer to the following for the menu structure. LEFT SOFTKEY CALL LOG PHOTO MEM PHONEBOOK CALL BLOCK INTERCOM Review HANSET BLACK LIST Call List BASE SPEED DIAL SETTINGS BLOCK Under a... -
Page 16: Text And Digit Entry Table
Text and Digit Entry Table The following tables show you where each letter and punctuation character can be found. This will be helpful when storing a name in the phonebook or renaming your handset In editing mode, a cursor is displayed to indicate the current text entry position. It is positioned at the right of the last character entered. -
Page 17: Use Your Phone
USE YOUR PHONE Make an External Call 4.1.1 Preparatory Dialing Using a handset: Enter the phone number and press to dial the number. Press RIGHT SOFTKEY to clear the entry. 4.1.2 Direct Dialing Using a handset: Press to take the line, and then dial the phone number. Using the base: Press to take the line, and then enter the phone number with the pictures M1 to... -
Page 18: Call From The Redial List
4.1.6 Call from the Redial List Using a handset: 1. Press to access the redial list. 2. Press to select the desired redial number. 3. Press to dial the selected redial number. Press it again to turn on the speakerphone. 4.1.7 Call Timer Your handset automatically times the duration of each call. -
Page 19: End A Call
End a Call Using a handset: During a call, press to end the call. OR Put the cordless handset on the charging cradle to end the call. Using the base: Press to end the call in speakerphone mode Adjust Earpiece and Speakerphone Volume There are 6 levels (VOLUME 1 to VOLUME 6) to choose from for each of earpiece and speakerphone volume. -
Page 20: Redial The Last Number
Redial the Last Number You can redial up to 10 of the last numbers called on the cordless. If you have stored a name in the phonebook to match with the number, the name will be displayed instead. The most recently dialed number will be displayed at the top of the redial list. 4.7.1 Redial a Number from the Redial List Using a handset:... -
Page 21: Find The Handset
4.8 Find the Handset This feature helps you find the misplaced handset(s). You can locate the handset by operation on the base station as below. • In idle mode, press /HANDSET LOCATOR. All the handsets registered to the base will produce the paging tone, and “PAGING” will flash on the screen. -
Page 22: Call All Handsets
4.9.2 Call All Handsets Using a handset: 1. In idle mode, press RIGHT SOFTKEY and the numbers of the registered handsets will display except the calling handset. 2. Select ALL to ring to all registered handsets. 4.9.3 Transfer an External Call Using a handset: During an external call: 1. -
Page 23: Phonebook
PHONEBOOK Your phone can store up to 50 private phonebooks in the cordless handset and the telephone base with names and numbers. Each phonebook entry can have a maximum of 20 digits for the phone number and 12 characters for the name. Phonebook entries are stored alphabetically by name. -
Page 24: Edit A Phonebook Entry
Edit a Phonebook Entry Using a handset: In idle: ▼. 1. Repeat the steps 1 to 2 in section 5.1 or press directly 2. Press to select the desired phonebook entry. 3. Press LEFT SOFTKEY to select EDIT. 4. Press LEFT SOFTKEY and the current contents of the selected phonebook entry displays. -
Page 25: Check The Phonebook Usage
Check the Phonebook Usage You can check how many phonebook entries have been occupied in your phone and how many phonebook entries are available for you to store in the phonebook. Using a handset: ▼. 1. Repeat the steps 1 to 2 in section 5.1 or press directly 2. -
Page 26: Vip Setting
5.9.1 Set the VIP number Using a handset: Press LEFT SOFTKEY and : / to select PHONEBOOK. 2. Press LEFT SOFTKEY to select ALL. 3. Press LEFT SOFTKEY to select the phone number. Press LEFT SOFTKEY to select ADD VIP. 5. -
Page 27: Caller Display (Network Dependent)
6 CALLER DISPLAY (NETWORK DEPENDENT) This feature is available if you have subscribed the Caller Line Identification service with your network service provider. Your phone can store up to 20 received calls on the cordless handset with date/time information in the call list. The number will be shown on the LCD when the phone is ringing. -
Page 28: Delete An Entry In The Call List
Store a Call List Number into the Black list Using a handset: If you want blocked one phone number, make the procedure following to place the number in the Black List 1. Follow Section 6.1 to access the call list. 2. -
Page 29: Picture Big Button Memory (Base)
7. PICTURE BIG BUTTON MEMORIES 7.1 setting a picture big button memories On the base You have the choice to store 10 picture memories. In idle mode: Press , enter the phone number with the key M0 to M9 of the base, Press and press the picture memory button that you have chosen. -
Page 30: Phone Settings
PHONE SETTINGS Your phone comes with a selection of settings that you can change to personalize your phone the way you like it to work. Handset Settings 8.1.1 Set the Ringer Melody for Internal Calls You can set special melody to personalize your internal ringer. A total of 10 melodies are provided for your selection. -
Page 31: Set The Ringer Volume
8.1.3 Set the Ringer Volume You can set the ringer volume level. A total of 6 ringer volume levels including VOLUME OFF are provided for your selection. 1. Press LEFT SOFTKEY to select HS SETTINGS. 2. Press LEFT SOFTKEY to select RING SETUP. 3. -
Page 32: Clock Setting
Clock Settings 8.1.6 You will need to set the correct date and time so that you know when you received answering machine messages or call list entries. Using the handset: 8.1.6.1 Set the Date Format 1. Press LEFT SOFTKEY to select HS SETTING 2. -
Page 33: Registration
Registration 8.1.7 Note: Handset and base station are pre-registered. Up to five handsets can be registered to a single base station. On Base: press and hold 5 seconds /HANDSET LOCATOR on the base until you hear a beep to enter the registration mode. On Handset: Use ▼▲to select HS SETTING Press MENU/OK... -
Page 34: Base Settings
8.2 Base Settings using the Handset 8.2.1 Set the Ringer Melody You can set special melody to personalize your base external ringer. A total of 5 melodies are provided for your selection. 1. Press LEFT SOFTKEY to select BS SETTINGS. 2. -
Page 35: Sos Emergency Call
9. SOS Emergency calls 9.1 SOS Settings You need to set the SOS numbers before you can make SOS emergency calls using the handset. Using the handset: Press LEFT SOFTKEY to select SET SOS. Press LEFT SOFTKEY to show SOS NUMBER. Press LEFT SOFTKEY to select the SOS number to edit (SOS 1, SOS 2, SOS 3 or SOS 4). -
Page 36: Record Sos Message
9.4 Record SOS Message You can record your customized SOS message to be played when you dial out an SOS emergency call. Using the handset: Press LEFT SOFTKEY to select SET SOS. Press LEFT SOFTKEY to select SOS MSG. Press LEFT SOFTKEY to select RECORD. -
Page 37: Alarm Setting
Alarm Settings You can use this phone to set an alarm clock. When an alarm is set, the displays on and “ALARM ON” flash on the the screen. When the alarm time is reached, the screen ringing with the alarm melody for a duration of 45 seconds. You can press any key to disable the alarm. -
Page 38: Voice Memo For The Alarm
3. Press LEFT SOFTKEY to choose your melody 4. Press LEFT SOFTKEY to confirm. Voice memo for the Alarm 10.4 If you record a voice memo, the handset will play your message recorded instead of the alarm melody 1. Follow Steps 1 to 2 in section 10.1. 2. -
Page 39: Answering Machine
12 ANSWERING MACHINE Your telephone base includes a telephone answering machine that records unanswered calls when it is on. The answering machine can store up to 59 messages within the maximum recording time of approximately 25 minutes. As well as recording incoming messages, you can record memos for other users of your phone. -
Page 40: Delete All Messages On Tam
NOTE: Alternatively, you can use the following shortcut keys to control different operation during message playback. • Press 5 to stop message playback • Press 4 to skip to repeat playing the current message from the beginning. • Press 4 twice to skip backward to the previous message •... -
Page 41: Tam Settings
12.5 TAM SETTING 12.5.1 Record your outgoing Message (OGM) You can record your own OGM. When you record your own OGM, it will be used when the answering machine answers the call. If your personalized OGM is deleted, the pre-set OGM will be restored automatically. Using a handset: 1. -
Page 42: Delete A Personalized Ogm (Set Ogm To Default)
12.5.3 Delete a Personalized OGM (SET OGM to DEFAULT) Using a handset: 1. Repeat Steps 1 to 3 in the section 12.5.2. 2. Press LEFT SOFTKEY to select DELETE. 3. Press LEFT SOFTKEY and RESET TO DEFAULT is displayed. NOTE: Your personalized OGM and return to previous menu and the pre-set OGM is restored automatically. -
Page 43: Set The Tam Language
12.5.6 Set the TAM Language You can choose the voice prompt language of the answering machine from a total of 4 languages( English, Deutsch, Français and Nederlands). 1. Press MENU/OK and to select ANS. SYS. 2. Press MENU/OK and to select SET TAM. 3. -
Page 44: Activate Or Deactivate The Remote Access
12.5.8.2 Activate or Deactivate the Remote access Using a handset: 1. Press LEFT SOFTKEY to select ANS. SYS. 2. Press LEFT SOFTKEY to select SET TAM. 3. Press LEFT SOFTKEY to select REMOTE ACC. 4. Press LEFT SOFTKEY to select ON or OFF to turn on or off the remote access respectively. -
Page 45: Remote Operations
12.5.8.4 Remote Operations If you are away from your home, you can call your answering machine to switch on or off the answering machine and listen to your messages remotely using another tone-dialing phone. Place a call from a tone-dialing phone. When the answering machine answers the call and starts playing OGM, press . -
Page 46: Troubleshooting
TROUBLESHOOTING If you have difficulty with your phone, please try the suggestions listed below. Problem Solutions • My telephone does Make sure the battery is installed and charged correctly. not work at all. • For optimum daily performance, return the handset to the telephone base after use. - Page 47 • There is The handset may be out of range. Move it closer to the interference telephone base. during a • If you subscribe to high-speed Internet service (digital telephone subscriber line - DSL) through your telephone line, you must conversation.
- Page 48 Common cure If the telephone is not responding normally, put the handset in the for electronic telephone base. If it does not respond, try the following (in the order listed): equipment. • Disconnect the power to the telephone base. • Disconnect the batteries on the handset.
-
Page 49: Technical Specifications
14. TECHNICAL SPECIFICATIONS Basic Information Valid range Indoor: 50m Outdoor: 300m Handset Operating Time Standby time: 100Hours approx. Talk time: 10Hours approx. RF Parameter Frequency 1.88GHz to 1.9GHz Number of Channels Power Supply Base Input 100-240V 50/60Hz; output 6V; 600mA adapter Charger Input 100-240V 50/60Hz;... -
Page 50: Care And Maintenance Instructions
CARE AND MAINTENANCE INSTRUCTIONS Take care of your telephone a. Your cordless telephone contains sophisticated electronic parts, so you must treat it with care. b. Avoid rough treatment. c. Place the handset down gently. d. Save the original packing materials to protect your telephone if you ever need to ship Avoid water You can damage your telephone if it gets wet. -
Page 51: Guarantee
16 GUARANTEE From the moment your Geemarc product is purchased, Geemarc guarantee it for the period of two years. During this time, all repairs or replacements (at our discretion) are free of charge. Should you experience a problem then contact our help line or visit our website at www.geemarc.com. - Page 52 UG DECT595PHOTO_En_v0.1...
Need help?
Do you have a question about the AmpliDECT 595 Photo and is the answer not in the manual?
Questions and answers
My english is very poor. If there ar instruction in roumanien?
No, the Geemarc AmpliDECT 595 Photo does not have instructions available in Romanian. It supports 7 languages: English, Français, Deutsch, Nederlands, Italiano, Espanol, and Portugues.
This answer is automatically generated