Advertisement
ECOLINK Zigbee 3.0 Door/Window Sensor DWZB1-ECO
INTRODUCTION
Door/Window sensors are designed to secure the perimeter of the residential premise, and provide the ability to add
various automation services. The Door/Window sensor, which consists of a magnet that attaches to a door or window,
will communicate door events to the home security system. When the magnet is moved away from the sensor, a signal
will be sent to the control panel that communicates the changed state to the security system. Signals can also be used
to activate a chime or convenience lighting based on system settings.
SPECIFICATIONS
Frequency: 2.4GHz
Battery Type: CR123A Battery
Operating Temperature: 0˚ C to 50˚ C (32°F - 122°F)
Storage Temperature: -20˚ C to 60˚ C (-4°F - 140°F)
Battery Life: 5 Years
PAIRING SENSOR
This Door/Window sensor needs to be paired before installation.
1.
Pull the exposed plastic tab from the sensor. (Figure 1)
2.
The LED indicator will be lit for two seconds to indicate a successful booting.
3.
It will blink three times approximately every 30 seconds while scanning the network.
4.
If network is not found after 10 minutes, the sensor will go into sleep mode. To wake the sensor again, you need
to use magnet or tamper (Figure 2) to trigger a paring process, and then sensor will repeat steps from 3 to 4.
INSTALLATION
1.
Please make sure that the sensor and magnet is located less than 0.25 inch from each other. For optimal
performance, it is highly recommended to install the Door/Window sensor on the fixed frame and the magnet on
the moving part of the door/window. Place the sensor near the top of the door that close to the opening edge of
the door. This is the mounting location for the sensor.
2.
Use the provided double-sided tape on the sensor. Attach the sensor to the door/window frame. Press firmly and
hold in place for a few seconds (Figure 3). Secure it with silicone if needed. For mounting with screws, please
use the screw holes located in the battery compartment. (Figure 3)
3.
Use provided double-sided tape on the magnet. Make sure the alignment of both sensor and magnet is correct
(Figure 4). The magnet aligns from the top of the sensor case. Press firmly and hold in place for a few seconds.
Secure it with silicone if needed.
4.
Spacers are used to raise the level of the magnet to be level/closer to sensor. Install spacers as shown in Figure 5.
The spacers are ¼" thick.
3M double
sided Tape
DWZB1-ECO Rev002
Battery Tab
Figure 1
0.25"
Figure 3
Dimension:
Sensor: 70 x 21 x 22 mm (2.73" x 0.83" x 0.86")
Magnet: 30 x 10 x 11 mm (1.19" x 0.39" x 0.43")
Magnet Spacer: 30 x 10 x 6 mm (1.19" x 0.39" x 0.25")
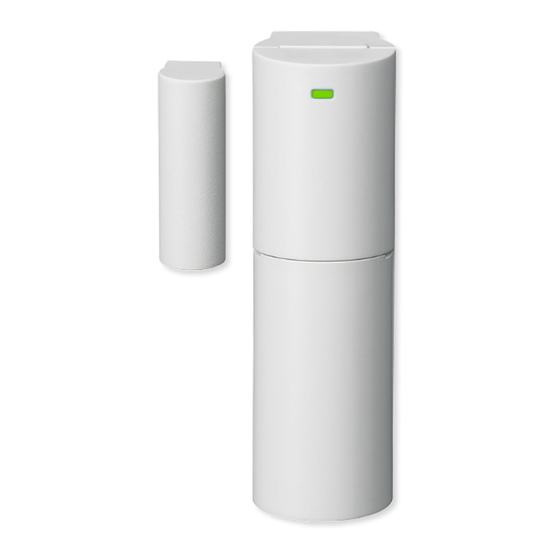
Green Pairing
LED Indicator
CR123 Battery
Figure
Magnet
Figure 4
Magnet
Spacer
Figure 5
12/25/19
Advertisement
Table of Contents

Related Manuals for Ecolink DWZB1-ECO


Summary of Contents for Ecolink DWZB1-ECO
- Page 1 ECOLINK Zigbee 3.0 Door/Window Sensor DWZB1-ECO INTRODUCTION Door/Window sensors are designed to secure the perimeter of the residential premise, and provide the ability to add various automation services. The Door/Window sensor, which consists of a magnet that attaches to a door or window, will communicate door events to the home security system.
- Page 2 • Consult the dealer or an experienced radio/TV contractor for help WARNING: Changes or modifications not expressly approved by Ecolink Intelligent Technology Inc. could void the user’s authority to operate the equipment. This device complies with Industry Canada licence-exempt RSS standard(s). Operation is subject to the following two conditions: (1) this device may not cause interference, and (2) this device must accept any interference, including interference that may cause undesired operation of the device.
Need help?
Do you have a question about the DWZB1-ECO and is the answer not in the manual?
Questions and answers