
Subscribe to Our Youtube Channel
Related Manuals for Kleenmaid RHSO91


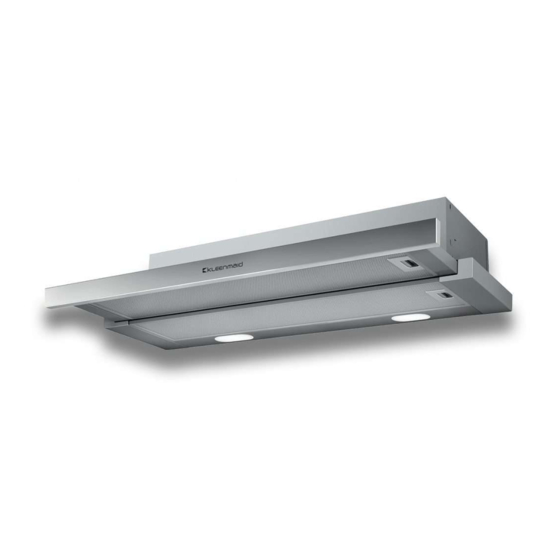
Summary of Contents for Kleenmaid RHSO91
- Page 1 cooking collection Instructions for use and warranty details Rangehood Model No.: RHS091 �kLEEnma1d...
- Page 2 Once installation is complete, please read this instruction manual carefully and get to know the controls and the features of your new Kleenmaid appliance. These simple instructions will enable you to achieve excellent results from the very first time you use it.
-
Page 3: Table Of Contents
Table of contents • Safe disposal of appliances and packaging • S pecifi cations • Technical information • SAFETY: Read this first! • Warnings • Description of Parts • Instruction for use • 8-10 Installation • 11-12 Cleaning & Maintenance •... -
Page 4: Specifications
Safe disposal of appliances and packaging • This appliance and it's packaging are produced by processes that minimize waste and respect the environment. • Please help us to continue the protection of the environment by disposing of the packaging in a correct manner. •... -
Page 5: Safety: Read This First
SAFETY: Read this First Do not connect the appliance if there are obvious signs of transportation damage. • Read this user manual thoroughly before attempting to use this appliance. • Installation and repair should be attempted only by qualified technical personnel. -
Page 6: Warnings
Warning ----This appliance can be used by children and persons with reduced physical, sensory or mental capabilities or lack of experience and knowledge if they have been given supervision or instruction concerning use of the appliance in a safe way and understand the hazards involved. --- Children must be supervised so they do not play with the appliance. -
Page 7: Description Of Parts
Description of Parts 2 position rocker switch for selecting motor speed ON/OFF switch for lamp Lamps with LEDs Removeable filters Slide out extraction panel Positions for carbon filters if to be used. Anti return tabs are to be fitted in the outlet mouth, by positioning the locating ends in the holes provided. -
Page 8: Instruction For Use
Instructions for use Press the button shown in the diagram below, to control the functions of the rangehood. To achieve better fume extraction, it is recommended the rangehood be switched on for a few minutes (approx 3-5minutes) before starting to cook so that the air flow is stable and continuous. - Page 9 Notes • Make sure that the household voltage is same as the voltage on the rating label of the rangehood before installation. • The wall or ceiling on which the rangehood is installed must be strong and flat enough to support the rangehood.
- Page 10 Drill holes and install rangehood body Method: Built-in (picture 4) ■ Drill four holes of 6mm diameter and a hole of 170mm diameter on the top of the cabinet. ■ Install the rangehood under the cabinet and screw tight with supplied M5 screws and gasket. ■...
-
Page 11: Cleaning & Maintenance
Do not use scrapers with metallic surfaces such as knives, scissors etc. Maintenance and Replacement of your Kleenmaid Rangehood Filters Your Kleenmaid rangehood has one or both the following types of filters: 1.The visible aluminium grease filter, which is present on every rangehood. - Page 12 Cleaning & Maintenance Replacing the Charcoal Filter To install the carbon filter (after removing saturated filter) align the motor anchorage with the anchor points of the carbon filter and turn clockwise. Changing LEDs Remove the filter support to access the LED. Take care to disconnect the mains beforehand and check that the LEDs to be replaced are not hot.
-
Page 13: Troubleshooting
Troubleshooting Guide Action Symptoms Possible Cause Check that the plug is connected Does not function No electrical supply Check that the main switch is turned on Aluminium grease filters Clean the filters and clogged replace when dry Poor airflow Replace carbon filters Carbon grease filters with new sets clogged... -
Page 14: Warranty Terms & Conditions
Australian Consumer Law. c. In the event that a request for repair is made against this Kleenmaid Warranty where the serial number for the Product cannot be verified or you cannot produce for verification a proof of purchase for the Product (including but not limited to the original invoice), the repairer will not carry out any repairs on the Product and you will be charged a service call-out fee. - Page 15 13. Kleenmaid accepts no liability for items that are lost, damaged, or stolen as a result of freight, transport or storage. If you are required to transport the Product to an authorised service centre, you must ensure that it is securely packed and insured.
- Page 16 Refrigerators & Freezers Beverage Serving Cabinets Water Dispensers Vacuum Cleaners Compass Capital Services Pty Limited trading as Kleenmaid ABN 96138214525 Level 2, 204 Botany Road Alexandria NSW 2015 Register your Kleenmaid Appliances Warranty www.kleenmaidwarranty.com.au Request a Warranty Service www.kleenmaidwarranty.com.au E: support@kleenmaid.com.au www.kleenmaid.com.au...
Need help?
Do you have a question about the RHSO91 and is the answer not in the manual?
Questions and answers