Kleenmaid RHUC61 Instructions For Use Manual
Hide thumbs
Also See for RHUC61:
- Instructions for use and warranty details (20 pages) ,
- Instructions for use and warranty details (20 pages)

Related Manuals for Kleenmaid RHUC61


Summary of Contents for Kleenmaid RHUC61
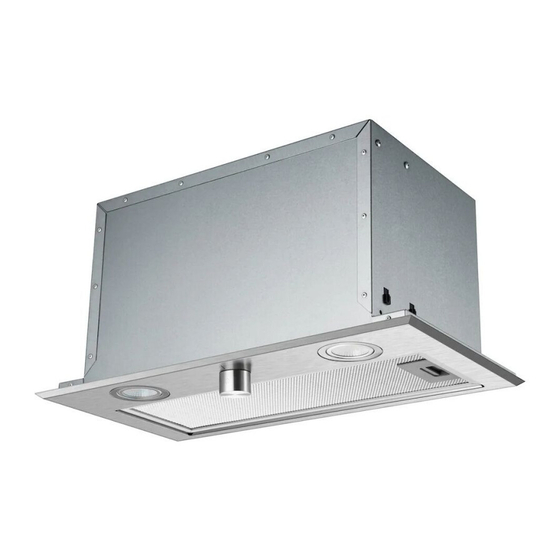
- Page 1 Instructions for use and warranty details Rangehood Model No: RHUC61 RHUC91...
- Page 2 Once installation is complete, please read this instruction manual carefully and get to know the controls and the features of your new Kleenmaid appliance. These simple instructions will enable you to achieve excellent results from the very first time you use it.
-
Page 3: Table Of Contents
Contents Contents Contents..............2 Warnings.............. Safety Warning............Measurement............Installation..............7 Use................ Maintenance............Trouble Shooting..........Main Parameters..........Disposal.............. -
Page 4: Warnings
Warnings Contents This appliance is not intended for use by persons (including children) with reduced physical,sensory or mental capabilities, or lack of experience and knowledge, unless they have been given supervision or instruction concerning use of the appliance by a person responsible for their safety. -
Page 5: Safety Warning
Safety Warning This appliance is not intended for use by persons (including children) with reduced physical,sensory or mental capabilities, or lack of experience and knowledge, unless they have been given supervision or instruction concerning use of the appliance by a person responsible for their safety. -
Page 6: Measurement
Measurement... - Page 7 Measurement The safety gap between the rangehood and the hob below must comply with the recommendations of the hob manufacturer. In case of no instructions, a minimum distance of 650mm (or other minimum distance as may be specified by AS/NZS 5601 and interpreted by a certified installer) should apply.
-
Page 8: Installation
Installation Two venting modes are available, extraction-air mode and recirculation mode. Select desired mode before installation. Recirculation mode Extraction-air mode... - Page 9 Installation Press the lock catch of the metal filter, remove the filter. Remove the stainless steel frame by unfastening the 4 screws (M4*10). Unfasten the screws (ST4*10), remove the lid of terminal box, disconnect the wires to the commands at the connectors.
- Page 10 Installation Screw the stainless steel frame back into place using the 4 screws removed as described above. Reconnect the wires to the commands and light. Replace the metal filter. ...
-
Page 11: Use
Speed adjustment. See figure below. Rotate the knob to the Stop graphic, the motor will stop running. Rotate the knob to the Light graphic, the two lighting lamps will come on. Rotate the knob to the Low (speed) graphic, the motor runs at low speed, two lights on. -
Page 12: Maintenance
Maintenance Maintenance and replacement of your Kleenmaid Rangehood Filters. Your Kleenmaid rangehood has one or both of the following types of filters: 1.The visible aluminium grease filter, which is present on every rangehood. These filters should be removed, cleaned and re-installed at least every three months, and more often if food is regularly fried or grilled. - Page 13 However, always replace the filter when it no longer absorbs odours effectively. When replacement KleenAir Activated Charcoal filters are required they may be purchased by emailing support@kleenmaid.com.au or calling 02 9310 1207. Replacing the charcoal filter Remove the grease filter by operating the latch of the filter.
- Page 14 Maintenance Contents Replacing the lamp Press the lock catch of metal filter, remove the filter. Push the lamp from inside to remove the lamp. Disconnect the wires to the lamp. Connect the wires of the new lamp. Push the new lamp from outside ...
-
Page 15: Trouble Shooting
Trouble Shooting Fault Cause Solution Check the blades. The blades are blocked. The capacitor is damaged. Replace capacitor. Light on, but motor The motor is damaged. Replace motor. does not work. The internal wiring of motor is cut off / disconnected. -
Page 16: Main Parameters
Main Parameters 220-240V 50Hz Rated Power 113W Lighting Power 1.5 W x 2 Motor Power 110W Diameter of air tube 150mm Up to 650 m 49 dB(A) Disposal Please dispose of this appliance at your local community waste collection / recycling center and ensure it presents no danger to children while being stored for disposal. - Page 17 The benefits given to you under this Kleenmaid Warranty are in addition to other rights and remedies to which you may be entitled under the Australian Consumer Law in relation to the Product to which this Kleenmaid Warranty relates. Subject to the conditions below, the Product is warranted by Kleenmaid and/or its agents to be free from defects in materials and workmanship for the Warranty Period for normal Domestic Use.
- Page 18 13. Kleenmaid accepts no liability for items that are lost, damaged, or stolen as a result of freight, transport or storage. If you are required to transport the Product to an authorised service centre, you must ensure that it is securely packed and insured.
- Page 19 This page intentionally left blank.
- Page 20 Other products available in the Kleenmaid range of appliances Washing machines Clothes dryers Dishwashers Ovens Cooktops Steam ovens Microwave ovens Built in espresso coffee machines Rangehoods Freestanding ovens Compass Capital Services Pty Limited trading as Kleenmaid ABN 96138214525 Level 2, 204 Botany Road Alexandria...
Need help?
Do you have a question about the RHUC61 and is the answer not in the manual?
Questions and answers