Table of Contents
Advertisement
Quick Links
Advertisement
Table of Contents

Subscribe to Our Youtube Channel
Related Manuals for Kleenmaid RHSCK61


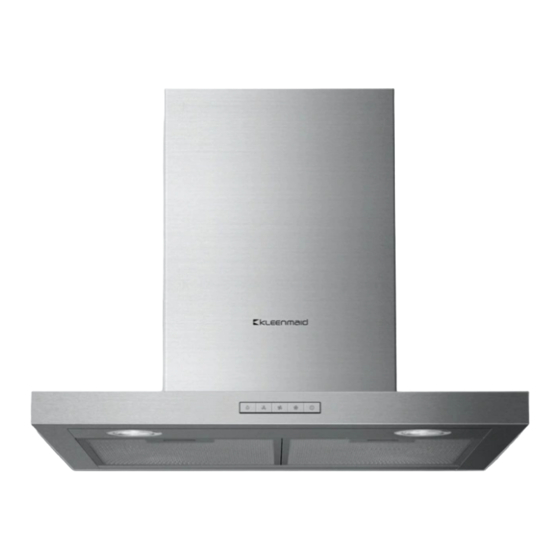
Summary of Contents for Kleenmaid RHSCK61
- Page 1 Wall Mounted Canopy Rangehood Model Nos: RHSCK61, RHSCK91 & RHSCK121 �kLeenma1d...
-
Page 3: Table Of Contents
Table of Contents • Important safety information • Installation Instructions • Installation Guidelines Use and Care Instructions • Operation 10-11 • Maintenance and Cleaning 12-14 • Hood Sizes • Troubleshooting • Warranty Terms & Conditions... -
Page 4: Important Safety Information
IMPORTANT SAFETY INFORMATION *Read the complete manual carefully before installation* The current online version of the User Manual is available on the Kleenmaid website (see back cover for details). Intended for Domestic Kitchen Use Only Warnings: TO REDUCE THE RISK OF FIRE, ELECTRICAL SHOCK OR PERSONAL INJURY, PLEASE OBSERVE THE FOLLOWING: 1. - Page 5 CAUTION 1. To reduce the risk of fire and to properly exhaust air, be sure to duct air outside. Do not vent exhaust air into spaces within walls or ceiling or into attics, crawl spaces or garages. 2. Take care when using cleaning agents or detergents. 3.
-
Page 6: Installation Instructions
NOTE: Before making preparations for or commencing installation, the installer should refer to the current online version of the User Manual, which is available on the Kleenmaid website (see back cover for details). The rangehoods conform to related appliances standards. Please check your loc al building c odes for any additional requirements . - Page 7 Installing the Ductwork 1 . Plan where the ductwork will run between the rangehood outside. rangehoods exhaust vertically but can be ducted to the rear behind the chimney duct through an outside wall or vertically up through the ceiling to the roof. A short straight duct run will produce the most air flow.
-
Page 8: Installation Guidelines
650mm (or other minimum distance as may be specified by AS/NZS 5601 and interpreted by a certified installer) should apply. Note: The above installation images and guidelines are for reference only. If you require information about installers you can find this on the Kleenmaid website (see back page of manual). - Page 9 Leveling Device When mounting rangehood on the wall, the level can be adjusted by turning the two screws on the motor housing. I nsta I lat ion Alternatives The rangehood can be installed in the following ways: Circulating indoor air (A) Outdoor venting (B) ············...
-
Page 10: Use And Care Instructions
USE AND CARE INSTRUCTIONS Operations For optimum performance in removing cooking odours, it is recommended that you turn on your rangehood prior to cooking and you leave it operating for 15 minutes after cooking. Clean the surfaces of the rangehood regularly using a non-abrasive detergent. - Page 11 Description of Control Description of Symbols: light � speed I '"'"° +"�' � speed II+ light speed II � ® speed Ill + light speed Ill 3 min. delay-off at speed 'timer' Using the dial control: - Push the rotary dial and the LED lights will illuminate. - Turn the rotary switch clockwise or counter-clockwise, stopping the indicating light at the setting you want to select.
-
Page 12: Maintenance And Cleaning
Maintenance and Replacement of your Kleenmaid Rangehood Filters Your Kleenmaid rangehood has one or both the following types of filters: 1.The visible stainless steel grease filter, which is present on every rangehood. These filters should be removed, cleaned and re-installed at least every three months, and more often if food is regularly fried or grilled. - Page 13 Replacing the charcoal filter Replace the charcoal filter as follows: - Remove the grease filter. - Squeeze the clips on the charcoal filter and pull the charcoal filter back to remove it. - Install a new charcoal filter and replace the grease filter. □...
- Page 14 Recycling This appliance complies with European Community directive 2002/96/EC, Waste Electrical and Electronic Equipment (WEEE}. By ensuring that this product is recycled responsibly, the user helps prevent possible negative impact on the environment. Dispose of this product responsibly. Irresponsible disposal can result in negative environmental impact or personal injury.
-
Page 16: Troubleshooting
Trouble Shooting Guide Problem Possible Reason Solution Check the plug is No electrical supply. connected. Rangehood doesn't turn on. Contact service Power cord is damaged technician Grease filters clogged Clean the filters and replace when dry Poor Airflow Charcoal filters clogged. Replace the charcoal Re-circulatinq mode only. -
Page 17: Warranty Terms & Conditions
The benefits given to you under this Kleenmaid Warranty are in addition to other rights and remedies to which you may be entitled under the Australian Consumer Law in relation to the Product to which this Kleenmaid Warranty relates. Subject to the conditions below, the Product is warranted by Kleenmaid and/or its agents to be free from defects in materials and workmanship for the Warranty Period for normal Domestic Use. - Page 18 13. Kleenmaid accepts no liability for items that are lost, damaged, or stolen as a result of freight, transport or storage. If you are required to transport the Product to an authorised service centre, you must ensure that it is securely packed and insured.
- Page 19 This page has been intentionally left blank.
- Page 20 Other products available in the Kleenmaid range of appliances Washing machines Clothes dryers Dishwashers Ovens Cooktops Steam ovens Microwave ovens Built in espresso coffee machines Rangehoods Freestanding ovens Refrigerators & Freezers Beverage Serving Cabinets Water Dispensers Vacuum Cleaners Compass Capital Services Pty Limited...
Need help?
Do you have a question about the RHSCK61 and is the answer not in the manual?
Questions and answers