
Related Manuals for Kleenmaid RHSOR61


Summary of Contents for Kleenmaid RHSOR61
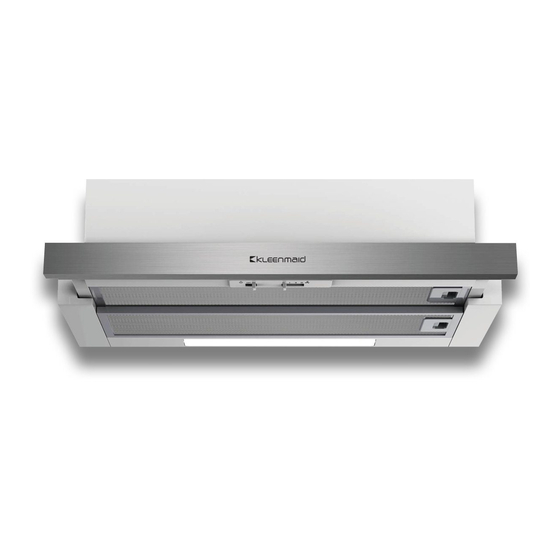
- Page 1 Instructions for use and warranty details Range Hood Model No.: RHSOR61...
- Page 2 Once installation is complete, please read this instruction manual carefully and get to know the controls and the features of your new Kleenmaid appliance. These simple instructions will enable you to achieve excellent results from the very first time you use it.
-
Page 3: Recommendations And Suggestions
RECOMMENDATIONS AND SUGGESTIONS INSTALLATION The manufacturer will not be held liable for any damages resulting from incorrect or improper installation. The safety gap between the rangehood and the hob below must comply with the recommendations of the hob manufacturer. In case of no instructions, a minimum distance of 650mm (or other minimum distance as may be specified by AS/NZS 5601 and interpreted by a certified inst aller) should apply. - Page 4 COMPONENTS Ref. Qty. Product Components Hood Body, complete with: Controls, Light, Blower, Filter. Check valve The Activated Charcoal filter (1 / 2 optional ) Screws 5 x 50 Wall Plugs...
- Page 5 DIMENSIONS unit: mm The safety gap between the rangehood and the hob below must comply with the recommendations of the hob manufacturer. In case of no instructions, a minimum distance of 650mm (or other minimum distance as may be specified by AS/NZS 5601 and interpreted by a certified installer) should apply.
-
Page 6: Installation
INSTALLATION METHOD 1 Ø118 Security hole • Determine the final position of the hood and the alignment of the front faces of the hood and the cabinet. Mark and pre-drill the four (4) fixing screw holes into the cabinet above the range hood according to the diagram. - Page 7 As per the diagrams above determine the position of range hood on the wall. On the wall, install 2 screws ( supplied ) according to the relative position of 2 key holes on the back of hood. Gently tighten screws to allow completion of the installation. ...
- Page 8 Operation Before use: Check the safe condition of the appliance: Check whether there are visible defects. Check that all parts of the appliance have been securely fitt ed. Switching on/off Slide the front part of the rangehood. ...
-
Page 9: Maintenance
MAINTENANCE CHECK VALVE INSTALLATION Hold on to check valve with your hands, align the box gap, put in the check valve, and then spin to a certain angle until three angles of the valve are stuck. Installation is complete. GREASE FILTERS CLEANING METAL SELF-SUPPORTING GREASE FILTERS ... - Page 10 Remove the metal grease filters. Remove the saturated activated charcoal filter. Fit the new filters. Replace the metal grease filters. When an activated carbon filter is attached, the suction power will be reduced. Venting knob position Extraction-air mode: Turn the venting knob here to vent outside...
-
Page 11: Disposal Of Old Electrical Appliances
LIGHTING LIGHT REPLACEMENT When changing LEDs, be aware that the contacts are live. Before changing LEDs, unplug the appliance from the mains or switch off the circuit breaker in the fuse box. 1. Remove the grease filter. 2. You can remove the LED by rotating it. For replacement LED specifications refer to the table below. -
Page 12: Troubleshooting
TROUBLE SHOOTING Fault Cause Solution The blades are blocked. The capacitor is damaged. Replace capacitor. Light on, but The motor is damaged. Replace motor. motor does not The internal wiring of motor is cut off/ work Replace motor. disconnected. An unpleasant smell may be produced. - Page 13 The benefits given to you under this Kleenmaid Warranty are in addition to other rights and remedies to which you may be entitled under the Australian Consumer Law in relation to the Product to which this Kleenmaid Warranty relates. Subject to the conditions below, the Product is warranted by Kleenmaid and/or its agents to be free from defects in materials and workmanship for the Warranty Period for normal Domestic Use.
- Page 14 13. Kleenmaid accepts no liability for items that are lost, damaged, or stolen as a result of freight, transport or storage. If you are required to transport the Product to an authorised service centre, you must ensure that it is securely packed and insured.
- Page 16 Other products available in the Kleenmaid range of appliances Washing machines Clothes dryers Dishwashers Ovens Cooktops Steam ovens Microwave ovens Built in espresso coffee machines Rangehoods Freestanding ovens Compass Capital Services Pty Limited trading as Kleenmaid ABN 96138214525 Level 2, 204 Botany Road Alexandria...
Need help?
Do you have a question about the RHSOR61 and is the answer not in the manual?
Questions and answers