Advertisement
Quick Links
www.rvm.com.au
- Please follow these assembly instructions as it will save you time, make
assembly easier and prevent possible damage to your new unit.
- We strongly recommend that the unit is assembled on a soft surface such
as carpet or blanket.
as power tools can strip threads if over tightened.
- Correct assembly is your responsibility.
- When moving this furniture item, always carry the unit. Dragging or
sliding the unit could damage the unit and the floor surface.
Assembly Instruction Manual
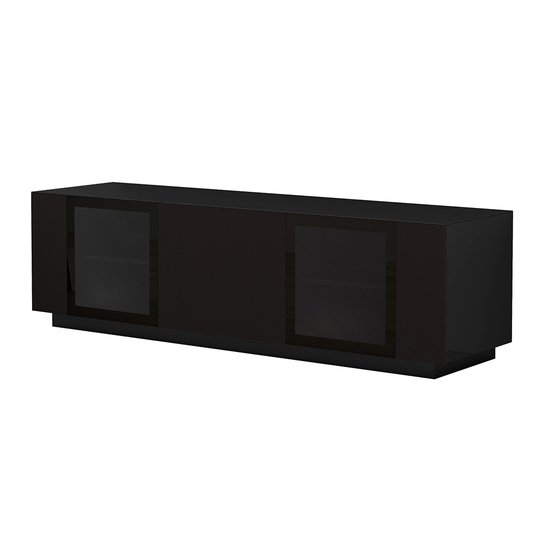
MODEL NO.:
128 - 192
232 - 387
PLATINUM2250
364 - 515
Advertisement

Related Manuals for Tauris PLATINUM2250


Summary of Contents for Tauris PLATINUM2250
- Page 1 Assembly Instruction Manual MODEL NO.: PLATINUM2250 www.rvm.com.au 128 - 192 232 - 387 364 - 515 - Please follow these assembly instructions as it will save you time, make assembly easier and prevent possible damage to your new unit. - We strongly recommend that the unit is assembled on a soft surface such as carpet or blanket.
- Page 2 SPEAKER CLOTH DOOR SPEAKER CLOTH DOOR...
- Page 4 arrowhead on cam points toward to the hole on the panel edge. arrowhead on cam points toward to the hole on the panel edge.
- Page 5 arrowhead on cam points toward to the hole on the panel edge. arrowhead on cam points toward to the hole on the panel edge.
- Page 7 arrowhead on cam points toward to the hole on the panel edge.
- Page 8 arrowhead on cam points toward to the hole on the panel edge.
- Page 10 NOTE: For gyprock walls ensure you locate the studs, or use appropriate to the wall. (also see Step 14) Use a screw driver to fasten the screws (Part 28) into the wall.
- Page 11 Use a screw driver to fasten the screws (Part 37) into the bracket.
- Page 12 MODEL NUMBER OF THE UNIT PURCHASED DESCRIPTION/PART NUMBER OF THE MISSING OR FAULTY PART QUANTITY OF THE PARTS NEEDED If for whatever reason you cannot get in contact with the store, please get in contact with Tauris direct at http://www.rvm.com.au/contact/ Product of RVM Australia...
-
Page 13: Warranty Policy
2. Subject to Clause 1, the Seller warrants that TAURIS branded products will be free of manufacturing defects and will perform to the Seller’s specifications subject to the following clauses. - Page 14 b.) Make note of the defects reported by the Owner. c.) Take back the defective goods from the owner and determine within a reasonable time through dialogue with the Seller whether the goods are defective. d.) Advise the owner within a reasonable time frame whether it accepts or rejects the Product claim.
Need help?
Do you have a question about the PLATINUM2250 and is the answer not in the manual?
Questions and answers