Advertisement
Quick Links
www.rvm.com.au
- Please follow these assembly instructions as it will save you time, make
assembly easier and prevent possible damage to your new unit.
- We strongly recommend that the unit is assembled on a soft surface such
as carpet or blanket.
as power tools can strip threads if over tightened.
- Correct assembly is your responsibility.
- When moving this furniture item, always carry the unit. Dragging or
sliding the unit could damage the unit and the floor surface.
Assembly Instruction Manual
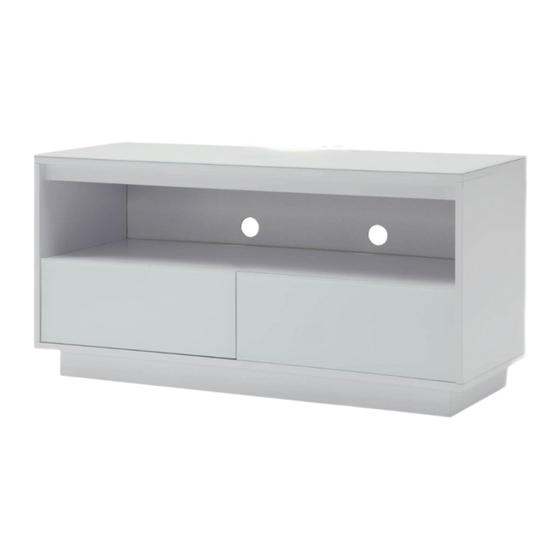
MODEL NO.: TITAN1200
Advertisement

Subscribe to Our Youtube Channel
Related Manuals for Tauris TITAN1200


Summary of Contents for Tauris TITAN1200
- Page 1 Assembly Instruction Manual MODEL NO.: TITAN1200 www.rvm.com.au - Please follow these assembly instructions as it will save you time, make assembly easier and prevent possible damage to your new unit. - We strongly recommend that the unit is assembled on a soft surface such as carpet or blanket.
- Page 2 19 x1 20 x1 21 x40 22 x40 23 x20 24 x22 25 x6 26 x6 31 x2 32 x2 33 x2 30 x2...
- Page 4 STEP 1 21 x 10pcs 22 x 10pcs 23 x 6pcs 22 x 10pcs 23 x 6pcs arrowhead on cam points toward to the hole on the 21 x 10pcs panel edge. STEP 2 26 x 4pcs 30 x 2pcs 26 x 4pcs 30 x 2pcs...
- Page 5 STEP 3 21 x 6pcs 24 x4pcs 22 x 6pcs 23 x 4pcs 23 x 4pcs 22 x 6pcs 21 x 6pcs 24 x4pcs arrowhead on cam points toward to the hole on the panel edge. STEP 4...
- Page 6 STEP 5 23 x 6 pcs 24 x 6pcs 24 x 6pcs 23 x 6 pcs STEP 6 21 x 4pcs 22 x 4pcs 23 x 4 pcs 23 x 4 pcs 21 x 4pcs arrowhead on cam points toward to the hole on the 22 x 4pcs panel edge.
- Page 7 STEP 7 21 x 8pcs 21 x 8pcs 22 x8pcs 22 x8pcs arrowhead on cam points toward to the hole on the panel edge. STEP 8 x5pcs 22 x 5pcs 24 x 5pcs 24 x 5pcs x5pcs 22 x 5pcs arrowhead on cam points toward to the hole on the panel edge.
- Page 8 STEP 9 21 x 5pcs 24 x 5pcs 22 x 5pcs 24 x 5pcs 21 x 5pcs 22 x 5pcs arrowhead on cam points toward to the hole on the panel edge. STEP 10...
- Page 9 STEP 11 25 x 6pcs 25 x 6pcs STEP 12 26 x 2pcs 26 x 2pcs...
- Page 10 NOTE: For gyprock walls ensure you locate the studs, or use appropriate to the wall. (also see Step 14) Use a screw driver to fasten the screws (Part 24) into the wall.
- Page 11 Use a screw driver to fasten the screws (Part 40) into the bracket.
- Page 12 COPY OF YOUR PURCHASE SLIP/RECEIPT MODEL NUMBER OF THE UNIT PURCHASED DESCRIPTION/PART NUMBER OF THE MISSING OR FAULTY PART QUANTITY OF THE PARTS NEEDED If for whatever reason you cannot contact the store, please contact Tauris direct at http://www.rvm.com.au/contact. Product of: RVM Australia...
- Page 13 You are also en tled to have the goods repaired or replaced if the goods fail to be of acceptable quality and the failure does not amount to a major failure. Tauris 2. Subject to Clause 1, the Seller warrants that branded products will be free of manufacturing defects and will perform to the Seller’s specifica ons subject to the following...
- Page 14 7. The seller will examine any returned Products and if the Seller determines that there is an apparent defect through no fault of the Owner, the Seller will: a.) Make note of the Owner’s contact details including the Owner’s telephone number which the owner can be contacted during business hours, postal address and e-mail address.
Need help?
Do you have a question about the TITAN1200 and is the answer not in the manual?
Questions and answers