Table of Contents
Advertisement
Quick Links
Advertisement
Table of Contents

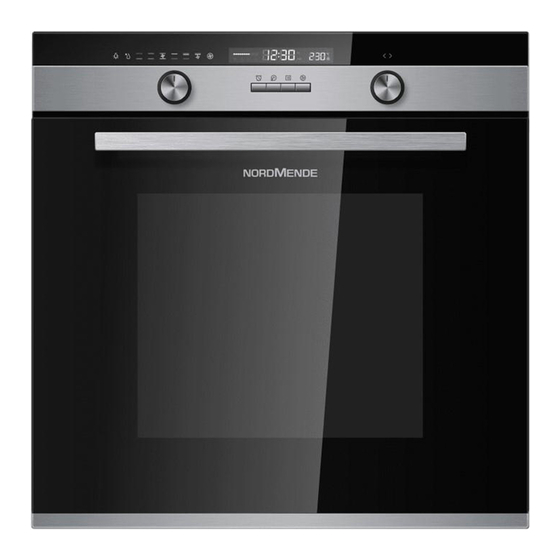
Summary of Contents for Nordmende SOC525IX
- Page 1 SOC525IX Built-in Electric Oven User Manual Read these instructions carefully before using your oven and keep it carefully. If you follow the instructions, your oven will provide you with many years of good service. SAVE THESE INSTRUCTIONS CAREFULLY...
- Page 3 ACKNOWLEDGMENT Thank you for purchasing this product. We hope that you enjoy using the many features and benefits it provides. Before using this product please study this entire instruction manual carefully. Keep this manual in a safe place for future reference. Ensure that other people using the product are familiar with these instructions as well.
- Page 4 • Accessible parts may become hot during use. Young children should be kept away while the appliance is in use. • If the supply cord is damaged, it must be replaced by the manufacturer, its service agent or similarly qualified persons in order to avoid hazards. •...
-
Page 5: Safety Precautions
• The oven door should not be opened often during the cooking period. • The appliance must be installed by a registered and qualified technician. NordMende are not responsible for any damage that might be caused by defective fitting, connection or installation by unauthorised personnel. -
Page 6: Product Description
PRODUCT DESCRIPTION Knob 2 Knob 1 Pause button Reminder button Time button Start button Symbol Description of Function Oven Lamp: This enables the user to observe the progress of cooking without opening the door. The oven lamp will light for all cooking functions (except the ECO function). Defrost: The circulation of air at room temperature enables quicker thawing of frozen food, (without the use of any heat). - Page 7 OPERATION INSTRUCTIONS 1. Clock Settings After connecting the unit to the power, the symbol " 0:00 " will be visible on the LED display. 1> Press " " to make the hour figure flash. 2> Rotate Knob 2 to adjust the hour setting (The time should be between 0 and 23). 3>...
- Page 8 6. Reminder Function This function will help to remind you to start cooking at a time between 0:01 to 9:59. This reminder can only be set when the oven is in standby mode. To set the reminder: 1> Press reminder setting button " ";...
- Page 9 Note: The lamp setting or defrost function cannot be timed for delayed start. 1> 2> During delayed start, press " " button once to show the set time and temperature. To display the clock again, press " " again, or press " "...
- Page 10 ACCESSORIES Wire shelf: For grill, dishes, cake pan with items for roasting and grilling. Slider bracket : For cooking larger size food, these shelf support rails on the right and left sides of the oven can be removed, dishes and tray can be put on the oven floor, using functions as Radiant grilling, Double grilling, Double grill with fan.
-
Page 11: Shelf Placement Warning
SHELF PLACEMENT WARNING: To ensure the oven shelves operate safely, correct placement of the shelves between the side rail is imperative. The pan and shelves can be inserted at five different height levels. Ensure the shelves are level by using the same height level on each side. This will ensure that hot food items do not slide out when removing the shelf or tray. -
Page 12: Ventilation Openings
VENTILATION OPENINGS When cooking is finished or in pause state or in waiting state, if the oven's center temperature is over 75 degree, the cooling fan will continue working for 15 minutes. When the oven's center temperature becomes lower than 75 degree, the cooling fan will stop in advance. Ventilation Openings CONNECTION OF THE OVEN INSTALLATION... - Page 13 REMOVING THE DOOR FROM OVEN (OPTIONAL) Dissembly of oven door components: To remove the door, open the door to the maximum angle. Then pull the buckle at the door hinge backward. Close the door to an angle approximately 30°. Hold the door with one hand on each side. Lift up and slowly pull the door out from the oven.
-
Page 14: Cleaning And Maintenance
RECIPES FOR ECO MODE Recipes Level Time (min) Pre-heat Temperature (℃) Potato Cheese 90-100 Gratin Cheese 100-150 Cake Meatloaf 110-130 CLEANING AND MAINTENANCE For the sake of good appearances and reliability, keep this oven clean. The modern design of the unit means that minimum maintenance is required.


Need help?
Do you have a question about the SOC525IX and is the answer not in the manual?
Questions and answers