Table of Contents

Related Manuals for Vacmaster VJS1211


Summary of Contents for Vacmaster VJS1211
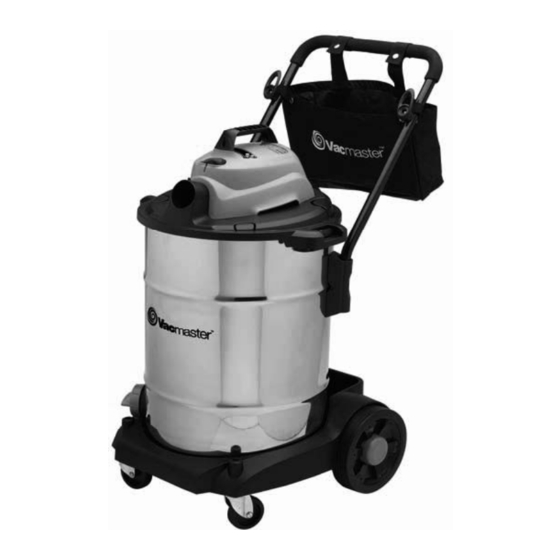
- Page 1 Wet/Dry Vacuums Operator’s Manual Model No. VJS1211 FOR YOUR SAFETY Read and understand this manual before use Keep this manual for future reference Cleva North America 44 Parkway Commons, Greer, SC 29650 Part No.VJ32SR.00.02...
-
Page 2: Table Of Contents
CAREFULLY READ AND UNDERSTAND ALL INSTRUCTIONS WARRANTY Vacmaster™ takes pride in producing a high quality, durable product. This Vacmaster™ product carries a limited two (2) year warranty against defects in workmanship and materials from date of purchase under normal household use. If product is to be used for commercial, industrial or rental use, a 90 day limited warranty will apply. -
Page 3: Safety Instructions And Warnings
Safety is a combination of common sense, staying alert and knowing how your vacuum works. Use this Wet/Dry Vac only as described in this manual. To reduce the risk of personal injury or damage to your Wet/Dry Vac, use only Vacmaster™ recommended accessories. SAVE THIS MANUAL FOR FUTURE REFERENCE. -
Page 4: Double Insulation Instructions
DOUBLE INSULATION INSTRUCTIONS This Wet/Dry Vac is double-insulated, eliminating the need for a separate grounding system. Use only identical replacements parts. Read the instructions for Servicing Double-Insulated Wet/Dry Vacs before servicing. Use this Wet/Dry Vac as described in this manual. Observe the following warnings that appear on the motor housing of your Wet/Dry Vac. -
Page 5: Unpacking And Checking Carton Contents
UNPACKING AND CHECKING CARTON CONTENTS Remove entire contents of carton. Check each item against the carton contents list. Carton contents lists Description……………………..……QTY Vac Assembly.…………………….……. Flex Hose………………………………... Utility Nozzle..………………………..….. Noise Diffuser…………………………… Floor Brush/Squeegee………..………. Crevice Nozzle.………………….….…… Extension Wands………….……………. Air Regulator Handle………..………….. Cartridge Filter.………………..………… Filter Retainer.………………………….. -
Page 6: General Assembly Instructions
GENERAL ASSEMBLY INSTRUCTIONS A Philips head screw driver is required. WARNING : DO NOT PLUG IN POWER CORD TO POWER OUTLET, MAKE SURE PLUG IS DISCONNECTED BEFORE ASSEMBLING THE WET/DRY VAC UNPACKING YOUR WET/DRY VACUUM & GENERAL ASSEMBLY 1. Verify that the power cord is disconnected from the outlet. (fig.1) 2. -
Page 7: Dry Vacuum Operation
POLARIZED PLUG To reduce the risk of electrical shock, this appliance has a double polarized plug (one with the blade wider than the other). This plug will fit in a polarized outlet only one way. If the plug does not fit fully in the outlet, reverse the plug. -
Page 8: Wet Vacuum Operation
O = OFF I = ON DO NOT USE THE CARTRIDGE FILTER FOR LIQUID VACUUMING. WET-VACUUM OPERATION LIQUID VACUUMING WARNING: BE SURE TO READ, UNDERSTAND, AND APPLY INFORMATION, ENTITLED ‘SAFETY INSTRUCTIONS & WARNINGS’. DO NOT VACUUM IN AREAS WITH FLAMMABLE GASES, VAPORS, OR EXPLOSIVE DUSTS IN THE AIR. -
Page 9: Blowing Operation
BLOWING OPERATION WARNING: ALWAYS WEAR SAFETY GOGGLES COMPLYING WITH ANSI Z87.1 (OR IN CANADA, CSAZ94.3) BEFORE USING BLOWER. WARNING: KEEP BYSTANDERS CLEAR FOR BLOWING DEBRIS. WARNING: WEAR A DUST MASK IF BLOWING CREATES DUST THAT MIGHT BE INHALED. 1. Verify that the power cord is disconnected from the outlet. (fig. 1) 2. -
Page 10: Installing & Cleaning Cartridge Filter
NOTICE! The filters included are made of high quality materials designed to stop small dust particles. The cartridge filter should be used for dry pick-up only. A dry cartridge filter is necessary to pick up dust. If the cartridge filter is wet, it will clog quickly and be very difficult to clean. Handle the filter carefully when removing it for cleaning and replacing it. -
Page 11: Troubleshooting
Cleaning Foam Sleeve Filter 1. With the removed power head in the upside down position, carefully remove foam sleeve filter. 2. Use a mild soap and water solution to wash foam sleeve filter and rinse with clean water. (fig.4) 3. Allow filter to air dry before installing and using again. TROUBLESHOOTING Symptom Possible Causes... -
Page 12: Exploded View And Parts List
PARTS LIST -EXPLODED VIEW...
Need help?
Do you have a question about the VJS1211 and is the answer not in the manual?
Questions and answers