
Related Manuals for Ocean Digital WR-238CD


Summary of Contents for Ocean Digital WR-238CD
- Page 1 User Manual Internet Radio with DAB/DAB+/Bluetooth WR-238CD Please read this user manual carefully before using the receiver.
-
Page 2: Media Center
The Internet Radio is a multi-function digital radio: Internet Radio Media Local Center Radio Software FM Radio Configuration Home Location DAB DAB+ Bluetooth Radio Information Auxiliary Center 1. Internet Radio - Plays radio stations from around the world streamed over the Internet 2. -
Page 3: Location Of Controls
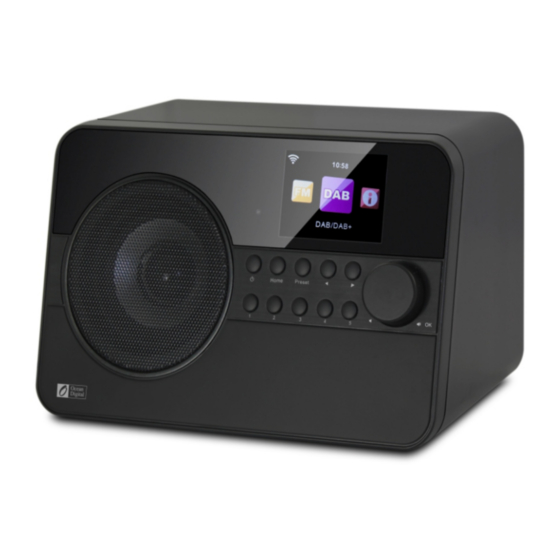
The software Home location can be reached at any time by pressing the Home button on the front of the radio. When at the Home location the functions are shown on the color display screen with apicture and text message in the selected language. -
Page 4: Remote Control
15. Auxiliary Input -3.5mm connector for music signal from another music player’s “Line Output” or “Headphone Output” 16. Line Output - For connecting the radio music signal to another music player’s “Auxiliary Input / Line Input” 17. Headphone - 3.5mm connector for “Headphones” or “Ear Buds” 18. - Page 5 The remote controller numeric keypad (buttons labeled 0 – 9) transmit to the radio different numbers and letters depending on the number of times the key is pressed as shown in the table below. When entering information into the radio (e.g. entering the Wi-Fi password) press the keypad button a number of times until the character required is displayed on the radio.
-
Page 6: Getting Started
The descriptions in this manual always refer to using the buttons or knob on the front of the radio for clarity but each button or knob has an equivalent button on the remote controller that may also be used. Getting Started Connect the power cable to the radio and turn on the main power switch located on the back of the radio. - Page 7 Adding a radio station to the Preset List Start playing any radio station and “Long Press” the Preset button on the front of the radio until the “Add to My Favorite” list is displayed. Press the Dial/Select knob to add the currently playing radio station in the next empty entry in the list. When 250 entries have been added to the list it is overwritten starting back at the first entry or the list can be edited and entries removed at any time.
- Page 8 The radio will remember the station playing when the FM function is changed to another function or the radio is turned off so that the same station will start playing when the function is next selected. DAB & DAB+ Radio Extend the telescopic antenna to ensure good reception, go to the home location by pressing the Home button on the front of the radio and use the Dial/Select knob to select the function.
- Page 9 Go to the home location by pressing the Home button and use the Dial/Select knob to select the function. BLUETOOTH will be displayed indicating that the radio is “discoverable” by other Bluetooth devices as “WR-238CD”. After pairing is successful the radio will play streamed music files at a volume controlled by the Dial/Select knob.
-
Page 10: Local Radio
16) Playback Setup – UPnP playback options: Repeat One, Repeat All , Shuffle or Turn Off the feature 17) Device – Option to change the radio device name (default is AirMusic) when using DLNA and Android App or Apple Control App 18) Equalizer –... -
Page 11: Technical Specification
This system is financed by the industry and the ensures environmentally responsible disposal and the recycling of valuable raw materials. Ocean Digital Technology Ltd. Flat B, 12/F., Yeung Yiu Chung (No.8) Ind. Bldg., 20 Wang Hoi Road, Kowloon Bay, Hong Kong Email: support@oceandigital.com.hk...
Need help?
Do you have a question about the WR-238CD and is the answer not in the manual?
Questions and answers