
Related Manuals for Ocean Digital WR-280S


Summary of Contents for Ocean Digital WR-280S
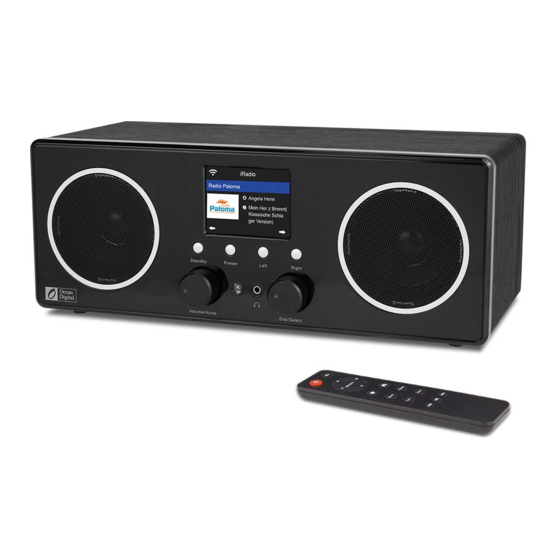
- Page 1 Stereo Wooden Internet Radio with DAB WR-280S User Manual Please read this user manual carefully before using the receiver...
-
Page 3: Table Of Contents
Contents Location of Controls ..............1 Remote Control .................2 Getting started ................4 Connecting to your WiFi network ..........5 Internet Radio ................6 Bluetooth .................8 Media Center ................8 FM mode ..................9 DAB Mode ................10 Information Center ..............12 Aux In ..................12 DLNA ..................12 Configuration ................13 Trouble Shooting ..............19 Technical Specification ............21... -
Page 4: Location Of Controls
Location of Controls 1. Standby button 2. Volume/Home Rotate to adjust the volume level/Press the knob to return Home (main menu). 3. Preset Long press to enter the "Add to favourite" list. Press it briefly to recall the preset list. 4. -
Page 5: Remote Control
Remote Control : Standby button : Mute 3. ▲ : Cursor up 4. ▼ : Cursor down 5. ◄ : Cursor left / back to previous menu 6. ► : Cursor right ► SELECT 7. SELECT: confirm button : Favorite button, press to recall the favorite stations, hold to enter the "Add to favourite"... - Page 6 Before you start Please ensure the following is ready: • You have a broadband internet connection. • A wireless (Wi-Fi) broadband router is connected to the internet successfully. The radio supports Wireless B, G and N connection (Wireless N router can also be used with the setting on B or G).
-
Page 7: Getting Started
Getting started Connect the mains adaptor to the radio unit, one end to the DC IN on the radio and the other end to the mains wall outlet. Caution: Use only the mains adaptor supplied with the radio. Connecting a power supply with a different rating will cause permanent damage to the radio and may be hazardous. -
Page 8: Connecting To Your Wifi Network
Connecting to your WiFi network The screen below will appear. You can choose <Yes> to proceed to search for the available WiFi network. If your router has the WPS function, you can select <Yes(WPS)> to proceed. 01:01 Would you like to configure Network now? Yes(WPS) It will then start scanning the network. -
Page 9: Internet Radio
Internet Radio Choose <Internet Radio> from the menu, you can see several listed options. To start listening the radio stations worldwide, select <Radio Station/Music>. My Favorite This is to show the list of your Favorite stations which have been assigned to the presets. - Page 10 Internet Radio To recall a preset station: Press the <Preset> button ( on the remote) briefly and choose your desire station. Radio Station / Music Select this option, then you can select your desired radio station by Category, Genre or Location., etc. Local Radio If you want to access quickly the radio station located in your area via internet, , select this function and it will display the list of the stations available.
-
Page 11: Bluetooth
Once it enters into Bluetooth mode, it will be discoverable from other Bluetooth devices. 1. Turn on Bluetooth on the Bluetooth device and look up the device named “WR-280S” from the list. Select it to start pairing. 2. If the connection is successful, it will show “Connected” on your Bluetooth device list. -
Page 12: Fm Mode
FM mode You can listen to the ordinary FM radios without internet connection. Extend the telescopic antenna or in other direction / length of the antenna may be required to optimize the reception level. Choose the FM from the main menu or use the < >... -
Page 13: Dab Mode
DAB Mode You can listen to ordinary DAB channels without internet connection. Extend the telescopic antenna or in other direction / length of the antenna may be required to optimize the reception level. Choose the DAB from the main menu or use the < >... - Page 14 DAB Mode Service Following This is a feature to help finding the same channel over internet provided that the radio station has an internet stream available and it is suitable to play on the radio. Listening over internet radio allows free of noises which usually caused by interference or weak reception over DAB.
-
Page 15: Information Center
Information Center/Aux-In/DLNA Information Center Weather The radio provides weather information and can display in Standby mode. To enable this feature, follow the steps below: Go to main menu, choose Information Center> Weather Information, choose the region you want it to display the weather information. After region is selected, press the <Dial/Select>... -
Page 16: Configuration
Configuration Time Display You can choose the time display at Analog or Digital. Manage my mediaU You can tailor made your own favorite station list using your computer. 1) Go to http://www.mediayou.net/ and sign up to become a member. 2) Then you have to find out the Mac Address to register on the Media U website. To locate the MAC address, please follow the path below: 2a) Go to Main Menu and select <Information Center>... - Page 17 Configuration Note: If you are going to add URL which is not on Media U database, ensure the URL is an audio streaming URL or contact Media U to add it for you. - 14 -...
- Page 18 Configuration It allows maximum 5 users to register with the same radio and you can switch to listen the favorite list under one user at a time To find your added station / custom favorite list on the radio, go to Configuration >...
- Page 19 Configuration Alarm Dual alarm clock There are 2 alarm clocks available and settings as follow: Scheduling alarm: You can schedule the alarm repeated for every day, particular day in the week or just once. Alarm sound: Wake to Radio (must be the preset station), Wake to Melody and Wake to Beeping sound.
- Page 20 Configuration Sleep Timer You can set the timer to put the radio in standby after certain time elapsed, from 15 minutes to 180 minutes with the step of every 15 minute. You also can do the setting with the <Sleep> button from remote control, when you press <Sleep>, then you can see the sleep timer on the top right corner of the display.
- Page 21 Configuration Android: iOS: Equalizer Select your prefer equalizer to suit your listening preference. Resume When Power On The radio will resume playing the last listened station when you power it on next time if ON is selected in this option. The ON is set by default. Software update Upgrade information will pop up on the display when there is update version available.
-
Page 22: Trouble Shooting
Trouble Shooting 1. If you have trouble connecting the radio to your wireless network, these steps may help to resolve the problem: - Confirm that a Wi-Fi or Ethernet Wired connected PC can access the internet (i.e. can browse the web) using the same network. - Check that a DHCP server is available, or that you have configured a static IP address on the radio. - Page 23 Trouble Shooting 3. When you scan for PCs under UPnP function, none can be found, or the PC you are looking for does not appear in the list: -You have not connected to the wireless Access point. On the internet radio, select ‘Configuration’, ‘Network ’, ‘Wireless network connection’...
-
Page 24: Technical Specification
This system is financed by the industry and the ensures environmentally responsible disposal and the recycling of valuable raw materials. Ocean Digital Technology Ltd. Flat B, 12/F., Yeung Yiu Chung (No.8) Ind. Bldg., 20 Wang Hoi Road, Kowloon Bay, Hong Kong Email: support@oceandigital.com.hk...
Need help?
Do you have a question about the WR-280S and is the answer not in the manual?
Questions and answers