
Subscribe to Our Youtube Channel
Related Manuals for Koolbreeze Climateasy 12NG


Summary of Contents for Koolbreeze Climateasy 12NG
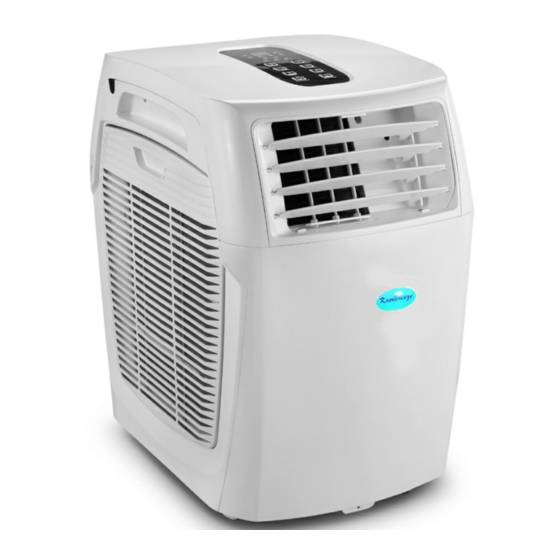
- Page 1 Climateasy 12NG Portable Air Conditioner 3.5kW (12000 BTU/hour) Model Number P12NGP Air Conditioning Heating Cooling Dehumidifying Remote control 3 Fan speeds LED display panel 24 Hour timer Page 1...
-
Page 2: Before Use
IMPORTANT Installer and Users please note: These instructions should be read carefully and left with the user of the product for future reference. BEFORE USE Inspect the product including its cable and plug for any signs of damage. If the product is damaged, DO NOT use it, and contact your supplier immediately. - Page 3 Incorrect Bending of the Exhaust can cause malfunction The hose can be expanded up to 1.8 m long, but the shorter it is the more efficiently the CLIMATEASY 12NG will operate. Do not extend the hose, or replace with another type of hose.
-
Page 4: General Safety Requirements
Remote Control Fit two AAA batteries to the remote control, observing the correct polarity. Remove the battery if the remote control is not used for a month or longer. Do not attempt to recharge the supplied batteries. Do not dispose of the batteries in a fire as they may explode. GENERAL SAFETY REQUIREMENTS Domestic wiring must be tested periodically by a qualified electrician at least once every 10 years or at every change of... -
Page 5: Product Safety
PRODUCT SAFETY This appliance is not intended for use by persons (including children) with reduced physical, sensory or mental capabilities, or lack of experience and knowledge, unless they have been given supervision or instruction concerning use of the appliance by a person responsible for their safety. ... - Page 6 CONTROLS REMOTE DISPLAY Page 6...
-
Page 7: Operation
OPERATION Leave the appliance in an upright position for 3 hours before first use. Plug the mains lead into a 13 Amp mains socket (unless permanently installed) If connecting via an extension lead, make sure that the lead is rated at 13 Amps or more, and that it is fully unwound. Switch the unit on at the mains socket. - Page 8 When the temperature reaches the desired temperature, the compressor will stop. Heating performance reduces if the outdoor temperature falls below 7°C. To set up Heat mode reverse the exhaust hose as follows: "SPEED" Button: Set the fan speed using the fan speed control.
- Page 9 18mm diameter tube (not supplied) and run the pipe to a drain, making sure that it runs downhill all the way. Unplug the CLIMATEASY 12NG from the mains when not in use. Page 9...
-
Page 10: Using The Timer
USING THE TIMER The timer can set the unit to run for a selected time (between 1 and 24 hours) and then turn OFF. Or, it can set the unit to wait for a selected time (between and 24 hours) before turning ON. To select timed turn-off press the timer button whilst the unit is switched ON. -
Page 11: Using The Remote Control
USING THE REMOTE CONTROL The heating, cooling, dehumidifying and fan modes are selected in exactly the same way as using the control panel on the main unit. MAINTENANCE Before cleaning, turn the appliance off, and disconnect from the mains supply. The appliance may then be cleaned using a damp cloth with a drop of washing-up liquid to remove any dust or dirt from the case. -
Page 12: Fault Finding
FAULT-FINDING If the CLIMATEASY 12NG is not operating, proceed as follows: Check that the mains plug is firmly in the socket, and that the socket is switched ON. When the unit is switched on there will be a delay of up to 3.5... -
Page 13: Fault Codes
FAULT CODES E0: Open circuit or short circuit in room temperature sensor. E2: water full. Empty the water tank E4; Wrongly wired plug END OF SEASON STORAGE. Before putting the appliance into storage, empty all water from the drain, and run the appliance on "fan only" mode fo a few hours to dry the inside thoroughly. -
Page 14: Technical Specification
If you have any problems with this product, please in the first instance call the retailer from whom you purchased it. Koolbreeze Division Cottage Stores LLP 7 Harris Drive...
Need help?
Do you have a question about the Climateasy 12NG and is the answer not in the manual?
Questions and answers