Advertisement
Advertisement
Table of Contents

Subscribe to Our Youtube Channel
Related Manuals for Koolbreeze Climateasy 14


Summary of Contents for Koolbreeze Climateasy 14
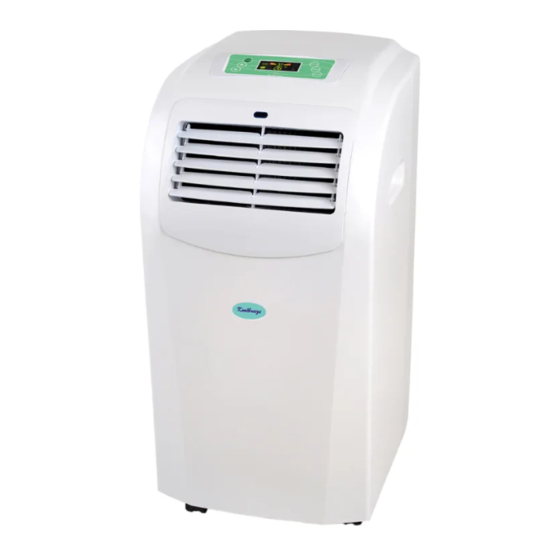
- Page 1 Koolbreeze Portable Air-conditioner User’s Manual For Model : CLIMATEASY 14 P14HCP...
-
Page 2: Table Of Contents
Table of Contents 1. Installation……………………………………………………………….. … … 2. General Safety Reqirements……………………………….… …… … …. … 3. Product safety………………………………………………..……………..… 4. Safety Awareness………………………………………….. ……….. … … … 5. Name of Parts………………………………………………..…… ……..…… 6. Control Panel and Display………………………………………………… … 7. Operation…………………………………………….……….. …….……….. Maintenance………………………………………………………………….. 11 9. -
Page 3: Installation
3 hours for the refrigerant gas to stabilise before use. INSTALLATION Stand the CLIMATEASY 14 on a firm, flat, level surface. Connect the exhaust hose as follows: expand a small section of the end, and screw into the indoor adaptor; then slide the indoor adaptor into the slot at the back of the unit. - Page 4 Slide the two-part window adaptor to the correct length to fit the window. Close the window as far as possible to keep the window adaptor in place. Clip the fish-tail shaped adaptor into the aperture in the window adaptor. Keep the hose as straight as possible, avoid dips where the moisture from the exhaust air can condense and fill the tube with water.
-
Page 5: General Safety Reqirements
The hose can be expanded up to 2 m long, but the shorter it is the more efficiently the CLIMATEASY 14 will operate. Do not extend the hose, or replace with another type of hose. Remote Control Fit one lithium 3V battery to the remote control, observing the correct polarity. -
Page 6: Product Safety
PRODUCT SAFETY This appliance is not intended for use by persons (including children) with reduced physical, sensory or mental capabilities, or lack of experience and knowledge, unless they have been given supervision or instruction concerning use of the appliance by a person responsible for their safety. ... -
Page 7: Safety Awareness
Safety Awareness 1. Do not use the unit on a socket under repairs or not installed properly. 2. Do not use the unit: A: Near to source of fire. B: An area where oil is likely to splash. C: An area exposed to direct sunlight. D: An area where water is likely to splash. -
Page 8: Name Of Parts
Page 7... -
Page 9: Control Panel And Display
Appearance and Function of Control Panel Operation Display AUTO Page 8... -
Page 10: Operation
Operation Introduction Notice: - Operation temperature range: MAXIMUM HEATING MINIMUM HEATING DB/WB ( 27/--- 0/--- ¡æ) MAXIMUM COOLING MINIMUM COOLING DB/WB ( 35/24 16/12 ¡æ 1. Before Using Check whether the exhaust hose has been mounted properly. Cautions for cooling and dehumidifying operations: - When using functions on cooling and dehumidifying, keep an interval of at least 3 minutes between each ON/OFF. - Page 11 Timer OFF setting - With the air-conditioner ON, press “Timer” button.Next select a desired OFF time using the temperature buttons to select one hour increments. When the correct number of hours flash on the display, confirm the choice by pressing the TIMER button again. OFF time can be regulated at any time in 0-24 hours.
-
Page 12: Maintenance
MAINTENANCE Before cleaning, turn the appliance off, and disconnect from the mains supply. The appliance may then be cleaned using a damp cloth with a drop of washing-up liquid to remove any dust or dirt from the case. Do no use stronger detergents or solvents as these may damage the plastic. -
Page 13: Fault Codes
FAULT CODES If any error codes appear on the display,see the Trouble Shooting page below. END OF SEASON STORAGE. Before putting the appliance into storage, empty all water from the drain, and run the appliance on "fan only" mode fo a few hours to dry the inside thoroughly. -
Page 14: Fault Finding
FAULT-FINDING If the CLIMATEASY 14 is not operating, proceed as follows: Check that the mains plug is firmly in the socket, and that the socket is switched ON. When the unit if switched on there will be a delay of about 1 minute before it starts to operate. - Page 15 Troubleshooting Troubles Possible Causes Suggested Remedies 1. UNIT DOES NOT START Water full indicator lamp Dump the water out of the water WHEN PRESSING ON/OFF blinks, and water tank is full. tank. Reset the temperature BUTTON - Room temperature is higher than the setting temperature.
-
Page 16: Specification And Warranty
If you have any problems with this product, please in the first instance call the retailer from whom you purchased it. Koolbreeze Division Cottage Stores LLP Claverdon Cottage...
Need help?
Do you have a question about the Climateasy 14 and is the answer not in the manual?
Questions and answers
I **** trying to get the heating on. However when I set the heat to 30 degrees all that comes after trying to set it, is the room temperature and it doesn’t go up to match the temperature I have chosen. What **** I doing wrong? Please explain how I can reset the temperature or get it working? I can’t seem to figure this out. If you have a step by step manual as the online doesn’t go into in-depth about how to reset temperature. Or how to switch it to the temperature I’m trying to set as it only shows the current temperature with no attempt to go higher. Also would I need to connect the pipe for the heater? Even though I want the hot air in the room? Thanks My item I believe is a 2 Koolbreeze Climateasy 16 Portable Air Conditioner 16000 BTU - P16HCP units.
To set the heating mode on the Koolbreeze Climateasy 14:
1. Press the “Mode” button until the “Heat” icon appears.
2. Press the “+” or “-” button to select the desired room temperature (16-31°C).
3. Press the “Fan Speed” button to adjust the wind speed.
This function is only available if the unit supports heating.
This answer is automatically generated