Advertisement
Table of Contents
Advertisement
Table of Contents

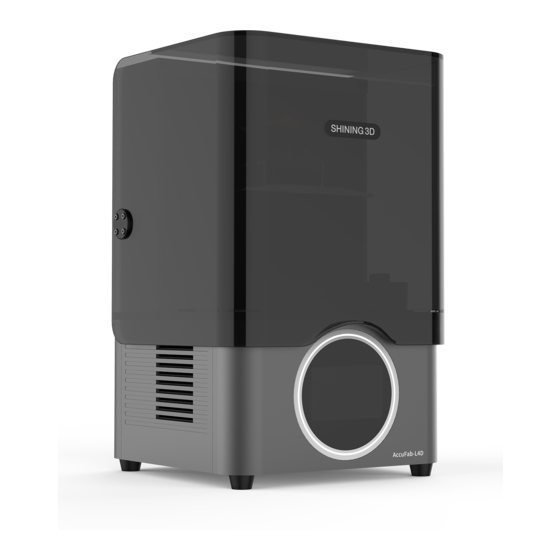
Summary of Contents for Shining 3D AccuFab L4D
- Page 1 AccuFab L4D 3D Printer Installation Guide...
- Page 2 Unpacking 1 ) 2 ) Open the package and take out the “product certificate” , Remove foam ,take out the spare resin tank from the back of the “installation guide” a nd power cable printer. 3 ) Remove the package, place the printer on the table,and open 4 )...
-
Page 3: Add Material
7 ) 8 ) Put clean resin tank into the position. Lock the buckles As the following picture shows, installation is completed. resin tank. (There are four positioning slots) Add Material Shake for 2 mins before pouring material into the resin tank to avoid sediment. -
Page 4: Product Preview
Product Preview Build platform bracket B-type USB port Network port Chamber door Build platform Resin tank Touch screen Power button Power port Part List 3D Printer Spare Resin tank Network cable Quality Certification Installation Guide Disposable Gloves Power Cable ① ②... - Page 6 Document Download Center: upport Center: Aftersales service: Technical resource:...


Need help?
Do you have a question about the AccuFab L4D and is the answer not in the manual?
Questions and answers