Advertisement
Quick Links
Advertisement

Related Manuals for Nexus 21 E-550


Summary of Contents for Nexus 21 E-550
- Page 1 E-550 Pre-Installation Instructions...
- Page 2 (Intentionally Left Blank)
- Page 3 Table of Contents Parts List ....................................3 Safety Information ................................. 4 Assembling the Installation Bracket ............................5...
- Page 4 Fax: (480) 951-6879 Revised: 11/17/21 Below is a parts list describing all of the items included with the Model E-550 Projector Lift System. You may also wish to refer to the dimensional diagram shown at the end of this document.
- Page 5 Nexus 21 disclaims any liability for modifications, improper installations, or installations over the specified weight range. Nexus 21 will not be liable for any damages arising out of the use of, or inability to use, Nexus 21 products. Nexus 21 bears no responsibility for incidental or consequential damages. This includes, but is not limited to, any labor charges for the servicing of Nexus 21 products performed by anyone other than Nexus 21.
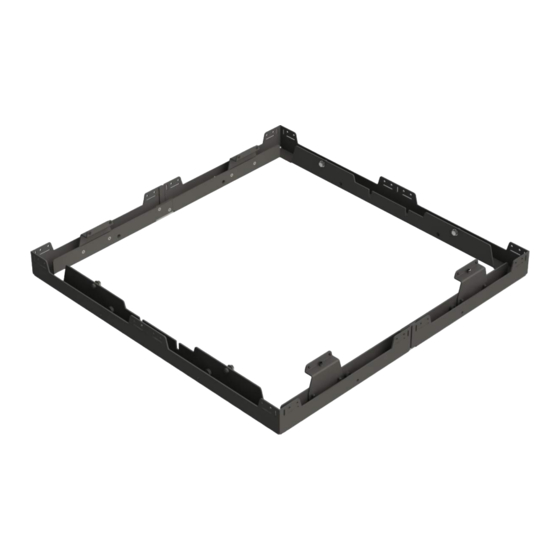
- Page 6 Assembling the Installation Bracket For these steps you will need the following parts: • (2) Installation Brackets • (4) Fine Adjustment Brackets • (12) 10-32 x 9/16” FHMS (Flat Head Machine Screw) • (32) #10 x 1” THWS (Optional; Alternate Screws may be used in place of these) •...
- Page 7 Step 3: Place the other Installation Bracket into the Ceiling Cutout, align the two together, and fasten them to each other using (2) 10-32 x 9/16” FHMS Note: Step 4: Center the now assembled Installation Bracket Alternate screws may be used in place of within the Ceiling Cutout and fasten it to the Trusses the provided #10 x 1”...
- Page 8 (Intentionally Left Blank)
- Page 9 480-951-6885...
Need help?
Do you have a question about the E-550 and is the answer not in the manual?
Questions and answers