Table of Contents
Advertisement
7A10646900A7
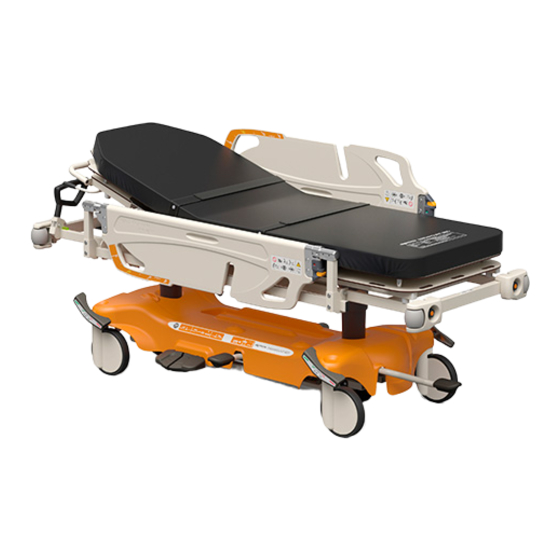
PK-8000 Series
Emergency Stretcher
Thank you for purchasing the PK-8000 Series Stretcher.
This instruction manual describes precautions and how to safely use and operate
the stretcher.
●Before using this stretcher, please read this instruction manual
to fully understand the safe and proper operating procedures.
●The correct operating procedures should be explained not
only to the persons using the stretcher but also to caregivers.
●After reading this instruction manual, store it where it can be
easily accessed for later reference.
●Users and/or carers are requested to report information about
any serious incident related to this stretcher that occurs within
the EU to the manufacturer and the regulating authority of the
member country of residence. 'Serious incident' means any
incident that directly or indirectly led, might have led or
might lead to any of the following:
a) The death of a user, carer or other person.
b) The temporary or permanent serious deterioration of a
user's, carer's or other person's state of health.
c) A serious public health threat.
●Values in the specification such as working range, dimensions, angles
and mass are subject to normal manufacturing tolerances. Beside some
exemptions, display purpose words such as "approximately", "about"
etc. are omitted.
●The actual product purchased may differ from detailed
descriptions given in this instruction manual due to
product improvements.
●For any queries, please feel free to directly contact your
distributor.
Advertisement
Table of Contents


Need help?
Do you have a question about the PK-8000 Series and is the answer not in the manual?
Questions and answers