Sign In
Upload
Download
Table of Contents
Contents
Add to my manuals
Delete from my manuals
Share
URL of this page:
HTML Link:
Bookmark this page
Add
Manual will be automatically added to "My Manuals"
Print this page
×
Bookmark added
×
Added to my manuals
Manuals
Brands
Koden Manuals
Marine Equipment
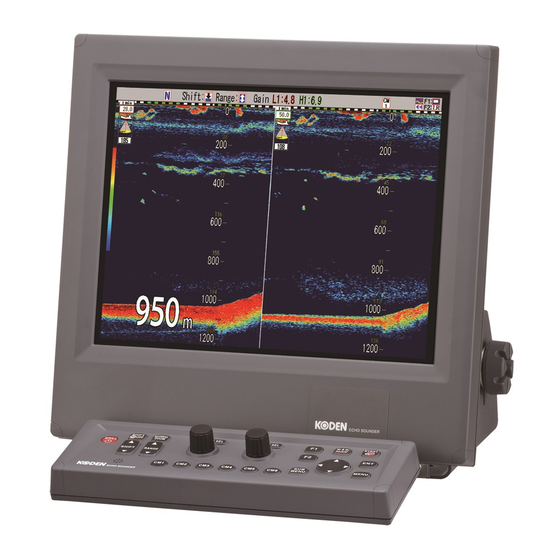
CVS-875D
Installation manual
Koden CVS-875D Installation Manual
Color echo sounder
Hide thumbs
1
2
3
4
5
6
Table Of Contents
7
8
9
10
11
12
13
14
15
16
17
18
19
20
21
22
23
24
25
26
27
28
29
30
31
32
33
34
35
36
37
38
39
40
41
42
43
44
45
46
47
48
49
50
51
52
53
54
55
56
57
58
59
60
61
62
63
64
65
66
67
68
69
70
71
72
73
74
75
76
77
78
79
80
81
82
83
84
85
86
87
88
89
90
91
92
93
94
95
96
97
98
99
100
101
102
103
104
105
106
107
108
109
110
111
112
113
114
115
116
117
118
119
120
121
122
page
of
122
Go
/
122
Contents
Table of Contents
Bookmarks
Table of Contents
Important Notice
For Your Safe Operation
Table of Contents
System Configuration
Configuration of Equipment
Characteristics of Transducer
Dimensions
Specifications
Chapter 1 Installation
Installation Precautions
Unpacking of Components
Appearance Verification of each Unit and Accessories
Selection of Location for Installation
Laying and Connection of Cables
Coordination after Installation
Installation of CVS-875D Display Unit
Desk-Top Installation
Flush-Mount Installation
Installation of CVS-877D Processor Unit
Installation of Operation Unit
Desk-Top Installation
Flush-Mount Installation
Installation of Transducer
Cautions on Installation of Transducer
Precautions Regarding Transducer Installation
In the Case of Inner Hull Installation
Wiring
Connection of Cables to Display and Processor Unit
Connection of Hemisphere V102/V104S/V200S GPS Compass / Comnav Vector G1 GPS Satellite Compass
Satellite Compass
Connection of Hemisphere V104S GPS Compass
Connection of Hemisphere V200S GPS Compass
Setting of Hemisphere V102/V104S/V200S GPS Compass / Comnav Vector G1 GPS Satellite Compass
List of Input/Output Sentences
Input Sentence
Output Sentence
Input/Output Sentence Details
Chapter 2 Adjustment
Setup of Transducer
Setup of Type of Transducer
Setup of Frequency and Beam Angle
Setup of Bottom Limit
Setup of Draft Set
Setup of Gain (TD) for Transducer
Setup of Output Limit for Transmitter
Display of Output Limit Menu
Relation of the Set Value between [Output Limit] and [MENU] - [Echo Adjust] - [TX Power]
Chapter 3 Maintenance
Inspection
Cleaning
Display Unit of CVS-875D
Transducer
Fuse Replacement
Diagnostics of Troubles
Necessary Information for Requesting Repair
Diagnostics
Initialize
Update of Program
If You Suspect a Failure
Advertisement
Quick Links
Download this manual
Table of
Contents
Previous
Page
Next
Page
1
2
3
4
5
Advertisement
Table of Contents
Need help?
Do you have a question about the CVS-875D and is the answer not in the manual?
Ask a question
Questions and answers
Related Manuals for Koden CVS-875D
Marine Equipment Koden CVS-833 Operationg Manual
(82 pages)
Marine Equipment Koden CVS-841 Operation Manual
Color sounder (122 pages)
Marine Equipment Koden CVS-872D Installation Manual
Color echo sounder (112 pages)
Marine Equipment Koden CVS-877D Installation Manual
Color echo sounder (122 pages)
Marine Equipment Koden CVS-1410B Operation Manual
Koden color echo sounder (81 pages)
Marine Equipment Koden CVS-128 Operation Manual
Color echo sounders (74 pages)
Marine Equipment Koden CVS-128 Supplement And Change Of The Operation Manual
Digital color echo sounder (15 pages)
Marine Equipment Koden CVS-FX1 Installation Manual
Color echo sounders (49 pages)
Marine Equipment Koden CVS-FX1 Basic Operation Manual
Color echo sounder (138 pages)
Marine Equipment Koden CVS-FX1 Basic Operation Manual
Color echo sounder (139 pages)
Marine Equipment Koden CVS-126 Operation Manual
Color echo sounder (64 pages)
Marine Equipment Koden CVS-126 Operation Manual
Color echo sounder (73 pages)
Marine Equipment Koden CVS-FX2BB Basic Operation Manual
Color echo sounder (140 pages)
Marine Equipment Koden CVS-FX2 Menu Manual
Color echo sounder (85 pages)
Marine Equipment Koden CVS-702D Basic Operation Manual
(144 pages)
Marine Equipment Koden CVS-118Mk II Operation Manual
(29 pages)
This manual is also suitable for:
Cvs-877d
Table of Contents
Print
Rename the bookmark
Delete bookmark?
Delete from my manuals?
Login
Sign In
OR
Sign in with Facebook
Sign in with Google
Upload manual
Upload from disk
Upload from URL


Need help?
Do you have a question about the CVS-875D and is the answer not in the manual?
Questions and answers