Advertisement
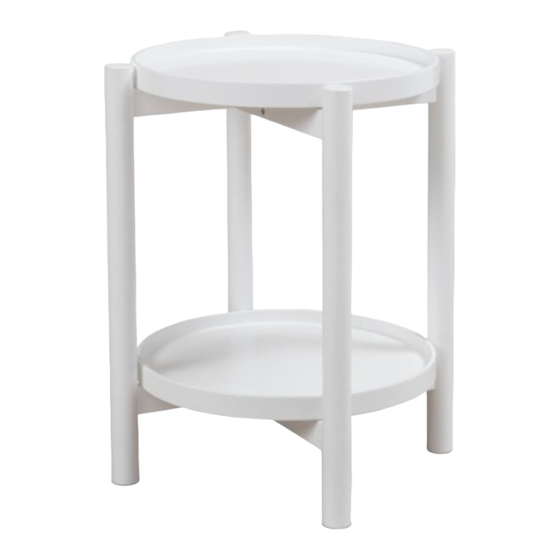
Olwyn Side Table
Thank you for your purchase.
Please follow the instructions below for correct assembly.
A
long
screw x 16
Hardware Supplied
Phillips screwdriver required
For quicker assembly, we recommend the
use of a power drill on a low-speed setting.
*W e recommend using a Flathead screwdriver to tighten all locking nuts 100% before first use.
Please clear any loose wood from the locking nut holes before inserting the nut to ensure it locks 100%.
mocka.co.nz | mocka.com.au
B
feet
x4
1
Advertisement
Table of Contents

Summary of Contents for Mocka Olwyn
- Page 1 Olwyn Side Table Assembly Instructions Thank you for your purchase. Please follow the instructions below for correct assembly. long feet screw x 16 Hardware Supplied Phillips screwdriver required For quicker assembly, we recommend the use of a power drill on a low-speed setting.
- Page 2 Olwyn Side Table Assembly Instructions Thank you for your purchase. Please follow the instructions below for correct assembly. Attach parts [2] secure with 8 x long screws (A). Tighten with a screwdriver. Attach parts [2] secure with 8 x long screws (A).
- Page 3 Olwyn Side Table Assembly Instructions Thank you for your purchase. Please follow the instructions below for correct assembly. Screw the legs into the brackets as shown. Attach 4x feet (B) to the bottom of the legs. Attach panels [1] between the grooves on panels [2].


Need help?
Do you have a question about the Olwyn and is the answer not in the manual?
Questions and answers