Advertisement
Quick Links
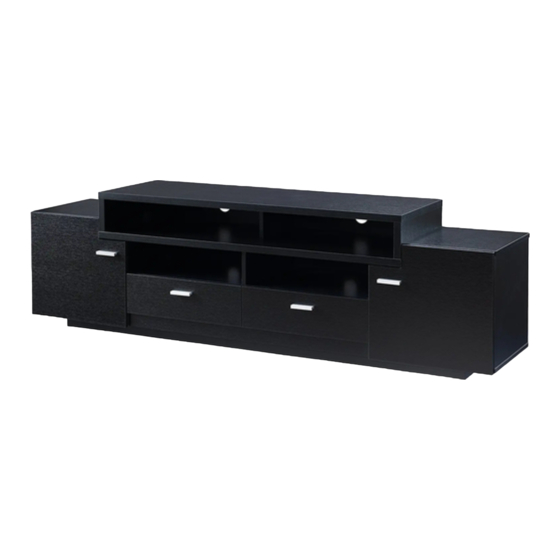
ITEM#:IDI-141006RC/141007BLK
ASSEMBLY RATING
The Assembly Rating is a 5-point system that shows the degree of
effort needed in
assembling a specific product (with 1 being
easy and 5 being difficult). For most
products,two persons are recommended.
EASY
Phillips Screwdriver
Hammer
DIFFICULT
Page 1 of 17
Tools Required for Assembly:
2 PERSONS RECOMMENDED
VERSION: 20170420
Page 7 of 11
(Not Included)
(Not Included)
Advertisement

Related Manuals for Furniture of America IDI-141006RC


Summary of Contents for Furniture of America IDI-141006RC
- Page 1 Page 7 of 11 ITEM#:IDI-141006RC/141007BLK ASSEMBLY RATING Tools Required for Assembly: The Assembly Rating is a 5-point system that shows the degree of effort needed in Phillips Screwdriver assembling a specific product (with 1 being (Not Included) easy and 5 being difficult). For most products,two persons are recommended.
- Page 2 Page 2 of 17...
- Page 3 Page 3 of 17...
- Page 4 Unless you are particularly adept at assembling flat-pack/knock-down furniture, we understand building ready-to-assemble furniture can be a frustrating experience for some. To help avoid confusion and to make the assembly process quicker and smoother, we have provided some helpful tips. Before you begin the assembly, please read the following : Page 4 of 17...
- Page 5 Page 5 of 17...
- Page 6 Page 6 of 17...
- Page 7 Due to the size and/or weight of this product,it is highly recommended that the assembly should be done near the area of its intended location.Make sure you have enough space to move around during the assembly.ALWAYS have at least two people to help with transporting and assembling the product to avoid any potential injury and/or damage Page 7 of 17...
- Page 8 Note.Make sure to install pcrt #5 this side facing up. Page 8 of 17...
- Page 9 Note:The blank side of part #16 should rest on part #10 and the pre- drilled holes on the right side should align with part #17. Page 9 of 17...
- Page 10 The hinge comes in two parts. Lх4 Use this part here in the step. The hinge comes in two parts. Use this part here in the step. Lх4 Groove faces inward Opening faces the edge Page 10 of 17...
- Page 11 Page 11 of 17...
- Page 12 Aх8 Bх8 Page 12 of 17...
- Page 13 Gх40 Page 13 of 17...
- Page 14 Dх8 28,29 Page 14 of 17...
- Page 15 Mх2 Refer to the last page for more detailed hinge instructions. Make sure the unit is rested on a flat surface and does not feel loose or wobbly If it does,double check that the bolts/screws are secured and properly tightened ASSEMBLY IS COMPLETED Page 15 of 17...
- Page 17 Height Adjustment Located at the top and bottom of the hinge are two screws that mount the hinge to the cabinet. Turn these first to make sure the door is secure. If the door is still too high or low, loosen these screws slightly and then lift or lower the door until it is in the position you want.
Need help?
Do you have a question about the IDI-141006RC and is the answer not in the manual?
Questions and answers