Advertisement
Quick Links
Warnings
This product should only be used on a firm and level floor with the anti-tilt devices (p) fitted, see
Stage 13. Make sure the legs/base always remains in contact with the floor.
Keep small parts out of the reach of children during assembly to prevent choking.
DO NOT
use power tools to construct this product.
DO NOT
tighten screws until parts are assembled or as advised in this guide.
over tighten screws or bolts.
DO NOT
use this product if parts are missing, damaged or worn.
DO NOT
sit or stand on the product.
DO NOT
Care Information
To clean, wipe with a damp cloth.
Never use scourers, abrasives or chemical cleaners.
Do not use solvent based cleaners or detergents as they can bleach or damage the product.
Parts Identification
210410
PLEASE READ this guide prior to installation, to familiarise
yourself with the various stages of construction required.
Carefully open the pack and check the contents against the
parts and fittings check list.
Do not destroy any of the packaging until you are certain that
you have all the necessary parts.
Please ensure that the packaging is disposed of in a safe and
environmentally friendly way.
In the unlikely event of missing or damaged parts, please
email
Please have this guide close at hand, quoting the part code
reference numbers shown, when requesting spare or
replacement parts.
1
9
4
5
5
5
2
6
7
7
8
Page 1 of 18
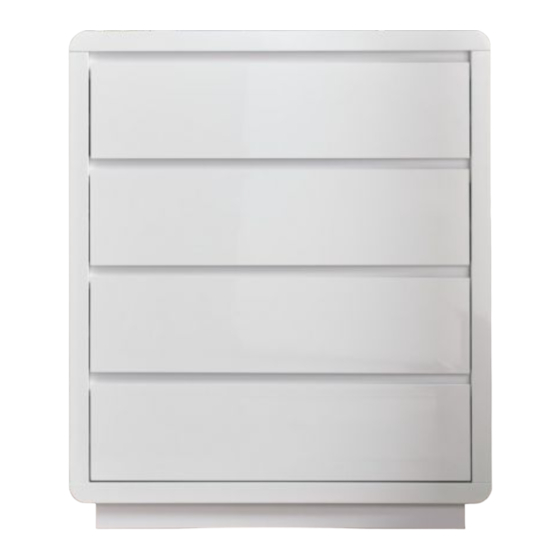
MARLOW
4 DRAWER CHEST
hello@time4sleep.co.uk
13
3
11
8
12
14
15
10
X4
Advertisement

Subscribe to Our Youtube Channel
Related Manuals for Time4Sleep MARLOW


Summary of Contents for Time4Sleep MARLOW
- Page 1 MARLOW 4 DRAWER CHEST PLEASE READ this guide prior to installation, to familiarise yourself with the various stages of construction required. Carefully open the pack and check the contents against the parts and fittings check list. Do not destroy any of the packaging until you are certain that you have all the necessary parts.
- Page 2 Parts Checklist PACK PACK Back Panel Top Panel Drawer Front Panel Left Side Panel Right Side Panel Drawer Left Side Panel Upper Cross Rail Drawer Right Side Panel Drawer Cross Rail Drawer Back Panel Bottom Panel Drawer Base Base Frame - Long Plinth Drawer Base Support Bar Base Frame - Short Plinth Fittings Checklist...
- Page 3 Bed Assembly Additional Tools Required General Hints & Tips Please retain your assembly instruction and tools provided for future use. Periodically check that all bolts are still tight. A ssembly requires two persons. Care & Maintenance Approximate time to In the unlikely event of missing or damaged parts, assemble this product please contact your retailer.
- Page 4 Cabinet Assembly Stage Two part drawer slide (m) Separate the inner & outer drawer slides and carefully follow the diagram m-1 = outer drawer slide fixed to cabinet side panels (2 & 3) m-2 - inner drawer slide fixed to drawer sides (11 &...
- Page 5 Cabinet Assembly Stage outer drawer slide (m-1) Page 5 of 18...
- Page 6 Cabinet Assembly Stage Page 6 of 18...
- Page 7 Cabinet Assembly Stage Page 7 of 18...
- Page 8 Cabinet Assembly Stage Stage Page 8 of 18...
- Page 9 Cabinet Assembly Stage Page 9 of 18...
- Page 10 Cabinet Assembly Stage Page 10 of 18...
- Page 11 Cabinet Assembly Stage Page 11 of 18...
- Page 12 Cabinet Assembly Stage Back panel (9). Place the coloured side on the back of the cabinet and plain side on the inside of the cabinet. Page 12 of 18...
- Page 13 Cabinet Assembly Stage Page 13 of 18...
- Page 14 Cabinet Assembly Stage r*10 s*10 Stage step1 step2 Ø6mm step3 step4 Page 14 of 18...
- Page 15 Cabinet Assembly Stage Stage Drawer base panel (14) Place the coloured side on the inside of the drawer and the plain side underneath the drawer. Page 15 of 18...
- Page 16 Cabinet Assembly Stage inner drawer slide (m-2) Stage Page 16 of 18...
- Page 17 Cabinet Assembly Stage Page 17 of 18...
- Page 18 Cabinet Assembly Stage Stage Page 18 of 18...
Need help?
Do you have a question about the MARLOW and is the answer not in the manual?
Questions and answers