Advertisement
Quick Links
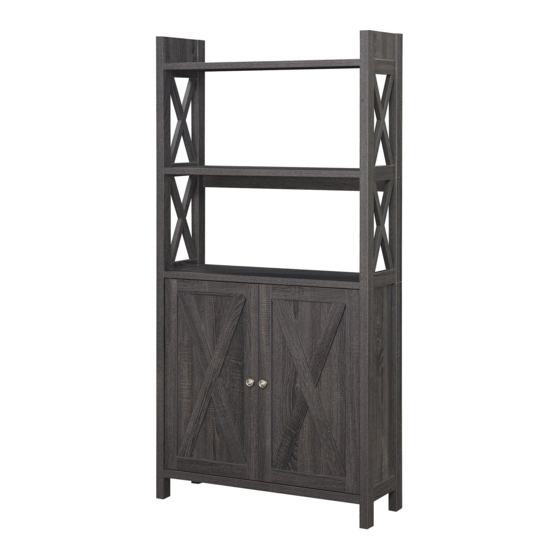
Bookcase with Cabinet
ASSEMBLY INSTRUCTIONS
We have designed our furniture with you , the customer in mind . Our clear , easy to follow ,
step by step instructions will guide you through the project from start to finish .
Feel confident that this will be a fun and rewarding project . The final product will be a quality
piece of furniture that will go together smoothly and give years of enjoyment .
Advertisement

Related Manuals for convenience concepts 121050ES


Summary of Contents for convenience concepts 121050ES
- Page 1 Bookcase with Cabinet ASSEMBLY INSTRUCTIONS We have designed our furniture with you , the customer in mind . Our clear , easy to follow , step by step instructions will guide you through the project from start to finish . Feel confident that this will be a fun and rewarding project .
- Page 2 8x25 Cambolt(22pcs) Camlock(22pcs) Dowel(9pcs) Door Pin (2pcs) Sticker (12pcs) Door Catch(2pcs) Metal Piece(2pcs) Foot Pin (4pcs) 3x16 3x14 Shelf Pin (8pcs) Nail (36pcs) Extra Small Screw (4pcs) Small Screw (4pcs) 197x5x1 Knob (2pcs) Knob Screw (2pcs) ANTI-TIP Strap (1pc) Bracket (2pcs) Glue(1pc) 4x25 8x40...
- Page 3 Bookcase Top(1pc) Fixed Shelf(1pc) Back crossbar(1pc) Cabinet Top(1pc) Adjustable Shelf(2pcs) Bottom Panel(1pc) Left Side Frame(1pc) Right Side Frame(1pc) *Please count and verify all parts before assembly.* PAGE: 3 of 12...
- Page 4 Left Side Panel(1pc) Right Side Panel(1pc) Back Panel(2pcs) Left Door(1pc) Right Door(1pc) *Please count and verify all parts before assembly.* PAGE: 4 of 12...
- Page 5 Assembling the unit with camlocks and wood dowels. Gently screw the lightly glue dowel and Gently screw cam bolt lightly glue one end of wood Insert camlock, connect to second panel camlock clockwise into dowel and tap into hole. into the threaded anchor camlock must face by inserting dowels into locked position.
- Page 6 Step1 Step2 PAGE: 6 of 12...
- Page 7 Step3 Step4 PAGE: 7 of 12...
- Page 8 Step5 Step6 PAGE: 8 of 12...
- Page 9 Step7 Step8 PAGE: 9 of 12...
- Page 10 Step9 Step10 PAGE: 10 of 12...
- Page 11 Step11 Step12 PAGE: 11 of 12...
- Page 12 1.Insert strap through bracket attached to wall. then through bracket on item,and into head of strap 2.Pull lightly until strap stops.
Need help?
Do you have a question about the 121050ES and is the answer not in the manual?
Questions and answers