Advertisement
Quick Links
Advertisement

Related Manuals for convenience concepts 121399


Summary of Contents for convenience concepts 121399
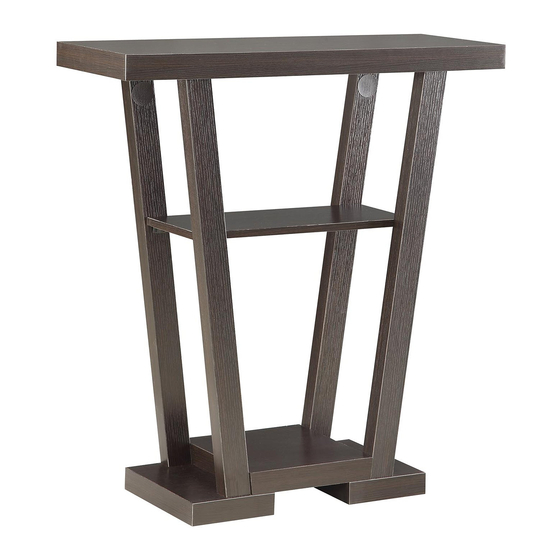
- Page 1 121399 Console Table Hardware?
- Page 2 PAGE:2 OF 6 PARTS IDENTIFICATION ITEM#:121399 1.Top Panel (1pc) 2.Middle Panel (1pc) 3.Lower Panel (1pc) 4.Foot (2pcs) 5.Back Leg (2pcs) Please count and verify all parts before assembly 6.Front Leg (2pcs)
- Page 3 PAGE:3 OF 6 HARDWARE IDENTIFICATION ITEM#:121399 Cambolt Camlock Dowel Large Screw Small Screw Medium Screw Threaded Rod Jam Washer & Nut Wrench Sticker Bracket Glue Lightly glue dowel and Gently screw the cam Insert camlock, Gently screw cam dowel Lightly glue one end of...
- Page 4 PAGE:4 OF 6 Step1 1.Attach camlock hardware to lower panel (3) and Leg (5)&(6). 2.Assemble pieces as shown, gently tighten camlocks. A×4 NOTE: *REFER TO PAGE3 FOR CAMLOCK ASSEMBLY. Step2 Turn unit upside down and fasten feet (4) to unit with F×4 dowels (C), large screws (D) D×4...
- Page 5 PAGE:5 OF 6 Step3 1.Turn unit right side up. 2.Using your hand, firmly screw threaded rods (G) into top panel (1) . 3.Insert jam washer & nut (H) into slots in legs I×1 with nut below washer. 4.Carefully place top panel (1) onto unit.
- Page 6 PAGE:6 OF 6 Step5 1.Using a slight angle, carefully place middle panel (2) into unit as shown. 2.Secure middle panel (2) to unit with small screws (E). 3.Cover any screw holes with stickers. Enjoy your new console table!
Need help?
Do you have a question about the 121399 and is the answer not in the manual?
Questions and answers