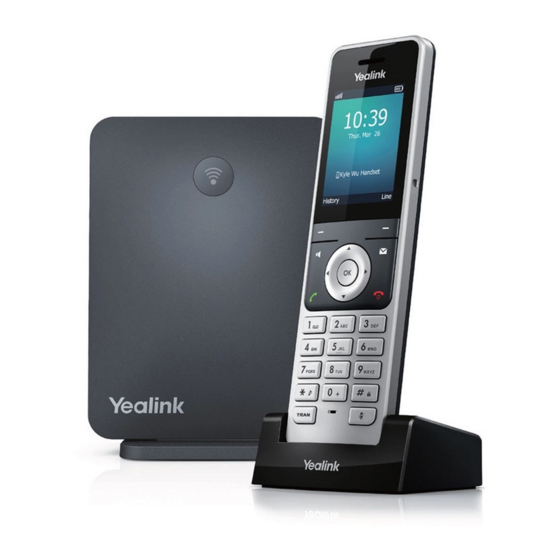
Yealink W60P Quick Reference Manual
Hide thumbs
Also See for W60P:
- User manual ,
- Administrator's manual (548 pages) ,
- Quick manual (40 pages)
Advertisement
Quick Links
Quick Reference Guide
Basic Call Handling
Make a Call
Internal Intercom Calls: made between handsets registered to the same base station.
• Navigate to OK > Intercom. Select the desired Handset. If you select All
Handsets, all other subscribed handsets will ring simultaneously. Press OK,
Speaker phone key or Off-hook key to complete.
External Calls (acquire SIP lines)
• Enter the desired number. Press OK, Speaker Key or Off-hook Key to dial out
Answering a Call
• Press the Off-hook key or Speaker Key. If a headset is connected press Accept.
Ending Calls
• To end a call press the End key.
Advanced Call Handling
Call Hold
To place a call on hold
• Press Options during a call, and then select Hold.
• The phone screen indicates that the call is on hold.
To resume the call:
• Press Resume, the Speaker key or Off-hook key.
• If multiple calls are placed on hold, select the desired call first.
Switch between active and held calls:
• If the call is active, press the Swap soft key.
• Press the up or down navigation key and select the desired call.
Call Transfer
Blind Transfer: transfers a call directly to another party without consulting.
• Press Options > Transfer, or the TRAN key.
• Enter the number you want to transfer to.
• Press TRAN or Transfer to complete the transfer.
Semi-Attended Transfer: transfers a call when the target phone is ringing.
• Press Options > Transfer, or the TRAN key during a call.
• Enter the number you want to transfer to.
W60P
Advanced Call Handling Cont.
• Press the OK key, Off-hook key or Speaker key.
• When you hear the ringback tone, press the TRAN key or Transfer to finish a
semi-attended transfer.
Attended Transfer: transfers a call with prior consultation.
• Press Options > Transfer, or the TRAN key during a call.
• Enter the number you want to transfer to.
• Press the OK key, Off-hook key or Speaker key.
• When the second party answers the call, announce the call then press the Press
the Transfer key or Transfer soft key to complete the transfer.
Call Forward
To enable:
• Navigate to OK > Call Features > Call Forward.
• The phone screen displays the assigned incoming lines. The default incoming
line is highlighted and followed by a left arrow.
• Select the desired line.
• Select the desired forward type using the navigation keys:
Always Forward: incoming calls are immediately forwarded.
Busy Forward: incoming calls are immediately forwarded if the phone is busy.
No Answer Forward: incoming calls are forwarded if not answered after a period
of time.
• Select Enabled from the Status field.
• Enter the destination number in the Target field.
• If you select the No Answer Forward, select the desired ring time to wait before
forwarding from the After Ring Time field.
• Press Save.
To disable:
• Press Menu, then select Features, then Call Forward.
• Select the forward type.
• Tap the Off radio box to disable.
Conferencing
• Place a call to the first party.
• When the first party answers the call, press Options > Conference to place a
new call.
• Enter the number of the second party to dial out. (Active call is placed on hold).
• When the second party answers the call, press Conf again to join all parties in
the conference.
• Press the End to disconnect all parties.
Do Not Disturb
• Press OK > Call Features > Do Not Disturb.
• The phone screen displays the incoming lines currently assigned to the handset.
The default incoming line is highlighted and followed by a left arrow.
• Select the desired line, and then press OK.
• Select Enabled from the Status field.
(Cont. on next page)
Advertisement

Summary of Contents for Yealink W60P
- Page 1 Quick Reference Guide semi-attended transfer. Attended Transfer: transfers a call with prior consultation. W60P • Press Options > Transfer, or the TRAN key during a call. • Enter the number you want to transfer to. • Press the OK key, Off-hook key or Speaker key.
- Page 2 Advanced Call Handling Cont. CommPortal Commportal gives you a powerful and easy to use Web interface to your phone • Press Save. settings. (Available for Professional & Executive users only.) • You will see the DND icon display in the status bar indicating this feature is enabled.


Need help?
Do you have a question about the W60P and is the answer not in the manual?
Questions and answers