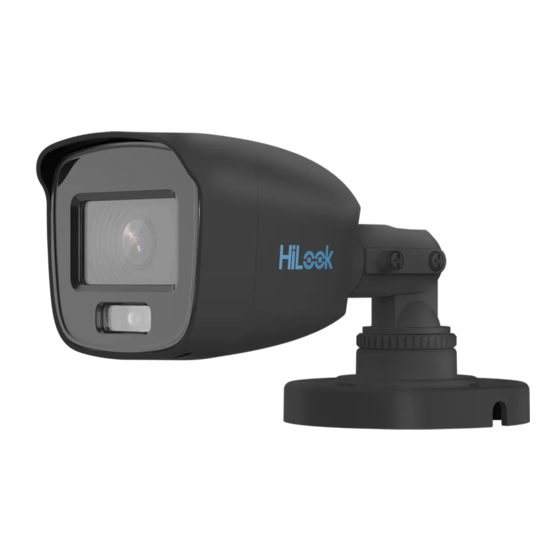
HIKVISION HiLook Series User Manual
3k colorvu audio bullet camera
Hide thumbs
Also See for HiLook Series:
- User manual ,
- Quick start manual (18 pages) ,
- User manual (13 pages)
Table of Contents
Advertisement
Quick Links
User Manual
Thank you for purchasing our product. If there are any
questions, or requests, do not hesitate to contact the
dealer.
This manual applies to the models below:
This manual may contain several technical mistakes or
printing errors, and the content is subject to change
without notice. The updates will be added to the new
version of this manual. We will readily improve or
update the products or procedures described in the
manual.
Audio Bullet Camera
Type
Type I
Type II
HiLook Series
3K ColorVu
User Manual
Model
THC-B159-MS
THC-B259-MS
01010020210510
Advertisement
Table of Contents

Summary of Contents for HIKVISION HiLook Series
- Page 1 HiLook Series 3K ColorVu Audio Bullet Camera User Manual User Manual Thank you for purchasing our product. If there are any questions, or requests, do not hesitate to contact the dealer. This manual applies to the models below: Type Model...
- Page 2 FOR A PARTICULAR PURPOSE. THE USE OF THE PRODUCT BY YOU IS AT YOUR OWN RISK. IN NO EVENT WILL HIKVISION BE LIABLE TO YOU FOR ANY SPECIAL, CONSEQUENTIAL, INCIDENTAL, OR INDIRECT DAMAGES, INCLUDING, AMONG OTHERS, DAMAGES FOR LOSS OF...
- Page 3 UNSAFE NUCLEAR FUEL-CYCLE, OR IN SUPPORT OF HUMAN RIGHTS ABUSES. IN THE EVENT OF ANY CONFLICTS BETWEEN THIS MANUAL AND THE APPLICABLE LAW, THE LATER PREVAILS. Regulatory Information FCC Information Please take attention that changes or modification not expressly approved by the party responsible for compliance could void the user’s authority to operate the equipment.
- Page 4 Warning This is a class A product. In a domestic environment this product may cause radio interference in which case the user may be required to take adequate measures. Safety Instruction These instructions are intended to ensure that user can use the product correctly to avoid danger or property loss.
-
Page 5: Product Features
or damp locations, and do not expose it to high electromagnetic radiation. If cleaning is necessary, use clean cloth with a bit of ethanol and wipe it gently. Do not aim the camera at the sun or extra bright ... -
Page 6: Installation
Figure 1-2 Overview of Type II Camera Note: Press and hold the switch button for 5 seconds to switch the video output. Four kinds of video outputs are available: TVI, AHD, CVI, and CVBS. 2 Installation Before you start Make sure that the device in the package is in good ... - Page 7 not, adjust the camera according to the figure below. Pan Position [0° to 360°] Trim Ring Rotation Position Tilt Position [0° to 360°] [0° to 180°] Screw A Screw B Figure 2-3 3-Axis Adjustment 1). Loosen the trim ring to adjust the pan position [0°...
- Page 8 Figure 2-6 Secure the Junction Box on the Wall 7. Route the cables through the bottom cable hole or side cable hole of the junction box and connect the cables. 8. Fix the junction box cover on its body with three PM3 ×...
-
Page 9: Menu Description
4. Align the screw holes in the bracket to the ceiling, and secure the camera with three PA4 × 25 screws (supplied). Figure 2-9 Secure the Camera to the Ceiling 5. Connect the cables. 6. Power on the camera to check whether the image on the monitor is gotten from the optimum angle. -
Page 10: Video Format
VIDEO FORMAT EXPOSURE MODE ANTI- BANDING EXPOSURE BACK EXIT SAVE & EXIT IMAGE MODE WHITE BALANCE BRIGHTNESS CONTRAST VIDEO SHARPNESS SETTINGS SATURATION BACK EXIT SAVE & EXIT AUDIO VOLUME AUDIO MAIN MENU SETTINGS BACK EXIT SAVE & EXIT LIGHT SMART THRESHOLD LIGHT LEVEL... -
Page 11: Video Settings
When switching the video output as CVI, you can set the video format as 4M@25 fps, or 4M@30 fps. 3.2 EXPOSURE EXPOSURE MODE You can set the EXPOSURE MODE to GLOBAL, BLC, HLC, or DWDR. GLOBAL GLOBAL refers to the normal exposure mode which adjusts lighting distribution, variations, and non-standard processing. -
Page 12: Audio Settings
the image. You can set WHITE BALANCE mode to AUTO or MANUAL. AUTO Under AUTO mode, white balance is being adjusted automatically according to the color temperature of the scene illumination. MANUAL You can adjust the R-GAIN and B-GAIN value to correct colors manually. -
Page 13: Factory Default
Figure 3-6 SMART LIGHT AUTO Under the AUTO mode, the white light turns on automatically as the environment becomes dark. The THRESHOLD is the environmental light level at which the white light turns on. The greater the value is, the darker the environment should be to activate the light.


Need help?
Do you have a question about the HiLook Series and is the answer not in the manual?
Questions and answers