
Related Manuals for Prinetti IA4547


Summary of Contents for Prinetti IA4547
- Page 1 1800W Infrared Outdoor Radiant Heater IA4547 INSTRUCTION MANUAL Please read and save all instructions to ensure safe and effective use of this Appliance...
-
Page 2: Table Of Contents
Table of Contents Important Safety and General Instructions Parts List Diagram Before First Use Assembly Location of Electrical Connection Operating Instructions Frequently Asked Questions Cleaning, Care and Maintenance Storage Warranty Information AFTER SALES SUPPORT AU 1300 777 137 NZ 0800 824 556 service@unclebills.com.au... -
Page 3: Important Safety And General Instructions
Always follow basic safety precautions and accident prevention measures when using an electrical appliance. 1. Read all instructions before using the Prinetti® Outdoor Heater. 2. DO NOT touch hot surfaces. The temperature of the outer surface can get very hot while the Outdoor Heater is in operation. - Page 4 Important Safety and General Instructions (cont) 15. DO NOT put the cord on top of or wrap it around the Outdoor Heater. 16. DO NOT leave the Outdoor Heater unattended when plugged in. Always switch off and unplug the Outdoor Heater when not in use. To disconnect from the power supply, grip the plug and pull from the power socket.
- Page 5 Important Safety and General Instructions (cont) 30. To prevent damage to the appliance do not use alkaline cleaning agents or metal scouring pads. When cleaning the exterior, use a soft, damp cloth and a small amount of mild detergent. CAUTION: Never leave this Outdoor Heater unattended while it is switched on. This is very dangerous.
-
Page 6: Parts List Diagram
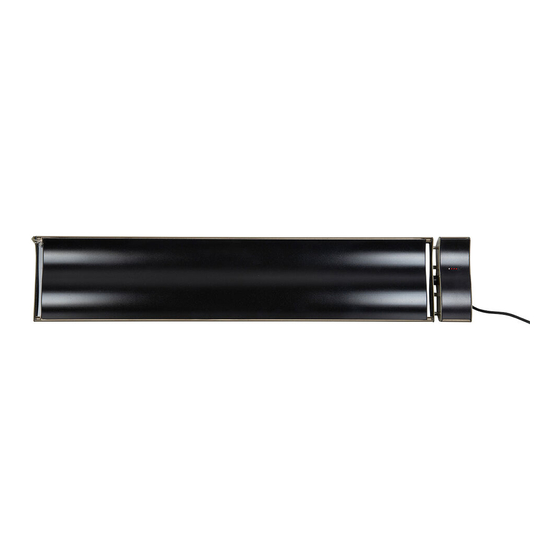
Parts List Diagram Front of Unit Back of Unit 1. Front Radiating Surface 5. Heater Body 2. Infrared Receiver Module 6. Power Cord and Plug 3. LED Indicator Lights 7. Sliding Rails for Mounting Bracket 4. Manual Control Button AFTER SALES SUPPORT AU 1300 777 137 NZ 0800 824 556 service@unclebills.com.au... - Page 7 Parts List Diagram (cont) Remote Control 1. Display 2. Power Button 3. Timer On Button 4. Down Button 5. Up Button 6. Timer Off Button 7. Fast Hot Button 8. Clock Button Mounting Kit 1. Sliding Brackets x 2pcs 2. Fixed Mounting Brackets x 2pcs 3.
-
Page 8: Before First Use
Before First Use Remove all the parts from the packaging materials and thoroughly read the user manual before using this appliance for the first time. Ensure all parts indicated on the parts diagram listed have been included in the gift box. Plastic wrapping can be a suffocation hazard for babies and young children so ensure all packaging materials are kept out of reach of children. - Page 9 Before First Use (cont) Mounting Guide This Outdoor Heater comes with a pair of metal adjustable angle mounting brackets. The adjustable angle enables the heater to be installed on vertical, horizontal, and inclined surfaces. The ideal mounting position is directly above the area to be heated with a longitudinal orientation and facing vertically downwards.
- Page 10 Before First Use (cont) Clearance Guide Minimum clearances when mounting the Outdoor Heater on a vertical wall. Minimum clearances when mounting the Outdoor Heater parallel with a ceiling. Minimum clearances when mounting the Outdoor Heater at an angle to a ceiling. AFTER SALES SUPPORT AU 1300 777 137 NZ 0800 824 556...
-
Page 11: Assembly
Assembly Unpack the Outdoor Heater making sure that all the parts are present and that the heater is free from any packing material. Do not connect the heater to the power supply until all the assembly is complete. However, the Outdoor Heater needs to be installed within reach of a power supply. Be sure the cord length is within reach of the power supply before installing. - Page 12 Assembly (cont) Install the adjustable angle mounting brackets onto the nominated surface (wall or ceiling) using appropriate fixing screws suitable for the mounted surface material and able to support more than double the weight of the heater being installed (weight of heater = 6.8kg). For your convenience, expansion screws have been provided (see fig.
- Page 13 Assembly (cont) For ceiling mounted installations, the mount angles should be restricted to anywhere in between 0° and 30° only. For wall mounted installations, the mount angles should be restricted to anywhere in between 15° and 45° only. The Outdoor Heater is provided with a power cord fitted with 3 pin plug. Insert the corded plug into a power outlet and turn the power outlet On.
-
Page 14: Location Of Electrical Connection
Location of Electrical Connection Electrical connections or GPOs MUST NOT be located at the back of the Outdoor Heater. They MUST be located outside the installation footprint of the units to reduce the effect of damage caused by heat build-up behind the Outdoor Heater. When mounted on an incline ensure the electrical connection is located at the lowest point of the Outdoor Heater. -
Page 15: Operating Instructions
Operating Instructions The Outdoor Heater can be operated manually or using a remote control (included). Manual Mode The Outdoor Heater has a Manual Control Button on the side of the Infrared Receiver Module (See Parts List Diagram on page 6 and Fig. 5 below). Fig. - Page 16 Operating Instructions (cont) Remote Control Open the battery cover located on the back of the remote control. Check the inside of the remote control battery chamber for the polarity symbols, then insert 2 x AAA batteries (not included). Replace the battery cover. Fig.
- Page 17 Operating Instructions (cont) Press the ‘Clock’ button again and the second digits will stop flashing and the time is now set. Fig. 8.1 Fig. 8.2 Fig. 8.3 Fig. 8.4 Heat Button Press the Heat Button to adjust the heat level when the Outdoor Heater is ON. symbol indicates that the Outdoor Heater is ON.
- Page 18 Operating Instructions (cont) Press the ‘Timer ON’ button again and the minutes are now set (See Fig. 11.4). Fig. 11.1 Fig. 11.2 Fig. 11.3 Fig. 11.4 The ON timer is now set and when the time reaches the time that has been set on the timer, the heater will then switch on.
-
Page 19: Frequently Asked Questions
Frequently Asked Questions Problem Solution The Outdoor Heater does not Check main switch for the power outlet is turned switch on? ON. Check if remote control has batteries or if the batteries are still working. Check if you can switch ON the Outdoor Heater using the Manual Control Button. -
Page 20: Cleaning, Care And Maintenance
Cleaning, Care and Maintenance CAUTION: Always switch off and disconnect the appliance from the power supply before attempting any maintenance or cleaning of the Outdoor Heater. Ensure the Outdoor Heater has cooled down completely. CAUTION: Never immerse the Outdoor Heater in water. 1. -
Page 21: Storage
Storage Before packing the Outdoor Heater away for storage, ensure it has completely cooled down and is clean and dry. • We recommend storing the Outdoor Heater in its original carton, which will protect it from dust. • Store the Outdoor Heater in a clean and dry place, out of children’s reach. •... -
Page 22: Warranty Information
Warranty Information Congratulations on your purchase This Prinetti Outdoor Heater is warranted to be free from defects in material and ® workmanship under normal use and service conditions for a period of 12 months from the date of purchase of this article. Evidence of unfair usage or incorrect adjustment by the owner will void this promise. - Page 23 9:00am – 3:00pm (AEST) Saturday This product is warranted and imported by: Uncle Bill’s (Australia) Pty Ltd 48B Egerton Street Silverwater NSW 2128, Australia Phone: 02 8799 3500 Item: IA4547 AFTER SALES SUPPORT AU 1300 777 137 NZ 0800 824 556 service@unclebills.com.au...
Need help?
Do you have a question about the IA4547 and is the answer not in the manual?
Questions and answers