
Related Manuals for Tangent Medix T22B


Summary of Contents for Tangent Medix T22B
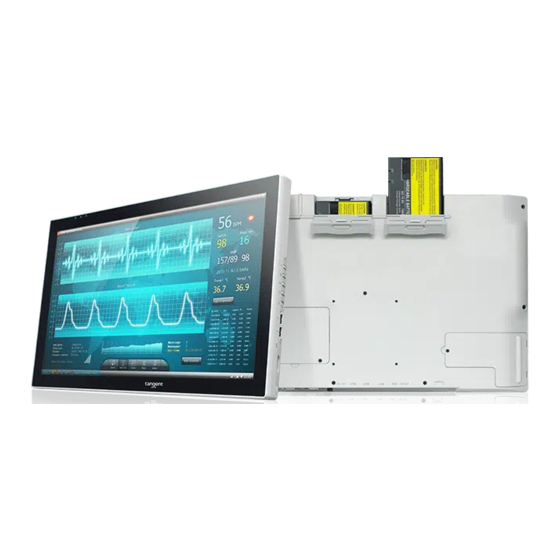
- Page 1 ________________________________________________________________ Medix T22B & T24B Battery Contact PCB Replacement Instructions May 2017...
- Page 2 Medix T2x Series Battery Contact PCB Replacement Instructions How to replace the Battery Contact PCB for Medix T22B & T24B Medical-Cart Computer: Some of the pictures in this instructions may not be exactly the same as the product you have but the procedures should be the same.
- Page 3 Put fingers on each side of the Front Bezel and gently pull it up. Turn the system over with the screen facing down. 4. Remove a M3 x 10 mm screw. Remove the SODIMM cover for Medix T22B. (You do not need to remove the SODIMM cover for Medix T24B)
- Page 4 Medix T2xB Series Battery Contact PCB Replacement Instructions 5. Remove 2- M3 x 10 mm screws. Remove the HDD cover. (If there is no HDD installed, you do not need to remove the HDD cover.) If there is the HDD in the compartment, disengage the cable and remove the HDD.
- Page 5 Medix T2xB Series Battery Contact PCB Replacement Instructions 6. Remove the base cover. Remove 11- M3 x 10 mm screws for Medix T22B. Remove 15- M3 x 10 mm screws for Medix T24B.
- Page 6 Medix T2xB Series Battery Contact PCB Replacement Instructions b) Remove 3- M3 x 10 mm screws for Medix T22B. Remove 3- M3 x 10 mm screws and 2- M3 x 6 mm screws for Medix T24B. c) Remove base cover from the system frame.
- Page 7 Medix T2xB Series Battery Contact PCB Replacement Instructions 7. For replacing the Battery Contact PCB. a) Remove 6– M3 x 6 mm screws (2 screws for each PCB). Disconnect the cables by gently dislodging the connectors from the connector housings.
- Page 8 Medix T2xB SeriesBattery Contact PCB Replacement Instructions b) Place new Battery Contact PCBs into the bracket. Apply 6 screws and engage the cables. For re-assembly, follow the previous instructions in reverse.
Need help?
Do you have a question about the Medix T22B and is the answer not in the manual?
Questions and answers