Table of Contents
Advertisement
Quick Links
Advertisement
Table of Contents

Related Manuals for ACTi GNR-340


Summary of Contents for ACTi GNR-340
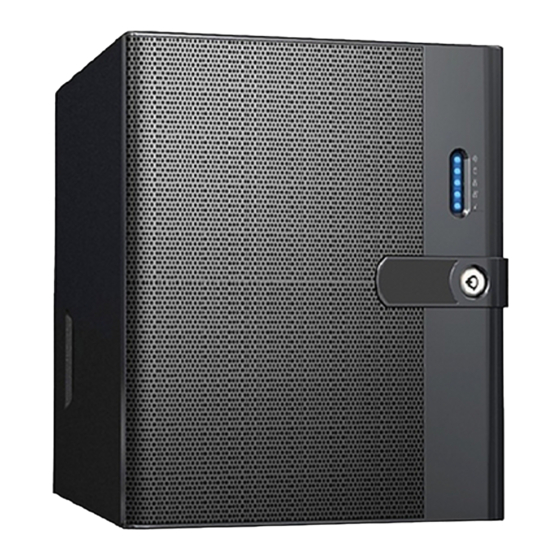
- Page 1 Quick Installation Guide GNR-340 72-Channel 5-Bay Tower Standalone NVR...
-
Page 2: Before You Start
BEFORE YOU START Thank you for purchasing ACTi Standalone Network Video Recorder (NVR). This guide contains all the information you need to quickly set up the device via local display interface. For detailed instructions on installation and operation, please search for the product manuals on http://www.acti.com/downloadcenter. -
Page 3: Front Panel
AT A GLANCE FRONT PANEL BACK PANEL 10 11 12 13 Hard Disk Bays HDMI Port Power Button USB 3.1 Ports (2) Reset Button USB Type-C Ports (2) LED Indicators DVI Port Power Input Connector Serial Ports (2) USB 2.0 Ports (2) Audio Input LAN Ports Audio Output DisplayPort... -
Page 4: Install Hard Disk Drive
INSTALL HARD DISK DRIVE Step 1 Using the bundled keys, unlock the front cover panel. Step 2 Step 3 Push the lock towards the right to eject Pull out the HDD bay. the HDD bay. Step 4 Step 5 Remove the empty tray from the HDD Secure the hard disk on the HDD bay. - Page 5 CONNECTIONS The example below displays a network with the NVR and the basic required peripherals to start using the device. Network Switch Power Source Network Cameras USB Device Monitor POWER ON On the front panel, press the POWER BUTTON to turn on the NVR. Standalone NVR Quick Installation Guide...
-
Page 6: Software Configuration
SOFTWARE CONFIGURATION CREATE DISK VOLUMES Use Windows Disk Management to create disk volumes so that NVR can access the available storage space. 1. On Windows Search Box, search and enter “computer management”. 2. Select “Disk Management”, right-click on a disk title and select “Initialize Disk”, choose “GPT”... - Page 7 4. Follow the on-screen Wizard to complete. Make sure you assign the desired drive letter and give a proper label name to this volume. 5. After the volume is created, it is shown on Volume List and is ready for recording.
-
Page 8: Set Admin Password
SET ADMIN PASSWORD For first-time use, make sure to setup the administrator password. 1. On Windows Search Box, search and enter “administrator tool”. 2. Click NVR3 Administrator Tool to open the application. 3. On the tool interface, go to the Account page, then click the Password Setup button. -
Page 9: Create Users
CREATE USERS On NVR screen, click Setup button to enter Setup page and then Users tab. 1. Select “User Groups”, click “Add” to start adding a new user group. 2. Input group ID, Name, and click “Apply”. 3. Click on the Users panel, click “Add” to start adding a new user. 4. -
Page 10: Add Cameras
ADD CAMERAS 1. Go to Setup page and then Devices tab. 2. Select the Camera panel, and then Click “Add”. 3. Choose a search method based on your network environment and camera brand. Search Cameras Use “Hybrid Search” to automatically search the network To find cameras, input for all cameras, or click “ONVIF the correct account and... -
Page 11: Configure Camera Settings
3. Drag on the time table to define the time session. 4. Click “Apply“. Note If you have any question during system installation, please feel free to contact our engineers via ACTi Customer Help Desk platform at http://www.acti.com/CHD Standalone NVR Quick Installation Guide... -
Page 12: Customize Views
CUSTOMIZE VIEWS 1. Go to Live View page. On top of the screen, click on on the View Tool Bar to create a new layout, then click on to enter edit mode. 2. Select a layout style. 3. To add a camera view, pull a camera from Camera List to a channel. To add a map view, mouse over a channel and click on , upload the map. - Page 13 Due to continuous product improvements, some contents may have changed from the time this documentation was printed. You can download the latest user documentation, which shall prevail over the printed version http://www.acti.com/downloadcenter provided in the package, from www.acti.com V2020.09.16...
Need help?
Do you have a question about the GNR-340 and is the answer not in the manual?
Questions and answers