Sign In
Upload
Download
Table of Contents
Contents
Add to my manuals
Delete from my manuals
Share
URL of this page:
HTML Link:
Bookmark this page
Add
Manual will be automatically added to "My Manuals"
Print this page
×
Bookmark added
×
Added to my manuals
Manuals
Brands
ACTi Manuals
DVR
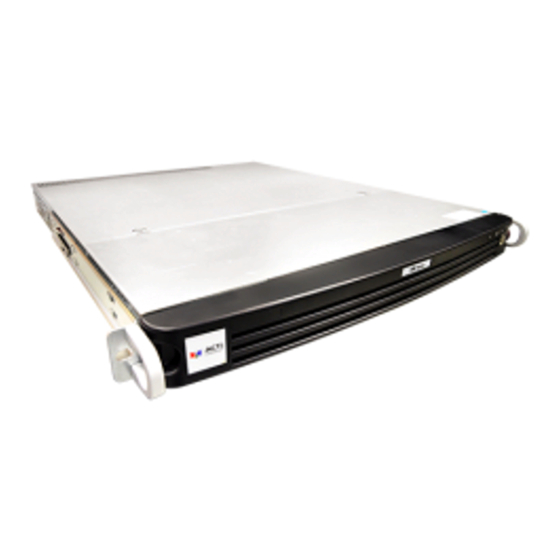
ENR-420
Quick installation manual
ACTi ENR-420 Quick Installation Manual
16 and 32 -channel 4-bay rackmount standalone nvr
Hide thumbs
1
2
3
4
5
6
7
8
9
10
11
Table Of Contents
12
page
of
12
Go
/
12
Contents
Table of Contents
Bookmarks
Table of Contents
Before You Start
Front Panel
Back Panel
Rackmount the Unit
Install Hard Disk Drive
Format the Hdd
Add Devices
Manage Devices
System Setup
Warranty Card
Advertisement
Quick Links
Download this manual
Quick Installation Guide
16-Channel 4-Bay Rackmount Standalone NVR
32-Channel 4-Bay Rackmount Standalone NVR
ENR-420
ENR-421
Table of
Contents
Previous
Page
Next
Page
1
2
3
4
5
Advertisement
Table of Contents
Need help?
Do you have a question about the ENR-420 and is the answer not in the manual?
Ask a question
Questions and answers
Related Manuals for ACTi ENR-420
DVR ACTi ENR-1000 User Manual
Compact and reliable multi-channel standalone nvr enr-1000 series (35 pages)
DVR ACTi ENR-110 User Manual
Enr-100 series (52 pages)
DVR ACTi ENR-110 Administrator's Manual
(139 pages)
DVR ACTi ENR-190 Quick Installation Manual
(6 pages)
DVR ACTI ENR-620P Quick Installation Manual
9-channel /32-channel 2-bay lockbox standalone nvr with 8-port poe connectors (13 pages)
DVR ACTi ENR-421 Quick Installation Manual
16 and 32 -channel 4-bay rackmount standalone nvr (12 pages)
DVR ACTi ENR-220P Quick Installation Manual
4-channel 2-bay desktop standalone nvr with 4-port poe connectors 9-channel 2-bay desktop standalone nvr 9-channel 2-bay desktop standalone nvr with 8-port poe connectors 16-channel 2-bay desktop standalone nvr (13 pages)
DVR ACTi ENR-030-V5.03.01.01-AC Release Notes
Standalone nvr (11 pages)
DVR ACTi ENR-320P Quick Installation Manual
16/32-channel 4-bay tower standalone nvr with 16-port poe connectors (12 pages)
DVR ACTi ENR Series User Manual
(50 pages)
DVR ACTi ENR-010P Quick Installation Manual
4-channel 1-bay mini standalone nvr with 4-port poe connectors, 9-channel 1-bay mini standalone nvr with 8-port poe connectors (6 pages)
DVR ACTi INR-410 Quick Installation Manual
200-channel 8-bay rackmount standalone nvr (13 pages)
DVR ACTi NVR 3.0 Quick User Manual
Nvr 3.0 (2 pages)
DVR ACTi INR-406 Quick Installation Manual
128,256 -channel 8-bay rackmount standalone nvr (16 pages)
DVR ACTi ZNR Series User Manual
(121 pages)
DVR ACTi GNR-3000 System Administrator Manual
(144 pages)
This manual is also suitable for:
Enr-421
Table of Contents
Print
Rename the bookmark
Delete bookmark?
Delete from my manuals?
Login
Sign In
OR
Sign in with Facebook
Sign in with Google
Upload manual
Upload from disk
Upload from URL


Need help?
Do you have a question about the ENR-420 and is the answer not in the manual?
Questions and answers