Table of Contents
Advertisement
Quick Links
Advertisement
Table of Contents

Related Manuals for ACTi INR-100


Summary of Contents for ACTi INR-100
- Page 1 Quick Installation Guide INR-100 16-Channel Desktop Standalone NVR V.2018.04.18...
-
Page 2: Before You Start
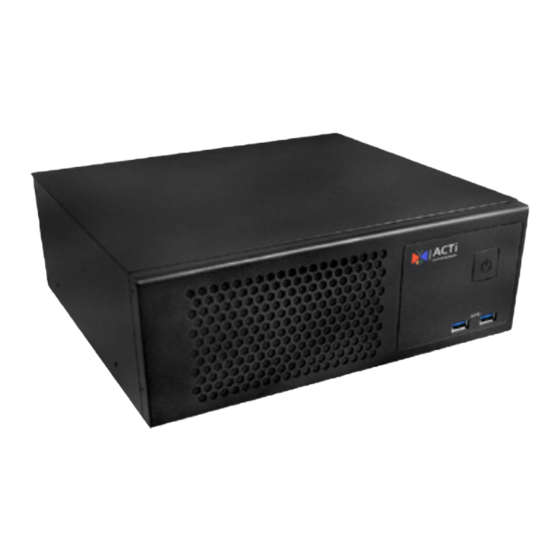
BEFORE YOU START Thank you for purchasing ACTi Standalone Network Video Recorder (INR). This guide contains all the information you need to quickly set up the INR system via local display interface. For detailed instructions on installation and operation, please search for the product manuals on http://www.acti.com/downloadcenter. - Page 3 AT A GLANCE FRONT PANEL Power Button USB 3.0 Ports x 2 REAR PANEL Power Connector eSATA Connector Display Port HDMI Port LAN Ports x 2 USB 3.0 Ports x 4 COM Port x 2 DVI Connector for RS-232) Audio Input Audio Output Quick Installation Guide...
-
Page 4: Install The Hard Disk
INSTALL THE HARD DISK An optional hard disk drive or HDD (sold separately), can be installed inside the INR to store recordings. MAKE SURE THE UNIT IS NOT CONNECTED TO POWER before installing the hard disk. Step 1 Step 2 Step 3 Remove the two (2) Remove the screw... -
Page 5: Connect The Devices
CONNECT THE DEVICES The example below displays a local network consisting of an INR, network cameras and basic required peripherals to start using the device. Power-Over-Ethernet (PoE) Switch Power Source Cameras eSATA Storage USB Devices HDMI Monitor START UP 1. On the front panel, press the POWER BUTTON to turn on the INR. - Page 6 INITIALIZE THE HARD DISK After installing the hard disk, use the Windows Disk Management to initialize the disk to enable INR to save the video recordings. 1. In Windows Search Box, search and enter “Computer Management”. 2. Select Disk Management. The Initialize Disk pop-up window will appear. 3. Select GPT as the partition style, and then click OK.
- Page 7 LOGIN The INR is equipped with the NVR workstation software. 1. On Windows Destop, double-click the NVR Workstation icon to enter the NVR interface. 2. Input the default account and password to log in. Account: admin Password: 123456 “123456” is the default password of the NVR administrator’s user account. For security reasons, please remember to change it.
-
Page 8: Create User Groups
CREATE USER GROUPS On the NVR screen, click the Setup button to go to the Setup page. Then click the Users tab. By default, there is an Administrator group wherein all permission levels are enabled. To limit NVR access for a certain group of users, create user groups. -
Page 9: Add Users
ADD USERS After creating user groups, create individual users. 1. On the left panel, click the Users title bar, click Add to start adding a new user. 2. Input the user’s Account, Password, Email address and select its User Group, and then click Apply. -
Page 10: Add Cameras
3. Choose a search method based on your network environment and camera brand. To Search Cameras in the Local Area Network (LAN) • Click Hybrid Search to auto-search the network for ACTi cameras. • Click Search ONVIF Cameras to search for ONVIF-compliant cameras of any brand. -
Page 11: Configure Camera Settings
4. Drag on the time table to define the time session. 5. Click Apply. Note If you have any question during the system installation, please feel free to contact our engineers via ACTi Customer Help Desk platform at http://www.acti.com/ CHD. Quick Installation Guide... - Page 12 Due to continuous product improvements, some contents may have changed from the time this documentation was printed. You can download the latest user documentation, which shall prevail over the printed version provided in the package, from http://www.acti.com/downloadcenter Quick Installation Guide...
Need help?
Do you have a question about the INR-100 and is the answer not in the manual?
Questions and answers