Mocka Sintra Console Table Assembly Instructions
Hide thumbs
Also See for Sintra Console Table:
- Assembly instructions manual (14 pages) ,
- Assembly instructions (4 pages) ,
- Assembly instructions manual (13 pages)
Advertisement
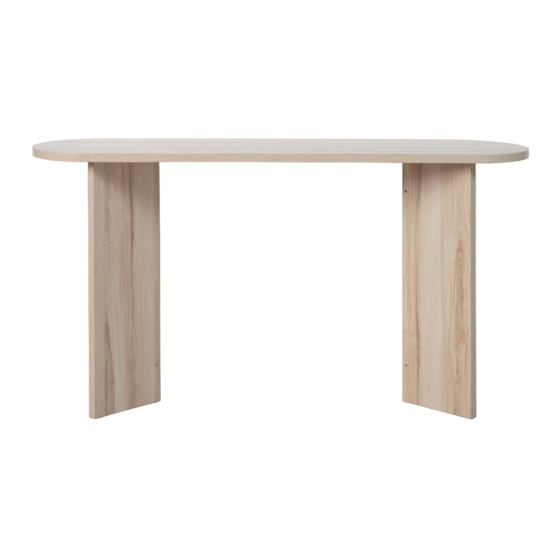
Sintra Console Table
Assembly Instructions
Thank you for your purchase. Please follow the instructions for correct assembly.
While we took great effort to ensure these assembly instructions were correct at
the time of printing, sometimes updates are required post production. For the
most up to date versions please refer to the product page on our website.
mocka.com.au/mocka.co.nz
A
B
plastic
dowel
glide x6
x8
E
F
hexagonal
spanner
nuts
x8
x1
Hardware Supplied
Phillips screwdrivers and hammer required
For quicker assembly, we recommend the
use of a power drill on a low-speed setting.
mocka.co.nz | mocka.com.au | PO BOX 6171, Maroochydore, QLD, 4558
C
D
threaded
half round
rods
Nuts
x8
x8
G
H
screw
sticker
x8
x6
V
W
X
safety
screw
wall
x1
strap x1
anchor
x1
Wall Strap
Y
Z
wall
washer
screw
x2
x1
1
Advertisement
Table of Contents

Related Manuals for Mocka Sintra Console Table


Summary of Contents for Mocka Sintra Console Table
- Page 1 Nuts hexagonal spanner screw sticker nuts Hardware Supplied Phillips screwdrivers and hammer required For quicker assembly, we recommend the use of a power drill on a low-speed setting. mocka.co.nz | mocka.com.au | PO BOX 6171, Maroochydore, QLD, 4558...
- Page 2 Sintra Console Table Assembly Instructions Panel layout Attach 8x threaded rods (C) to panel [1] and hand tighten by turning clockwise. mocka.co.nz | mocka.com.au | PO BOX 6171, Maroochydore, QLD, 4558...
- Page 3 8x half round nuts (D) and 8x hexagonal nuts (E). Tightening panel [4] with 2x dowels (A) and secure with 3x screws (G). with spanner (F). Tighten with a screwdriver. mocka.co.nz | mocka.com.au | PO BOX 6171, Maroochydore, QLD, 4558...
- Page 4 Attach 6x plastic glides (B) to the panels [2], [3], [4] and [5] using a hammer. Apply 8x stickers (H) to the panel [2], [3], [4] and [5] as using 1x washer (Z) and 1x screws (W). Tighten with a screwdriver. shown. mocka.co.nz | mocka.com.au | PO BOX 6171, Maroochydore, QLD, 4558...
- Page 5 (V). Fasten to the wall using 1x washer (Z), 1x wall anchor (X) and 1x screw (Y). Ensure unit is balanced and steady before use. You’re done, enjoy! mocka.co.nz | mocka.com.au | PO BOX 6171, Maroochydore, QLD, 4558...
Need help?
Do you have a question about the Sintra Console Table and is the answer not in the manual?
Questions and answers