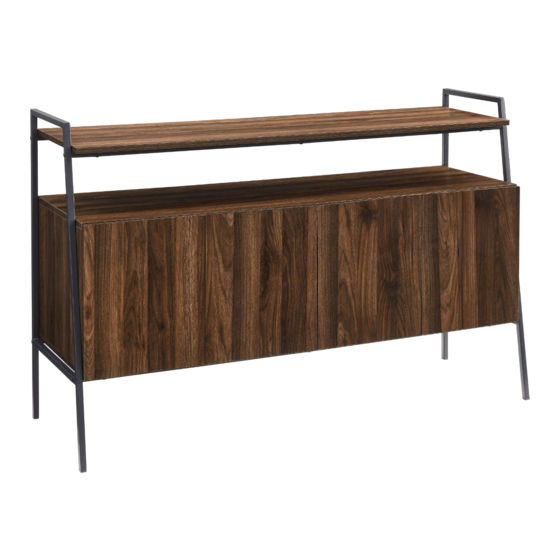
Summary of Contents for Walker Edison W52ARLO
- Page 5 Step 1 色 门』; 心 令 Secure cam bolt (B) to part (2) with Philips head screwdriver. Copyright©2019, by Walker Edison Furniture Co., LLC. All rights reserved.
- Page 6 Insert wooden dowel (A) into part (4, 5, 6) as per diagram.
- Page 7 Attach part (3) to part (4, 5, 6) using screw (E) with hex key (N) as per diagram.
- Page 8 Slide part (7) into grooves of part (4, 5, 6) as per diagram.
- Page 9 Attach part (2) to part (4, 5, 6) using cam lock (C) with Philips head screwdriver as per diagram.
- Page 10 Secure plastic wedge (H) to back panel of part (7) using screw (J) with Philips head screwdriver as per diagram.
- Page 11 Attach part (9, 10) to part (3) using bolt (F, G) with hex key (N) as per diagram.
- Page 12 Attach L shape bracket (R) to part (17) with hex key (N) as per diagram. Attach part (17, 10) to part (1) using bolt (F, G) with hex key (N) as per diagram.
- Page 13 Attach part (11) to part (4, 9, 10, 17) using bolt (G) with hex key (N) as per diagram.
- Page 14 Attach part (12) to part (5, 9, 10, 17) using bolt (G) with hex key (N) as per diagram.
- Page 15 Insert shelf support pin (P) into part (4, 5, 6) as per diagram.
- Page 16 Place part (8) on top of shelf support pin (P).
- Page 17 Attach hinge (L) to part (14, 15) using screw (M) with Philips head screwdriver as per diagram.
- Page 18 Attach hinge (K) to part (16, 13) using screw (M) with Philips head screwdriver as per diagram.
- Page 19 Attach hinge (K) and part (13) to part (4) using screw (M) with Philips head screwdriver as per diagram.
- Page 20 Attach hinge (L) and part (14) to part (6) using screw (M) with Philips head screwdriver as per diagram.
- Page 21 Attach hinge (L) and part (15) to part (6) using screw (M) with Philips head screwdriver as per diagram.
- Page 22 Attach hinge (K) and part (16) to part (5) using screw (M) with Philips head screwdriver as per diagram.
- Page 23 1. Place unit in desired location and mark the wall for anchor location, drill hole using 6mm size bit. 2. Insert anchor (T) into wall at desired location. 3. Secure furniture to wall using L shape bracket (R) and screw (R) per diagram.


