Advertisement
Quick Links
Advertisement

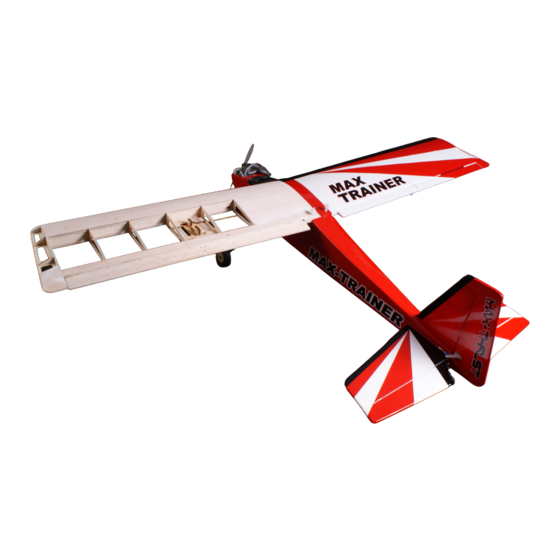
Summary of Contents for Max-Thrust MAX TRAINER Balsa Pro-Built Series
- Page 1 Instruction Manual...
- Page 2 It should not be operated by children without the supervision of a suitably experienced adult. Max-Thrust reserves the right to modify the specification of this model at any time. Safety Precautions 1. Do not attempt to repair or modify this aircraft with non-factory parts.
-
Page 3: Items Required
Items Required Some pictures throughout this manual may be of the prototype model and some details may now have changed. If you have any questions please contact us info@centuryuk.com. Tools: Philips Screwdriver Medium Philips Screwdriver Small Modelling Knife and Spare Blades 3mm Allen Key 2mm Allen Key 5 Minute Epoxy Glue... - Page 4 Building Your Max-Trainer Take the plywood electric motor mount and drill 4 hole to suit your electric motor after marking and aligning the motor on the mount. Using 4 x 3mm cap head bolts & washers fit the captive nuts to the back side of the plywood mount by tighten them together.
- Page 5 Building Your Max-Trainer With you motor in place you can now fit your propeller and spinner making sure everything is free to rotate and does not foul on any part of the aircraft. Fit the battery straps in to the battery tray. Cut a slot to fit the speed-controller under the battery tray.
- Page 6 Building Your Max-Trainer For the IC version you will first have to remove the top pre lasered wooden panel to give access to the motor bay. Peel the covering back and using a sharp modelling knife or Drexel cut away the top section of wood following the pre lasered line.
- Page 7 Building Your Max-Trainer You now need to fit your spinner and prop to the engine. Make sure it is fitted correctly and is tight, it is advisable to make sure the prop is balanced before you fit it. Assemble the fuel tank. Cut the fuel tube to 60-65mm and fit the brass clunk and then gently bend the vent and pressure tubes as shown in the photo.
- Page 8 Building Your Max-Trainer Install the fuel tank in to the fuselage and thread the pipes through to the engine bay. Secure the fuel tank in to the bay using the Velcro strap. Using the M3 x 25mm Cap head bolts, washers and nylock nuts fit your engine to the mount. The engine will look offset and this is intentional to help make the model fly straight and level.
- Page 9 Building Your Max-Trainer Install the landing main legs in to the bottom of the fuselage. Place the plastic saddle clamps in place evenly and pilot drill 4 x 2mm holes for the self tapping screws. Screw M3x10 self tapping screws through the saddle clamps in to the pilot holes and tighten firmly.
- Page 10 Building Your Max-Trainer Fit the control horns to the fin, elevator and ailerons using the M2x12mm self tapping screws and plates. All of the hinges on the rudder, tail plane and ailerons need glueing in to place. Slow or thick CA Glue is best for this as it gives you a little time to apply and then to slide them in to place.
- Page 11 Building Your Max-Trainer When fitting the tail and fin the covering needs to be removed so the 5minute epoxy can set hard wood to wood. Slide the tail plane in to place making sure it is aligned and spaced correctly and mark the position on the film that needs to be removed using a pen on both the top and bottom.
- Page 12 Building Your Max-Trainer Test fit the tail and make sure it is straight, remove and apply 5 minute epoxy to the tail slot on the fuselage and then slide the tail plane back in to place. Secure in place so that it is square and even, remove any excess glue and wait until the glue has fully set.
- Page 13 Building Your Max-Trainer Rudder and elevator push-rods. Unscrew the metal quick links and slide the push-rods down the tubes in the fuselage so that they exit to the rear of the fuselage. Reinstall the metal quick links. Install the servos of your choice, prototype used 17g Mighty Mini servos from Century UK. If building electric version you don’t need the throttle servo.
- Page 14 Building Your Max-Trainer Take the servo trays out of the wings and adjust to suit your servos, our prototype used the Century 17g Mighty Mini servos with the 450mm leads. Fit the servos with the screws provided and make sure the servo horn is centred and the output arm lines up with the centre of the slot.
- Page 15 Building Your Max-Trainer Join the 2 halves of the wing together using the metal tube spar, no glue is needed and this helps with storage and transport. Secure the assemble wing to the fuselage using the Nylon thumbscrews provided. Final Setup. Centre of Gravity.
- Page 16 Designed and Distributed by Century UK LTD. 7 Anchor Business Park Castle Road Sittingbourne KENT MADE IN VIETNAM ME10 3AE United Kingdom 01795 437056...


Need help?
Do you have a question about the MAX TRAINER Balsa Pro-Built Series and is the answer not in the manual?
Questions and answers