Crestron FlipTop FT2 Series Quick Start Manual
Cable management system, 700 size, electrical, pass-through lid
Hide thumbs
Also See for FlipTop FT2 Series:
- Quick start manual (11 pages) ,
- Quick start (2 pages) ,
- Manual (2 pages)
Advertisement
Quick Links
FT2-700-ELEC-PTL
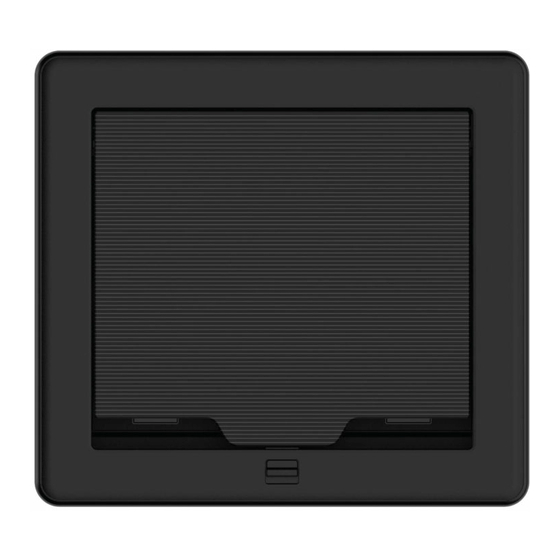
FlipTop™ FT2 Series Cable Management System, 700 Size, Electrical, Pass-Through Lid
The Crestron®
FT2-700-ELEC-PTL
installs into a table or other horizontal surface to provide modular
connectivity. It features a retracting lid that disappears within the
enclosure. When the lid is retracted, 12 module slots are arranged in two
rows of six. The flexible modular design may also be customized with an
assortment of Crestron accessories, and the pass-through lid style
allows cables to be fully extended while the lid is closed.
For more information about the accessories, please visit
www.crestron.com/Crestron-FlipTops. To configure your FlipTop, launch
the
FlipTop Configuration
Tool.
In the Box
FT2-700-ELEC-PTL
1
Additional Items
3
Locking Bars with screws and gaskets (4532479)
1
Cable, DC Power Splitter (2050094)
1
Connector, Plug (2003575)
1
Holder, Power Supply (2048887)
1
Power Cord, 5 ft 10 in. (1.78 m) (2042043)
1
Power Pack, 24VDC, 2.5 A, 100-240VAC (2045873)
Cutout Template (4527491)
1
FlipTop™ cable management system
Quick Start
1
Advertisement

Subscribe to Our Youtube Channel
Related Manuals for Crestron FlipTop FT2 Series


Summary of Contents for Crestron FlipTop FT2 Series
- Page 1 When the lid is retracted, 12 module slots are arranged in two rows of six. The flexible modular design may also be customized with an assortment of Crestron accessories, and the pass-through lid style allows cables to be fully extended while the lid is closed.
- Page 2 Quick Start FT2-700-ELEC-PTL FlipTop™ FT2 Series Cable Management System, 700 Size, Electrical, Pass-Through Lid 1. Loosen the four socket screws that secure the two mounting plates and the FT-600 FlipTop assembly to the surface. Mount the FlipTop Assembly 2. Remove the FT-600 FlipTop assembly. 3.
- Page 3 Quick Start FT2-700-ELEC-PTL FlipTop™ FT2 Series Cable Management System, 700 Size, Electrical, Pass-Through Lid Secure the FlipTop Assembly 3. On the underside of the FT2 assembly, locate the power bus and connect the dual-connector ends of the DC power splitter cable to To prepare the FT2-700-ELEC-PTL and secure it to the table surface: the two barrel jacks of the power bus.
- Page 4 Quick Start FT2-700-ELEC-PTL FlipTop™ FT2 Series Cable Management System, 700 Size, Electrical, Pass-Through Lid 5. Carefully tighten the four swiveling dogs in each corner of the FlipTop assembly clockwise until the FT2 assembly is secured in place against the table. Do not overtighten the swiveling dogs. Connect the FlipTop Assembly CAUTION: A screwdriver or manual torque screwdriver at its lowest...
-
Page 5: Connect The Network
Cresnet® cable. Custom programming can trigger the retractors after five minutes of no video detected. Connect the FT2 assembly to a Crestron control system or DMPS3 via the 3-pin connector using standard Cresnet cable. The red power lead is not connected and should be terminated. - Page 6 Quick Start FT2-700-ELEC-PTL FlipTop™ FT2 Series Cable Management System, 700 Size, Electrical, Pass-Through Lid 4. Align the four keyed tabs on the power supply holder with four keyed slots on the FT2 assembly. Then, push the power supply holder up and into the slots so that the keyed tabs engage the wide end of the slots.
-
Page 7: Install The Modules
Choose the appropriate slot based on the length of the cable www.crestron.com/manuals. connector. The top of the connector must sit flush with the top of the The following sections provide best practices and installation procedures module. - Page 8 Quick Start FT2-700-ELEC-PTL FlipTop™ FT2 Series Cable Management System, 700 Size, Electrical, Pass-Through Lid 3. Attach the side plate to the module by snapping the plastic clips on 5. Insert the cable plate into one of the three slots in the pass-through the plate into the two slots on the module.
- Page 9 Quick Start FT2-700-ELEC-PTL FlipTop™ FT2 Series Cable Management System, 700 Size, Electrical, Pass-Through Lid Install the Blank and Keystone Plate Module 6. Attach the side plate to the module by snapping the plastic clips on the plate into the two slots on the module. Blank plate modules (sold separately) fill empty slots in module rows, and keystone plate modules (sold separately) allow for cables NOTE:...
-
Page 10: Install The Bezel
Quick Start FT2-700-ELEC-PTL FlipTop™ FT2 Series Cable Management System, 700 Size, Electrical, Pass-Through Lid Install the Locking Bars Install the Bezel To install the locking bars: Place the bezel onto the FT2 assembly so that the retractable lid fits inside the bezel opening. The bezel is held in place using magnets. 1. - Page 11 3. Close the lid by lifting it vertically and returning it over the FT2 licensed to Crestron dealers, CSPs, and end-users under a separate End-User License assembly. Agreement. Both of these Agreements can be found on the Crestron website at www.crestron.com/legal/software_license_agreement. The product warranty can be found at www.crestron.com/warranty.
Need help?
Do you have a question about the FlipTop FT2 Series and is the answer not in the manual?
Questions and answers