Table of Contents
Advertisement
Quick Links
Advertisement
Table of Contents

Related Manuals for SIP Tempest PH720/100


Summary of Contents for SIP Tempest PH720/100
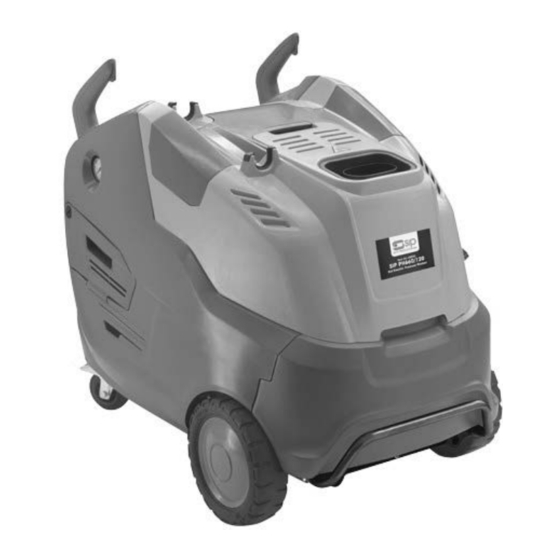
- Page 1 SIP Tempest PH720/100 Hot Electric Pressure Washer Code: 08958 SIP Tempest PH550/120HDS Hot / Steam Electric Pressure Washer Code 08962 SIP Tempest PH900/200HDS Hot / Steam Electric Pressure Washer Code: 08964 WARNING. Read the instructions before using the machine...
- Page 6 08958...
- Page 7 08962 08964...
-
Page 10: Technical Characteristics And Specifications
TRANSLATION OF THE ORIGINAL INSTRUCTIONS Read and keep in mind that indicated in the INSTRUCTION WARNING MANUAL - SAFETY WARNINGS. TECHNICAL CHARACTERISTICS AND SPECIFICATIONS SIP Tempest PH720/100 08958 ELECTRICAL CONNECTIONS Power supply 230 V 1~50 Hz Input (kW - HP) 3.0 - 4.1... - Page 11 SIP Tempest PH900/200HDS SIP Tempest PH660/120HDS 08962 08964 ELECTRICAL CONNECTIONS Power supply 230 V 400 V 1~50 Hz 3~50 Hz Input (kW - CV) 3.0 - 4.1 7.0 - 9.5 13 A Fuse 16 A HYDRAULIC CIRCUIT Maximum supply water temperature (°C - °F)
-
Page 12: Parts Identification
PARTS IDENTIFICATION Refer to figures 1 to 9. 1. Main switch 31. Nozzle cleaning pin 2. Handle 32. Lifting point 3. Lance rest 33. Door to reach the: water inlet filter, pressure 4. Warning plates. Inform on residual risks and PPE regulation, pump oil dipstick to be used 34. -
Page 13: Standard Equipment
Should this happen, follow the instructions below: - turn the main switch (1) to “0” and take the plug out of the mains socket; - press the cleaner gun lever (22) to discharge any remaining pressure; - wait 10 to 15 minutes for the high pressure cleaner to cool down; - check that the requirements for the mains power connections have been followed correctly (see the ), paying particular attention to the extension lead used;... -
Page 14: Preliminary Operations
• rotating nozzle lance: designed for the removal of stubborn dirt; • foaming lance: designed for a more efficient distribution of detergent • various types of lances and nozzles. • back-flow preventer: designed to comply with the standards relative to connecting to the drinking water mains;... -
Page 15: Operation With Detergent
STANDARD OPERATION WITH HOT WATER (AT HIGH PRESSURE) • Check the nozzle support head (30) is not set for the distribution of detergent. Also refer to (only models without box). “OPERATING THE CLEANER WITH DETERGENT” • Unscrew the cap (7) and fill the tank with Diesel, making sure the fuel does not spill over. We recommend using a funnel reserved exclusively for this purpose (maximum tank capacity 18 l / 4,8 US gal). - Page 16 containing the detergent at the strength wanted. • Turn the detergent regulating knob (34) clockwise. Models with box: versions: Switch the cleaner on again by turning the master switch (1) to • ; operate the cleaner gun lever (22) to start distribution of detergent (these versions distribute the detergent at high pressure).
-
Page 17: Routine Maintenance
STORAGE • Wind up the high pressure hose (35) with due care, making sure it is not bent. For products without a hose reel, hang it up on its support (10). • Wind up the power cord (6) and hang it up on its support (10). •... -
Page 18: Troubleshooting
SUPPLEMENTARY MAINTENANCE Supplementary maintenance should only be carried out by a , following the table QUALIFIED TECHNICIAN below (guideline only). MAINTENANCE ACTION SCHEDULE Every 200 hours • Check the pump’s hydraulic circuit • Clean the fuel nozzle. (water). • Check/replace the fuel filter. •... - Page 19 PROBLEM CAUSE SOLUTION The cleaner fails to reach The adjustment valve is set for a Turn the knob clockwise (8). maximum pressure pressure below the maximum. The nozzle support head (30) is set Follow the indications in Fig. 9 - at low pressure (Fig. 9 - Position a) Position b.
- Page 20 PROBLEM CAUSE SOLUTION T h e c l e a n e r r e s u m e s Leaks and/or drips in the delivery Inspect the delivery circuit for leaks. operation spontaneously circuit. when it is in Total Stop mode. When the master switch (1) is Unsuitable electrical system and/ Check the instructions for connecting...
- Page 22 FOR HELP OR ADVICE ON THIS PRODUCT PLEASE CONTACT YOUR DISTRIBUTOR, OR SIP DIRECTLY ON: TEL: 01509500400 EMAIL: sales@sip-group.com or technical@sip-group.com www.sip-group.com...
Need help?
Do you have a question about the Tempest PH720/100 and is the answer not in the manual?
Questions and answers