Advertisement
Quick Links
Please dispose of packaging for the product in a responsible
manner. It is suitable
environment, take the packaging to the local amenity tip and
place into the appropriate recycling bin.
Never dispose of electrical equipment or batteries in with your
domestic waste. If your supplier offers a disposal facility please
use it or alternatively use a recognised re-cycling agent. This will
allow the recycling of raw materials and help protect the envi-
ronment.
FOR HELP OR ADVICE ON THIS PRODUCT PLEASE CONTACT YOUR DISTRIBUTOR,
OR SIP DIRECTLY ON:
TEL: 01509500400
EMAIL: sales@sip-group.com or technical@sip-group.com
www.sip-group.com
Ref: 240216
for recycling.
Help to protect the
20
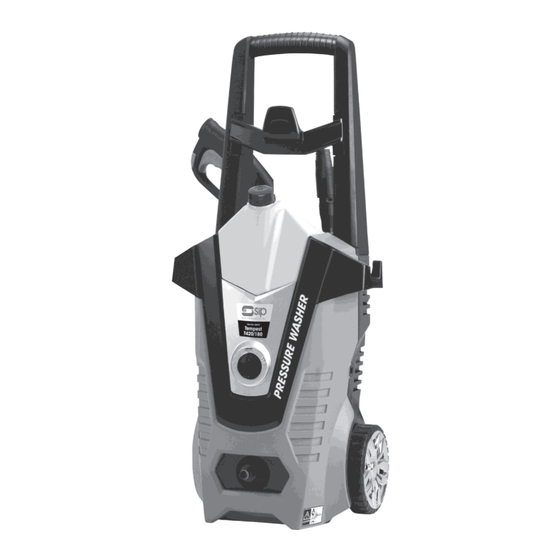
Tempest TP420/180
Electric Pressure Washer
Please read and fully understand the instructions in this manual
before operation. Keep this manual safe for future reference.
08910
1
Advertisement

Related Manuals for SIP Tempest TP420/180


Summary of Contents for SIP Tempest TP420/180
- Page 1 This will allow the recycling of raw materials and help protect the envi- ronment. FOR HELP OR ADVICE ON THIS PRODUCT PLEASE CONTACT YOUR DISTRIBUTOR, OR SIP DIRECTLY ON: TEL: 01509500400 08910 EMAIL: sales@sip-group.com or technical@sip-group.com www.sip-group.com...
- Page 2 Leicestershire LE12 9NH England As the manufacturer's authorised representative within the EC declare that the Tempest TP420/180 Electric Pressure Washer - SIP Part No. 08910 Conforms to the requirements of the following directive(s), as indicated. 2006/42/EC Machinery Directive 2004/108/EC EMC Directive...
- Page 3 NOTES CONTENTS Ref. No. Description SIP Code Ref. No. Description SIP Code Pump complete PW08-00535 O-ring (8.4x1.8) PW08-00545 Page No. Description Contents Motor complete PW08-00536 ST screw (4.8x16) PW08-00546 Safety Symbols Used Throughout This Manual Bolt (M8x16) PW08-00537 ST screw (3.5x13)
- Page 4 / or damage to the pres- sure washer. Sheath PW08-00503 Detergent hose PW08-00523 Every SIP pressure washer is carefully packed after assembly; On receiving the pressure Front cover plate PW08-00504 Hozelock PW08-00524 washer, check that it has not been damaged during transportation. If the pressure...
- Page 5 EXPLODED DRAWING SAFETY INSTRUCTIONS….cont nents, causing equipment damage and/or personal injury. Be aware of moving parts and hot surfaces that occur during normal operation of this pressure washer. Never operate the pressure washer with damaged, broken or missing parts, or with any guards or covers removed.
- Page 6 Detergent tank empty. Fill tank with detergent. Poor suction of detergent. This SIP pressure washer is fitted with a standard 230v ~ 13 amp type plug. Before us- Detergent is too thick in viscosity. Dilute detergent with water. ing the pressure washer, inspect the mains lead and plug to ensure that neither are damaged.
- Page 7 MAINTENANCE INSTRUCTIONS….cont ELECTRICAL CONNECTION….cont Long Term Storage (1 month or greater). As the colours of the wires may not correspond with the markings in your plug, pro- ceed as follows: The wire which is coloured blue, must be connected to the terminal Be sure the storage area is frost free.
- Page 8 GUARANTEE OPERATING INSTRUCTIONS….cont This SIP pressure washer is covered by a 12 month parts and labour warranty covering Note: Hold the trigger open and blow compressed air through the water failure due to manufacturers defects. This does not cover failure due to misuse or op- inlet until all of the water has been removed from the system.
- Page 9 OPERATING INSTRUCTIONS….cont GETTING TO KNOW YOUR PRESSURE WASHER Step 3: Press and hold the trigger on the pistol and the pressure washer will start to run. Trigger Unlocked Locked Note: The trigger can be locked to stop unwanted or unexpected operation (see above).
- Page 10 ASSEMBLY INSTRUCTIONS ASSEMBLY INSTRUCTIONS….cont Push the other end of the high pressure hose into the water outlet (see below). CONNECTING THE HOSE / PISTOL / LANCE Turn the fitting on the hose clockwise to fully secure. The pressure washer comes with two different lance`s. Standard Lance: High pressure for normal cleaning, low pressure for detergent clean- ing.
Need help?
Do you have a question about the Tempest TP420/180 and is the answer not in the manual?
Questions and answers