Sign In
Upload
Download
Add to my manuals
Delete from my manuals
Share
URL of this page:
HTML Link:
Bookmark this page
Add
Manual will be automatically added to "My Manuals"
Print this page
×
Bookmark added
×
Added to my manuals
Manuals
Brands
Briggs & Stratton Manuals
Lawn Mower
42
Manual
Briggs & Stratton 42 Manual
Stamped steel - frame hung
Hide thumbs
1
Table Of Contents
2
3
4
5
6
7
8
9
10
11
12
13
14
15
16
17
18
page
of
18
Go
/
18
Contents
Table of Contents
Bookmarks
Advertisement
Quick Links
Download this manual
Copyright © Briggs & Stratton Power Products Group, LLC
Milwaukee, WI USA
All rights reserved.
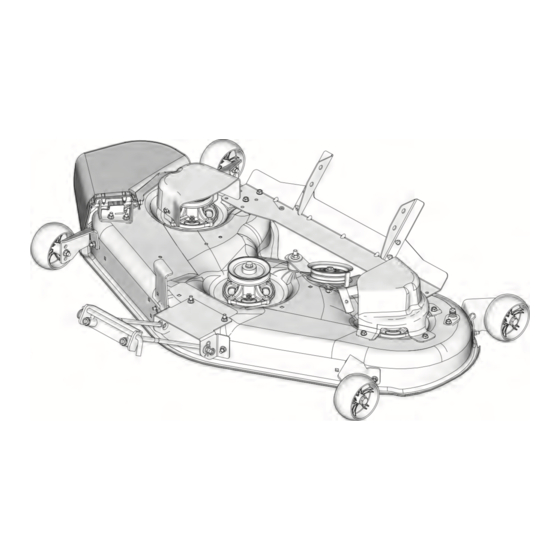
Mower Deck Manual
Stamped Steel - Frame Hung
80012602_-_
Table of
Contents
Previous
Page
Next
Page
1
2
3
4
5
Advertisement
Need help?
Do you have a question about the 42 and is the answer not in the manual?
Ask a question
Questions and answers
Related Manuals for Briggs & Stratton 42
Lawn Mower Briggs & Stratton Prestige 1800 Series Operator's Manual
(52 pages)
Lawn Mower Briggs & Stratton Prestige 1800 Series Operator's Manual
(32 pages)
Lawn Mower Briggs & Stratton Simplicity Champion Zero-Turn Rider Adjustment Instructions Manual
(20 pages)
Lawn Mower Briggs & Stratton 5900731 Instruction Manual
(13 pages)
Lawn Mower Briggs & Stratton 46 Manual
Stamped steel - frame hung (18 pages)
Lawn Mower Briggs & Stratton Simplicity Axion CZT2142 Operator's Manual
Axion / 150z series ride-on mower (48 pages)
Lawn Mower Briggs & Stratton 7800950-00 Operator's Manual
(77 pages)
Lawn Mower Briggs & Stratton TIGER Operation & Assembly Instructions
4-stroke mower (16 pages)
Lawn Mower Briggs & Stratton 5900660 Operator's Manual
24hp zero-turn riders simplicity zt3000/ snapper 355z/ snapper 360z/ massey ferguson zt2450 (48 pages)
Lawn Mower Briggs & Stratton Brute 7800881 Manual
(2 pages)
Lawn Mower Briggs & Stratton 2691184-00 Operator's Manual
(232 pages)
Lawn Mower Briggs & Stratton Commercial Series Operator's Manual
(68 pages)
Lawn Mower Briggs & Stratton 1695776 Operator's Manual
Triple catcher for 46” and 52” regent and nxt mowers (16 pages)
Lawn Mower Briggs & Stratton Axion 150Z Series Setup Instructions
(12 pages)
Lawn Mower Briggs & Stratton 7800954-00 Operator's Manual
(77 pages)
Lawn Mower Briggs & Stratton SnapperPRO S800X Series Operator's Manual
(64 pages)
This manual is also suitable for:
46
52
Print
Rename the bookmark
Delete bookmark?
Delete from my manuals?
Login
Sign In
OR
Sign in with Facebook
Sign in with Google
Upload manual
Upload from disk
Upload from URL


Need help?
Do you have a question about the 42 and is the answer not in the manual?
Questions and answers