Table of Contents
Advertisement
Quick Links
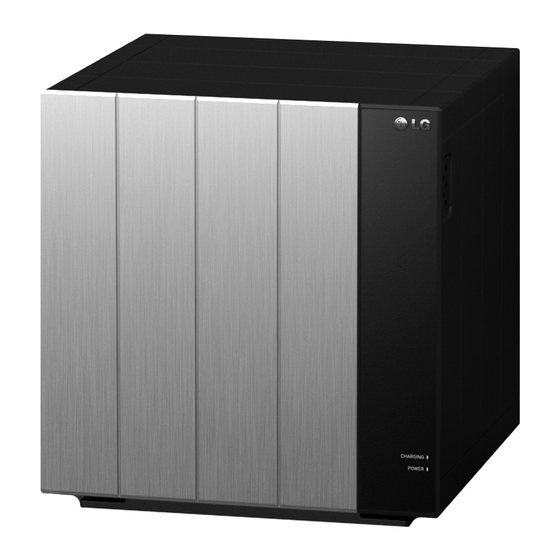
Quick Installation Manual for RESU FLEX
Full installation
LG Energy Solution strongly advises users to exercise due care in following LG Energy
Solution's product installation manual. Warranty claims are invalid if damage is caused
by human error in a manner inconsistent with the installation manual's instructions.
Version 1.0
Advertisement
Table of Contents

Related Manuals for LG RESU FLEX


Summary of Contents for LG RESU FLEX
- Page 1 Quick Installation Manual for RESU FLEX Full installation LG Energy Solution strongly advises users to exercise due care in following LG Energy Solution’s product installation manual. Warranty claims are invalid if damage is caused by human error in a manner inconsistent with the installation manual’s instructions.
-
Page 3: Table Of Contents
This manual intends to illustrate the key points when installing LG Energy Solution's RESU Flex battery. Make sure to read the Full Installation manual before installing RESU Flex battery. You can find the full installation manual under www.lgessbattery.com or using the QR-code in the front page of this manual. -
Page 4: Safety
1. Safety 2. Installation RESU FLEX can be installed in a Standing or Wall-mounting form. 1.1 Safety Instructions 2.1 Installation location For safety reasons, installers are responsible for familiarizing themselves with the contents of this document and all warnings before performing any Make sure that the installation location meets the following conditions: installation and service. - Page 5 When adding Optional Standing Bracket Tie hole Bolt 8ea(a torque of 5N·m) Basic Standing Bracket Pack Standing Bracket CAUTION *Optional Standing Bracket is for additional purchase and is not included in basic package. Be careful not to damage the cable. 2.
-
Page 6: Finalizing Installation
8. If third and/or forth BMAs are to be installed, repeat the steps from No.4 4. After the two covers of the BPU are replaced, assemble the Corner Covers to No.7. on each corner of the BMA and BPU to protect the cables. 9. - Page 7 Wall mounting layout...
-
Page 8: Installation And Cable Connection Of Bma And Bpu For Wall Type
4. Drive and pre-tighten the anchor bolts into the holes in the wall through the screw holes on the Wall Mounting Bracket. Double Corner Cover Corner Bracket Depending on the condition of the wall, bolt at least 8 points Information of hole position (mm) 5. -
Page 9: Finalizing Installation
2.3.4 Finalizing Installation 7. Connect the Inter Cables between the BMAs and BPU in order. 1) Top Terminal Block The following steps shall be executed after the connection to the inverter and commissioning is completed. Communication 1. Attached Design Cover to all BMAs by sliding it from right to left. Power 2. -
Page 10: Communication Line Connection
2. How to connect Ethernet cable. 3-1. Loose a Cable Gland Cable Gland * One of the Cable Glands is for the BPU 1) Insert the cable through the parallel connection Gland and connect it to the * Assemble the adapter according to Terminal for Ethernet cable. -
Page 11: Commissioning
For the battery commissioning you need for installer account The LED indicators on the front of the BPU shows different operation state If you don’t have your account, please visit LG ESS Battery website and of the battery: make an account. -
Page 12: Troubleshooting
CAUTION 3. If the battery is recognized, inverter setup has been completed successfully. If the battery pack or the inverter indicates FAULT or fails to operate, contact LG 4. If the issue persists: Energy Solution regional contact point or your distributor immediately. -
Page 13: Contact Information
3. If the inverter is not connected to the internet, check the inverter LCD to read the battery’s fault ID. Refer to the inverter’s troubleshooting guide for instructions. 3-1. Send the fault ID to LG Energy Solution regional contact point. 3-2. Turn off the circuit breaker. 3-3. Wait further instruction from LG Energy Solution. - Page 14 Keep this manual for later use © 2021 LG Energy Solution ESS Battery Division LG Twin Towers, 128, Yeoui-daero, Yeongdeungpo-gu, Seoul 07336, Republic of Korea https://www.lghomebattery.com http://www.lgensol.com...
Need help?
Do you have a question about the RESU FLEX and is the answer not in the manual?
Questions and answers