
Related Manuals for LG RESU 10H


Summary of Contents for LG RESU 10H
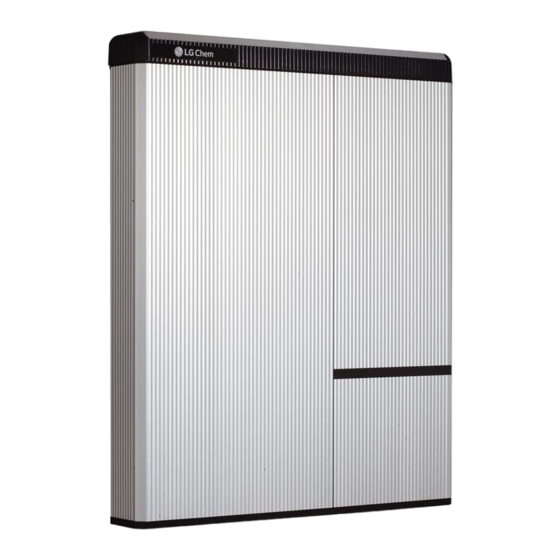
- Page 1 일반 대외비 극비 보안등급 (General) (Confidential) (Secret) RESU HV forced charging manual For RESU 10H Only 2018. 03.23...
- Page 2 1. Tools - Tools must have insulated grips. - Tools should have minimal exposed metal. - Socket wrench & 10mm nut - Insulation shoes - Insulation gloves - Insulation tape should be attached on the exposed metal of the tools.
- Page 3 2. Disassembling RESU 10H ① ② Open the wiring box cover(about 2~10 degrees), Make sure the internal battery breaker(also the AUX power switch RESU10H-SEG models) is in OFF position. and pull to remove it Important : If the battery is connected to the inverter make sure the inverter switch is off.
-
Page 4: Checking Battery Voltage
3. Checking Battery Voltage ① Set the Voltmeter to DC voltage ② Measure voltage across the positive and negative of the fuses... - Page 5 4. Checking for Blown Fuse ① Disconnect battery cable from DC/DC converter ② Verify the resistance of the fuses (+) and (-). The value should be 0.2 ± 0.1 Ω...
- Page 6 5. Using the Portable Charger ① Plug in power cable for power supply and turn on breaker switch ② Push on the power button ③ Voltage is pre-set to 151-153 volts. Verify voltage.
- Page 7 5. Using the Portable Charger ④ Adjust limited voltage if needed using two knobs on the right. This should not be necessary unless dials were moved after the charger was shipped ⑤ Push the power button “off” ⑥ Connect power cable to battery, then press green power button in. Do NOT connect to DC/DC converter.
- Page 8 5. Using the Portable Charger ⑦ When plugged in to battery, charger will display current voltage of battery. This reading should increase, rapidly at first and then slowly until the target voltage is reached. If voltage does not increase, turn the current knob (far left knob) slowly to the right, to five amps.
-
Page 9: Troubleshooting
Troubleshooting Your charger should be ready to use out of the case. However, if difficulties arise, try the following steps: 1. Turn unit off (green switch out) 2. Turn “O.V. Set” knob (second from left) all the way to the right 3.
Need help?
Do you have a question about the RESU 10H and is the answer not in the manual?
Questions and answers