
Related Manuals for Echogear EGLL1


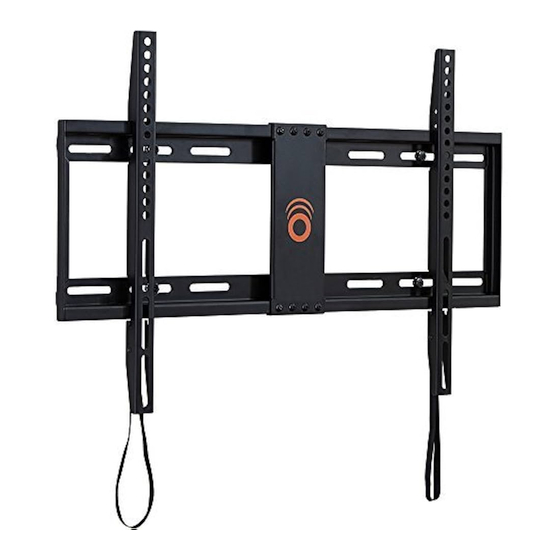
Summary of Contents for Echogear EGLL1
- Page 1 EGLL1 INSTRUCTION MANUAL We’ll Make It Stress-Free If you have any questions along the way, contact us at www.echogear.com. We’re ready to help!
- Page 2 Yes? This mount is NOT compatible. weigh MORE than heavier than the maximum weights indicated may result Visit echogear.com to fi nd a compatible (68 kg) in collapse of the mount and its accessories, causing 150 lbs. (68 kg) ? mount.
- Page 3 Dimensions TV INTERFACE 3.9 in. [100 mm] 15.7 in. 3.9 in. 16.9 in. [100 mm] [400 mm] [430.0 mm] 23.6 in. [600 mm] SIDE VIEW WALL PLATE 1.1 in. [28.4 mm] 25.6 in. [650 mm] 16.0 in. [406 mm] 16.0 in. [406 mm] 1.9 in.
-
Page 4: Step 1 Attach Brackets To Tv
STEP 1 Attach Brackets to TV STEP 1 Parts and Hardware WARNING: This product contains small items that could be a choking hazard if swallowed. Before starting assembly, verify all parts are included and undamaged. If any parts are missing or damaged, do not return the damaged item to your dealer;... - Page 5 1.1 Select TV Screws 1.2 Spacers Long Screw crew Washer Short Screw Bracket Washer Bracket Spacer...
- Page 6 1.3 Attach the TV Brackets Flat Back Round Back / Extra Space Alternate Setups 12 13 CAUTION: Ensure TV brackets are securely fastened before moving on to the next step.
- Page 7 Lag Screw Washers M5 x 8mm Concrete Installation Kit CMK1 (NOT INCLUDED) Contact Customer Service at www.echogear.com to have these additional pieces shipped directly to you. 5/16 x 2¾ in. 5/16 x 2¾ in. .695 x .350 x .075 in.
- Page 8 STEP 2.1 Assemble Your Wallplate...
- Page 9 STEP 2A Wood Stud Option Min. Wood Stud Size: nominal 2 in. (51 mm) actual 1 ½ in. (38 mm) Min. Wood Stud Size: nominal 4 in. (102 mm) 16 - 24 in. (406 - 610 mm) actual 3 ½ in. (89 mm) Max.
- Page 10 3 in. (75 mm) 5.5 mm (7/32 in.)
- Page 11 CAUTION: Avoid potential personal injury or property damage! All four lag screws MUST BE firmly tightened to prevent unwanted movement of the wall plate assembly. Ensure the wall plate assembly is securely fastened to the wall before continuing on to the next step.
- Page 12 CAUTION: Avoid potential personal injuries and property (see page 7) Contact Customer Service at damage! Mount the wall plate assembly directly onto the concrete www.echogear.com to have the additional surface. hardware shipped directly to you. CAUTION: Never drill into the mortar between blocks.
- Page 13 MUST BE firmly tightened to prevent unwanted movement of the wall plate assembly . Ensure the wall plate is securely fastened to the wall before continuing on to the next step. Contact Customer Service at www.echogear.com to have the Concrete Installation Kit shipped directly to you.
-
Page 14: Step 3 Attach Tv To Wall Plate
STEP 3 Attach TV to Wall Plate HEAVY! You may need assistance with this step. CAUTION: Avoid potential personal injury or property damage! Always make sure your TV brackets are in the locked position so the TV is securely fastened to the wall plate assembly. -
Page 15: Removing The Tv
Removing the TV CAUTION: To prevent breaking the locking latch: always pull and hold the release cords down while pulling the TV away from the wall. HEAVY! You may need assistance with this step. - Page 16 Milestone assumes no responsibility for accuracy, completeness or suffi ciency of the information contained in this document. ©2017 Milestone AV Technologies. All rights reserved. ECHOGEAR is a Milestone brand. ECHOGEAR and the ECHOGEAR logo are trademarks of Milestone.
Need help?
Do you have a question about the EGLL1 and is the answer not in the manual?
Questions and answers