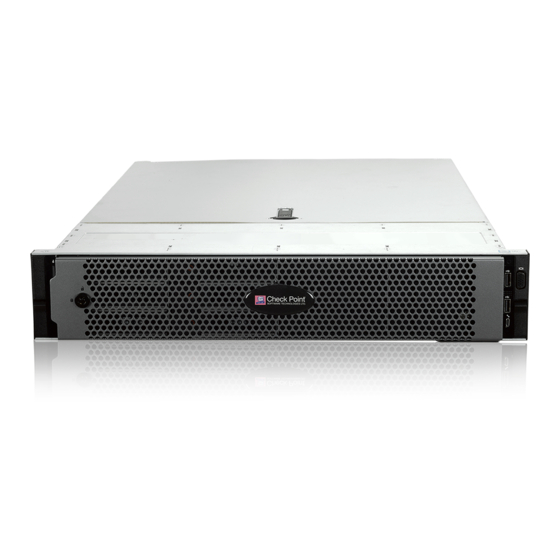
Check Point QUANTUM SMART-1 6000-L Replacement Manual
Replacing storage devices
Hide thumbs
Also See for QUANTUM SMART-1 6000-L:
- Getting started manual (34 pages) ,
- Instruction manual (17 pages) ,
- Manual (13 pages)
Subscribe to Our Youtube Channel
Summary of Contents for Check Point QUANTUM SMART-1 6000-L
- Page 1 28 February 2021 QUANTUM SMART-1 6000-L/6000-XL APPLIANCES REPLACING STORAGE DEVICES...
- Page 2 Check Point. While every precaution has been taken in the preparation of this book, Check Point assumes no responsibility for errors or omissions. This publication and features described herein are subject to change without notice.
- Page 3 Latest Version of this Document in English document in PDF format Download the latest version of this Feedback Check Point is engaged in a continuous effort to improve its documentation. Please help us by sending your comments Revision History Date...
-
Page 4: Table Of Contents
Status Indicator LED Patterns Procedure Preparing the Appliance Identifying the Disks Removing the Disk Carrier Installing the Disk Carrier Installing the Front Panel Bezel Making Sure the New Disk is Recognized and Synchronized Disk Slot Blanks Quantum Smart-1 6000-L/6000-XL Appliances Replacing Storage Devices | 4... -
Page 5: Safety Instructions
Installing or removing components incorrectly can permanently damage the Security Management Appliance. Important - Make sure that you are electromagnetically grounded when working with hardware components of the appliance. ESD (electrostatic discharge) can damage the appliance. Quantum Smart-1 6000-L/6000-XL Appliances Replacing Storage Devices | 5... -
Page 6: Storage Devices And Raid Levels
6 x 1TB disks when using a Smart-1 6000-XL appliance as a Management Server only. 6 x 4TB disks when using a Smart-1 6000-XL appliance as a Management Server+Log Server or a Log Server only. This is due to additional storage space required for logs. Quantum Smart-1 6000-L/6000-XL Appliances Replacing Storage Devices | 6... -
Page 7: Numbering Of The Disk Slots On The Front Panel
Status indicator LED. Shows the power condition of the disk. For LED patterns, see the table below. Activity indicator LED. Shows whether the disk is currently in use or not. Release button. Release handle. Disk. Quantum Smart-1 6000-L/6000-XL Appliances Replacing Storage Devices | 7... -
Page 8: Status Indicator Led Patterns
Disk is ready for insertion or removal. The status indicator LED remains off until all disks are initialized after the system is turned on. Disks are not ready for insertion or removal during this time. Quantum Smart-1 6000-L/6000-XL Appliances Replacing Storage Devices | 8... -
Page 9: Procedure
3. Send a signal to each disk to make the LED blink on the disk carrier (up to 12 disks): /opt/MegaRAID/MegaCLi/MegaCli -v -PdLocate -start -physdrv\[32:0\] - aALL /opt/MegaRAID/MegaCLi/MegaCli -v -PdLocate -start -physdrv\[32:1\] - aALL /opt/MegaRAID/MegaCLi/MegaCli -v -PdLocate -start -physdrv\[32:2\] - aALL ../opt/MegaRAID/MegaCLi/MegaCli -v -PdLocate -start -physdrv\[32:11\] -aALL Quantum Smart-1 6000-L/6000-XL Appliances Replacing Storage Devices | 9... -
Page 10: Removing The Disk Carrier
4. Slide the disk carrier until the disk connects with the backplane. 5. Close the disk carrier release handle to lock the disk carrier in place. 6. Wait for at least 15 seconds. The appliance needs time to recognize that you installed a disk. Quantum Smart-1 6000-L/6000-XL Appliances Replacing Storage Devices | 10... -
Page 11: Installing The Front Panel Bezel
1. Connect to the command line on the appliance (using SSH or console). 2. Log in to Expert mode. 3. Check that the replacement disk works correctly. Monitor the disk synchronization until it completes. Run this command: raid_diagnostic Quantum Smart-1 6000-L/6000-XL Appliances Replacing Storage Devices | 11... -
Page 12: Disk Slot Blanks
1. Insert the disk slot blank into the disk slot. 2. Push the disk slot blank into the disk slot. The release button clicks into place. Quantum Smart-1 6000-L/6000-XL Appliances Replacing Storage Devices | 12...


Need help?
Do you have a question about the QUANTUM SMART-1 6000-L and is the answer not in the manual?
Questions and answers