Subscribe to Our Youtube Channel
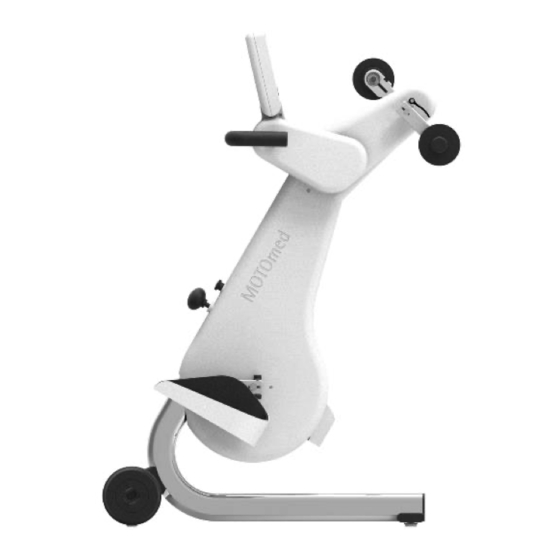
Summary of Contents for Primedic RECK MOTOmed loop
- Page 1 Service Manual MOTOmed loop Document-Number: 10002525 Version: Stand: 29.05.2019 Primed Fysio & Rehab AB Svartalundvägen 1 tel. 035-17 82 85 302 35 Halmstad e-post info@primed.se www.primed.se Seite 1...
- Page 2 Seite 2...
-
Page 3: Table Of Contents
Content Safety Instructions ..................Fehler! Textmarke nicht definiert. ESD Protective measures ........................... 4 Control Panel: Adjusting Retention Force ......................5 Calibrating the Touch Screen................ Fehler! Textmarke nicht definiert. Adjustment of Handle Position MOTOmed loop.l ..................... 8 Removing the Right Housing ................ Fehler! Textmarke nicht definiert. Removing the Left Housing ................ -
Page 4: Safety Instructions
Safety Instructions Service and maintenance work may only be completed by a trained professional. Disconnect the power cord from the wall outlet before beginning any work on the unit. Do not operate the device with the side panels removed. ... -
Page 5: Control Panel: Adjusting Retention Force
Control Panel: Adjusting Retention Force Step 1: Preperation Step 2: Remove cap cover Tool required: 1. Carefully place the flat-head screwdriver under the Flat-head screwdriver cover cap. This is accessible by the recess between the Allen key SW2 cap cover and the nut. -
Page 6: Calibrating The Touch Screen
Calibrating the Touch Screen If the touch screen no longer responds to pressure from the corresponding controls, recalibrating the touch screen may be necessary. Step 1: Device Home Screen Step 2: Deleting Calibration Data 1. Device shows Home-Screen 5. Press the STOP button 2. - Page 7 Step 5: Calibration Test 11. Press the check mark in the top left corner 12. An additional 4 screens will follow with a check mark in the top right, bottom right, bottom left and center Note: If an error occurred in step 4, not all check marks can be activated.
-
Page 8: Adjustment Of Handle Position Motomed Loop.l
Adjustment of Handle Position MOTOmed loop.l The handholds must be adjusted from the transport position to the training position before first use. Step 1: Preparations Step 2: Loosen Screws 1. Use the supplied allen key SW4. This can be Loosen the M5x12 screws found on both found on the bottom of the left foot pedal. -
Page 9: Removing The Right Housing
Removing the Right Housing Step 1: Preperation Step 2: Removable Transport Handles Tools: 1. Unscrew the cyclinder head screw (M4x12 2 Stück) with the allen key SW3 found on the bottom of the Phillips screwdriver oft he transport handles. Allen keys SW3, SW4 ... - Page 10 Step 5: Disassembling the Right Housing I Step 6: Disassembling the Right Housing II 10. Remove the O-ring from the housing collar on the 12. Using a Phillips screwdriver, unscrew the M3x10 height adjustment handle. pan-head screws near the collar transition, 2x near 11.
-
Page 11: Removing The Left Housing
Removing the Left Housing Step 1: Preperation Step 2: Removing the Transport Handles Tools: Phillips screwdriver 1. Carefully remove the cover plug at the end of the Flat-tip screw driver transport handle using a flat-tip screwdriver. Allen keys SW3, SW4 Unscrew positioning screw M4x12 cylinder head ... - Page 12 Step 5: Opening Control Panel Step 6: Removing the Control Panel 10. Unscrew the thermoplastic screws 30x16 (5 pieces) 12. Pivot the control unit as far as it will go and with a Phillips screwdriver and remove the bottom carefully pull it out of the pivoting shaft (make sure shell of the operating housing.


Need help?
Do you have a question about the RECK MOTOmed loop and is the answer not in the manual?
Questions and answers