Table of Contents
Advertisement
COMPACT COMPONENT SYSTEM
CA-EX90
INTEGRATED AMPLIFIER/TUNER
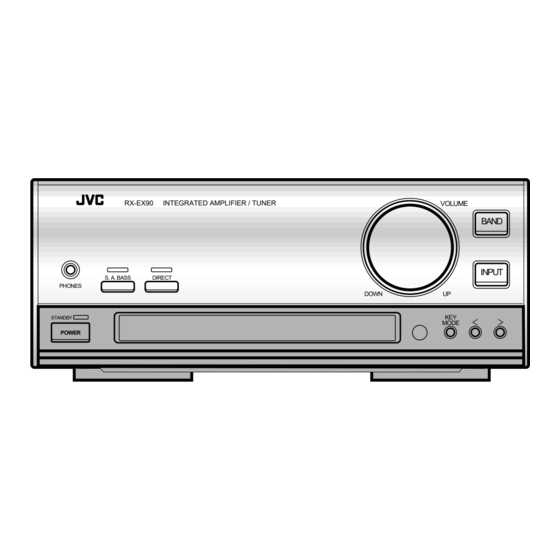
RX-EX90
SUBWOOFER AMPLIFIER
ME-EX90
COMPACT DISC PLAYER
XL-EX90
Consists of RX-EX90, ME-EX90 and XL-EX90.
RM–SEEX90U REMOTE CONTROL
POWER
1
2
3
SLEEP
4
5
6
AUX
7
8
9
FM MODE
/MUTING
TUNER
10
+10
PLAY
CD
MODE
REPEAT
TAPE
CD 1
CD 2
CD 3
DIRECT
S.A.BASS
VOLUME
INSTRUCTIONS
RX-EX90
INTEGRATED AMPLIFIER / TUNER
S. A. BASS
DIRECT
PHONES
STANDBY
POWER
ME-EX90
SUBWOOFER AMPLIFIER
STANDBY
SUBWOOFER LEVEL
POWER
XL-EX90
COMPACT DISC PLAYER
PLAY & EXCHANGE
STANDBY
POWER
For Customer Use:
Enter below the Model No. and Serial
No. which are located either on the rear,
bottom or side of the cabinet. Retain this
information for future reference.
Model No.
Serial No.
VOLUME
BAND
INPUT
DOWN
UP
KEY
MODE
RX-EX90
6 dB
4 dB
8 dB
SUBWOOFER
VOLUME
2 dB
10 dB
0 dB
12 dB
ME-EX90
/CANCEL
CD 3
CD 2
CD 1
REPEAT
PLAY MODE
XL-EX90
LVT0096-001A
[J]
Advertisement
Table of Contents


Need help?
Do you have a question about the CA-EX90 and is the answer not in the manual?
Questions and answers