Table of Contents
Advertisement
Advertisement
Table of Contents

Related Manuals for Meyer Drive Pro


Summary of Contents for Meyer Drive Pro
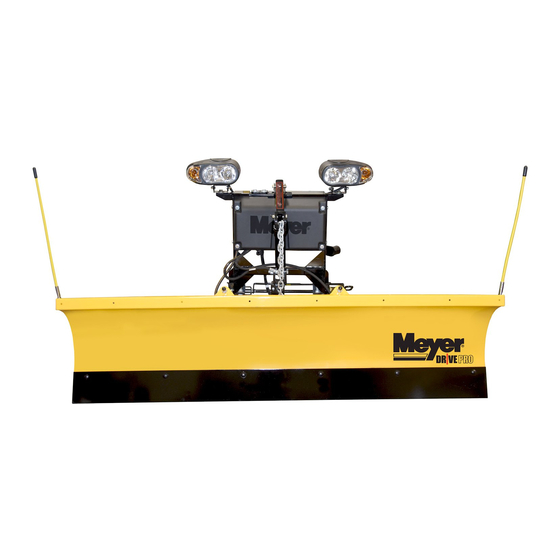
- Page 1 Form No. 1-1227R1 February 2022 Assembly Instructions Standard Operating System with Hands Free Plowing E73 12V Hydraulic Unit Includes Black Iron: 41090 Moldboard: 79499K 18513 Euclid Ave. • Cleveland, Ohio 44112-1084 www.meyerproducts.com Phone 216-486-1313 © 2020 Printed in the U.S.A.
-
Page 2: Table Of Contents
NOTICE: Meyer Products LLC reserves thje right, under its continuing product imporvement program, to change construction, design, details, specifications, and prices without notice or without incurring any obligation. Meyer Products LLC assumes no responsibility for installations not made in accordance with these instructions. -
Page 3: Black Iron Parts Lists
Black Iron Parts List 41090 Specific Components... - Page 4 •• Hose Assy 1/4 x 38” M-6 8214 ••• Plow Marker 20027 ••• Bolt H 5/16-18 x 1 Gr. 2 10514 • Lift Arm 14250 • Pivot Bar Drive Pro 6.8 20304 ••• Locknut 5/16-18 14185 • E-73 DP Mounting Bracket 20352 ••• Flatwasher 5/16” 15372 ••...
-
Page 5: Moldboard Parts List
Moldboard Parts List 46-49 46-49 63-65 Item DP 6’ 8” Description 79499K Moldboard Kit 79499 • Drive ProTM Moldboard Assembly 09796 • • Cutting Edge 22067 • • Bolt 1/2-13 x 3-1/4” Gr. 5 • • Bolt 1/2-13 x 3-1/4” Gr. 5 20307 •... -
Page 6: Standard Operating System Wiring
The following step is for 2015 & later GM vehicles with an alternator relay... 5) The WHITE wire will connect to 2015 & Later GM vehicles with alternator relay. See Meyer Products Service Bulletin SB252. The following two steps are optional and may be enforced by local law which requires your vehicle lights to be off while your plow The following two steps are optional and may be enforced by local law which requires your vehicle lights to be off while your plow lights are on and vice versa... -
Page 7: Plow Assembly & Adjustments
(i.e. driver side blinking instead of passenger side), reverse the harness connections. Note: All electrical connections should have both ends coated with a dielec- tric grease (Meyer Part # 15632) prior to final installation. This will ensure a good connection and help in preventing corrosion. Plow Markers Plow Markers Attach Plow Markers (21) to moldboard using 5/16-18 x 1”... - Page 8 Attach the Lift Chain to the Lift Arm through the two hooks on the lift Top off the unit to the fill line on the reservoir with Meyer M-1 Hydraulic arm. Adjust the lift chain at the lift arm so that there are 2-3 links of slack.
-
Page 9: E73 Hydraulics
E73 Hydraulics... -
Page 10: Mounting Plow
Mounting Plow NOTE: NOTE: Pictures may vary based on model A. Pull vehicle into plow E. E. Remove crankstand assembly and push plow from a-frame. assembly forward an inch or two. B. B. Twist handles on both sides to engage spring loaded pins. -
Page 11: Dismounting Plow
Dismounting Plow A. Press down button until float light turns blue. E. E. Adjust crankstand until the crankstand comes in contact with the ground and then turn 1 to 2 revolutions. B. Push lift arm down until there is slack in the chain. F. -
Page 12: Pre-Delivery Inspection
PRE-DELIVERY INSPECTION Vehicle Make: Vehicle Model: Vehicle Year: Vehicle VIN#: Vehicle FGAWR: Installing Company: Hydraulic Serial Number: Moldboard Serial Number: All bolts torqued to specification Plow Operation Up Suspension interference Plow Operation Left Clevis height in inches Plow Operation Right Trip springs adjusted Plow Operation Down Lift Chain Adjusted...
Need help?
Do you have a question about the Drive Pro and is the answer not in the manual?
Questions and answers