Table of Contents
Advertisement
Quick Links
Advertisement
Table of Contents

Summary of Contents for Total TG1091156
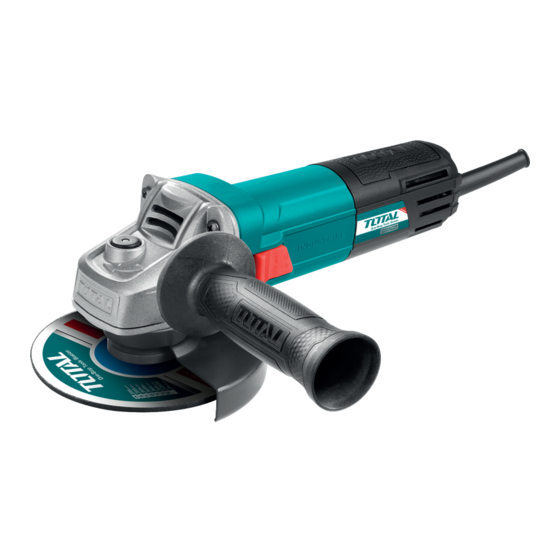
- Page 1 ELECTRIC GRINDER...
-
Page 2: Security Instructions
Security instructions Caution Read all safety warnings and all instructions. Failure to follow all warnings and instructions may result in electrical shock, fire, and/or serious injury. The term “power tool” in the warnings refers to your mains-operated (corded) power tool or battery-operated (cordless) power tool. - Page 3 4) Use and care of power tools a. Do not force the tool. Use the correct power tool for each use. b. Do not use the power tool if its power switch does not work. Any power tool that cannot be controlled with the switch is dangerous and must be repaired.
-
Page 4: Additional Security Warnings
Additional security warnings Grinding, sanding, wire brushing, polishing or abrasive cutting operations This power tool is designed to function as a grinder, sander, planer, wire brush, polisher, or cutting tool. Read all safety warnings, instructions, illustrations, and specifications provided with this power tool. - Page 5 Periodically clean the vents on the tool. The motor fan will draw dust into the • casing and excessive accumulation of powdered metal can cause electrical hazards. Do not use the power tool near flammable materials. Sparks could ignite these •...
-
Page 6: Other Risks
Any large work piece should be clamped with the proper clamps to minimize the • risk of binding. Supports, clamps, “C” clamps, clamps or “F” clamps must be placed on the edges of the workpiece at a safe and prudent distance from the line of cut or gouging to be made. -
Page 7: Technical Data
Technical data Grinder data sheet Voltage 220-240V~ Frequency 50/60Hz Power 950W No load speed 11000/min Disc diameter 115mm Sanding pad diameter 115mm Wire brush diameter 75mm Disc internal diameter Ø22.2mm Spindle thread Double insulation Weight 2.75kg Product description 1. Spindle lock button 6. - Page 8 Set up Mounting Installation of the auxiliary handle The auxiliary handle can be placed in both positions of the gearbox. If you are right-handed, adjust the handle as shown in the figure. If you are left-handed, adjust the handle in the opposite direction.
- Page 9 When the outer flange washer is tight, release the spindle lock button and remove the key. Spindl Disk outer inner flange flange switch The on/off switch is in the “OFF” position. The angle sander is started by pushing the on/off switch forward. To stop the tool, release the ON/OFF switch and it will return to the “OFF”...
- Page 10 To use the sander Attention Do not turn sander on while disc is in contact with workpiece. Allow the drive to reach full speed before starting. Hold your angle grinder with one hand on the main handle and the other hand firmly around the auxiliary handle. Always position the guard so that as much of the exposed blade as possible is facing away from you.
-
Page 11: Maintenance And Troubleshooting
If the grinder is used on soft metals, such as aluminum, the disc may bind and • will need to be replaced. At all times, let the sander do the work, do not force it or apply excessive pressure • to the discs. -
Page 12: Exploded View
Environment • Do not dispose of electrical appliances as unsorted municipal waste, use separate collection facilities. Contact your local authority for information on available collection systems. • If electrical appliances are disposed of in landfills, hazardous substances can • seep into the groundwater and enter the food chain, harming your health and well-being. - Page 13 ELECTRIC GRINDER...


Need help?
Do you have a question about the TG1091156 and is the answer not in the manual?
Questions and answers