Table of Contents
Advertisement
Quick Links
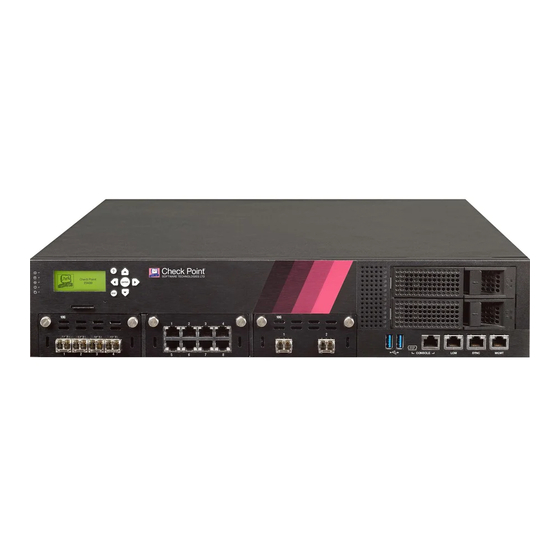
15000 and 23000 Appliances
Replacing Storage Devices
70759 8
Protecte d
2018
Important - Make sure that you are electromagnetically grounded
when you perform these procedures. ESD (electrostatic discharge)
can damage the appliance.
This document is for 15400, 15600, 23500, 23800, and 23900 appliance models.
Classification [Protected]
© 2018 Check Point Software Technologies Ltd. All rights reserved.
For a list of our trademarks, please refer to: www.checkpoint.com/copyright.html.
For a list of our Third Party Copyright notices, please refer to:
www.checkpoint.com/3rd_party_copyright.html
P/N:707598
Advertisement
Table of Contents

Subscribe to Our Youtube Channel
Related Manuals for Check Point 15400


Summary of Contents for Check Point 15400
- Page 1 Important - Make sure that you are electromagnetically grounded when you perform these procedures. ESD (electrostatic discharge) can damage the appliance. This document is for 15400, 15600, 23500, 23800, and 23900 appliance models. Classification [Protected] P/N:707598 © 2018 Check Point Software Technologies Ltd. All rights reserved.
- Page 2 Removing a Storage Device Item Description Ejector handle Storage device casing Note - The illustration above shows a hard disk drive but applies to a solid state disk as well. To remove a storage device: 1. On the storage device, push left on the ejector handle to unlock the device. 2.
- Page 3 For backup and restore information, see sk112215 http://supportcontent.checkpoint.com/solutions?id=sk112215. Synchronizing RAID All 23000 and 15000 appliances support two storage devices. By default, 15400 is shipped with only one storage device. For appliances with two storage devices, the appliance uses RAID1 mirroring across both storage devices.
- Page 4 First Boot Up At first boot up, wait for up to six hours to let the storage devices fully synchronize. If you reboot the appliance before the storage devices are synchronized, the synchronization starts again from scratch at the next boot. To monitor the RAID status of the storage devices from the CLI: 1.
- Page 5 To monitor the RAID status of the storage devices from the WebUI: 1. Log in to the WebUI. 2. Select Maintenance > RAID Monitoring. To monitor the RAID status of the storage devices from SmartDashboard: 1. From Gateways & Servers, select the object that represents the appliance. 2.
- Page 6 The window shows volume and disk information. To monitor the RAID status of the storage devices using SNMP: Set up SNMP traps to send information about the RAID. Use OID: 1.3.6.1.4.1.2620.1.6.7.7 For more about how to configure the SNMP settings on the appliance, see the Gaia Administration Guide for the applicable version.
- Page 7 To hot swap a storage device: Important - Make sure that there is at least one fully synchronized storage device in the system. 1. When the system is up, remove the failed storage device. 2. Wait 15 seconds. The appliance recognizes that you removed a storage device. 3.
Need help?
Do you have a question about the 15400 and is the answer not in the manual?
Questions and answers