Advertisement
Table of Contents
- 1 Power up Check Point 1100 Appliance
- 2 Connect Your Check Point 1100 Appliance to the Internet
- 3 For ADSL Models
- 4 Connect Your PC for Initial Setup
- 5 Instructions for Microsoft Windows
- 6 Instructions for Mac os X
- 7 Configure Your Check Point 1100 Appliance
- 8 Registration and Technical Support
- Download this manual
Check Point 1100 Appliances
Quick Start Guide
w w w . c h e c k p o i n t . c o m
©2003-2014 Check Point Software Technologies Ltd. All rights reserved.
Check Point, the Check Point logo and Check Point 1100 are trademarks or registered
trademarks of Check Point Software Technologies Ltd. or its affiliates. All other product names mentioned
herein are trademarks or registered trademarks of their respective owners. The products described in this
document are protected by U.S. Patent No. 5,606,668, 5,835,726, 6,496,935, 6,873,988, and 6,850,943
and may be protected by other U.S. Patents, foreign patents, or pending applications.
P/N: 705926
Advertisement
Table of Contents

Related Manuals for Check Point 1100


Summary of Contents for Check Point 1100
- Page 1 . c h e c k p o i n t . c o m ©2003-2014 Check Point Software Technologies Ltd. All rights reserved. Check Point, the Check Point logo and Check Point 1100 are trademarks or registered trademarks of Check Point Software Technologies Ltd. or its affiliates. All other product names mentioned herein are trademarks or registered trademarks of their respective owners.
- Page 2 Check Point 1100 Appliances Quick Start Guide Includes Check Point Software Blades...
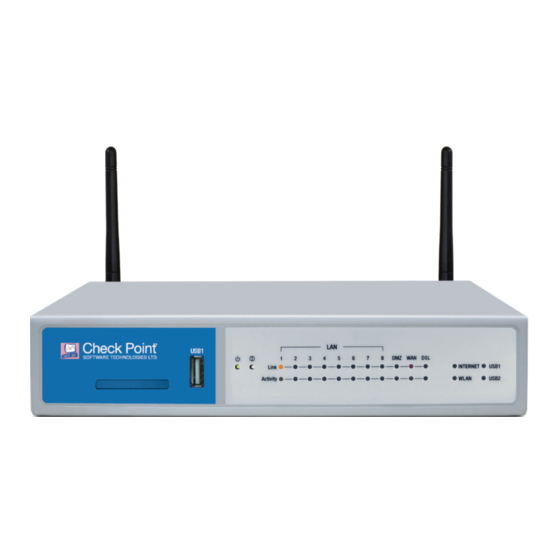
- Page 3 Power Up Check Point 1100 Appliance • Connect the power cable to the power port on the 1100 Appliance rear panel. Plug the power supply unit into a power outlet. • The Power LED on the front panel will light, indicating that the appliance is turned on.
- Page 4 For ADSL Models: • Connect the included telephone cable to DSL port on the 1100 Appliance rear panel and plug it into ADSL line socket. • DSL Link LED on the front panel will light when connection is established. Important Note: you must have a microfilter connected to each socket on the line the ADSL is enabled on, even if you will not connect the ADSL modem to that socket.
- Page 5 Instruction for Microsoft Windows: On Windows* 7: • – Click > Control Panel > Network and Sharing Center. Click “Local Area Connection.” – • On Windows 8: – On your desktop, go to Apps > Control Panel > Network and Internet >...
- Page 6 Configure Your Check Point 1100 Appliance • Launch the Web browser and type http://my.firewall or https://192.168.1.1:4434 in the address bar. Note – You might receive a certificate error page since the appliance does not have a formally signed certificate. Click “Continue to this Web site.”...
- Page 8 License page by pressing “Activate License” button (click “Set proxy” to configure proxy settings if needed). Your device will automatically contact and register itself with Check Point’s User center, providing it has been configured with Internet access. In case the appliance is not connected to the Internet, click “Offline?”, browse to your license activation file and press “Activate License”.
Need help?
Do you have a question about the 1100 and is the answer not in the manual?
Questions and answers