Advertisement
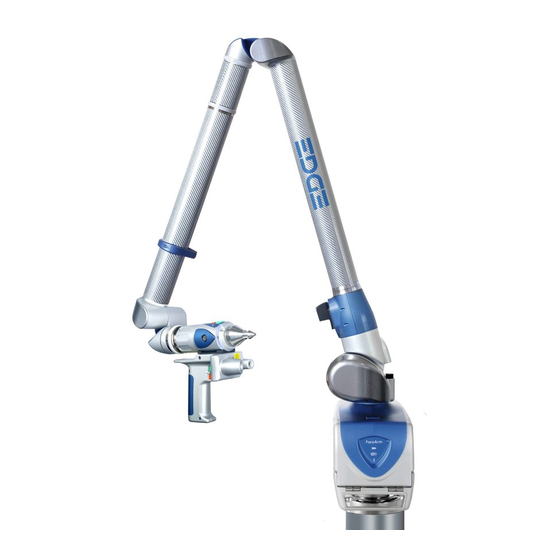
Ethernet Connection Instructions for the FARO Edge
Overview
There are 2 types of Ethernet connections available for the Edge FaroArm
Note: Ethernet connections to the Edge require the use of UDP port 2010. This port must be set to allow broadcast
traffic in order to detect devices in the local network.
DHCP Connection
A DHCP connection involves plugging your Edge FaroArm directly to a network hub as well as your workstation
computer.
1. From the MAIN menu on the touch screen, press SETTINGS.
2. In the SETTINGS menu, press CONNECTION.
3. Press the ETHERNET button.
4. Press DHCP for the Ethernet connection.
5. Press the Green Checkmark.
NOTE: Your computer's Ethernet card should be set up to detect an obtain an IP address automatically.
Static IP Connection
A Static IP connection allows you to directly connect your Edge to a PC with a network card.
Configure Edge
1. From the MAIN menu on the touch screen, press SETTINGS.
2. In the SETTINGS menu, press CONNECTION.
3. Touch the ETHERNET button.
4. Touch Static IP for the Ethernet connection.
5. You will be taken to the Static IP window where you can assign the Edge an actual network address.
◦ For IP, use 128.128.128.100
◦ For Subnet Mask, use 255.255.255.0
https://knowledge.faro.com/Hardware/FaroArm_and_ScanArm/FaroArm_and_ScanArm/Ethernet_Connection_Instructions_fo...
®
to use: DHCP and Static IP.
Updated: Sat, 11 Dec 2021 08:17:31 GMT
1
Advertisement
Table of Contents

Subscribe to Our Youtube Channel
Related Manuals for Faro Edge FaroArm


Summary of Contents for Faro Edge FaroArm
- Page 1 DHCP Connection A DHCP connection involves plugging your Edge FaroArm directly to a network hub as well as your workstation computer. 1. From the MAIN menu on the touch screen, press SETTINGS.
- Page 2 7. Click Close. Connect Edge to PC 1. On your computer, go to Start > All Programs > FARO > FARO Ethernet Setup. 2. Once the program opens, use the drop down list to choose your Ethernet adapter (For example, Broadcom NetXtreme….).
Need help?
Do you have a question about the Edge FaroArm and is the answer not in the manual?
Questions and answers