
Related Manuals for iDPRT SP320


Summary of Contents for iDPRT SP320
- Page 1 SP320 User Manual Website: www.idprt.com Call Center: 18554983499 After Service: https://idprt.afterservice.vip Customer Service Email: support@idprt.com...
-
Page 2: Table Of Contents
CONTENT Important Safety Instructions ......................1 Chapter 1 Introduction ........................4 1.1 Packing List ............................. 4 1.2 Dimension ............................5 Chapter 2 Specifications ........................6 Chapter 3 Installation & Usage ......................8 3.1 Media Loading ..........................8 3.2 Power/USB Connection ........................ 11 3.3 Operation Panel .......................... - Page 3 Statement This manual content may not be changed without permission and our company reserve the rights to make changes in the technology, spare parts, hardware and software of the products. Please contact our company, if the user needs further information about the products. Without any written permission from our company, any section of this manual is prohibited to be copied or transferred in any form.
-
Page 4: Important Safety Instructions
Important Safety Instructions Before using the printer, please read carefully the following safety consideration in case of bodily injury or equipment damage. 1.Safety Warnings The print head will become very hot during printing, please do not touch the printhead and peripheral parts during printing and printing just finished. Please do not touch the printhead and connectors, in case that static damages the printer head. - Page 5 Note: Violating following instructions may cause slight damage of the appliance. 1) If you observe a strange smoke, odour or noise from the printer, unplug it before taking following measures. • Switch off the printer and unplug the set from the mains. •...
- Page 6 3.Other Precautions The copyright for this user manual and various other manuals is property of our company. Any copying or conversion into electronic form and saving of this material without the express written permission is strictly prohibited. Use of the information contained in this manual is not subject to any patent liability.
-
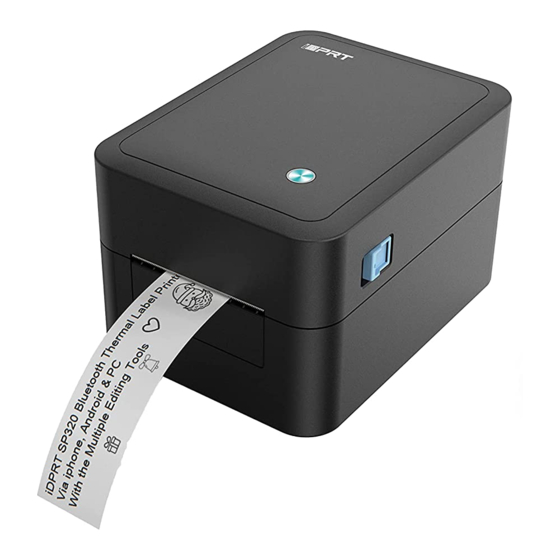
Page 7: Chapter 1 Introduction
Chapter 1 Introduction 1.1 Packing List 1. Unpack the printer and keep the packing materials in case you need to ship the printer in the future. 2. Any damages exist, please contact the iDPRT team. Printer USB Cable Power Cord... -
Page 8: Dimension
1.2 Dimension Unit: mm Rev.1.0... -
Page 9: Chapter 2 Specifications
0.003 inch (80um) - 0.007 inch (220um) Label roll diameter 100mm Core diameter 1 inch (25.4mm), 1.5 inch (38.1mm) Programming Language CPCL Label design iDPRT Bartender Ultralite, L-Print Software Driver Windows 2000/XP/Vista/7/8/8.1/10 Chinse: GBK FontA 12x12dots, FontB 24x24dots Resident Bitmap font English: ASCII 8×16, 12×24dots Fonts Rev.1.0... - Page 10 Items Parameter Code 39, Code 93, Code 128UCC, Code 128 subsets A, B, C, Codabar, Interleaved 2 of 5, EAN-8, EAN-13, EAN-128, Barcode UPC-A, UPC-E PDF-417, QR code Communication Interfaces USB, Bluetooth Module 4.0 or above/BLE Input AC 220V, 50/60Hz Power Adapter Output DC 24V/1.5A...
-
Page 11: Chapter 3 Installation & Usage
Chapter 3 Installation & Usage 3.1 Media Loading 3.1.1 Paper Roll Loading 1.Push the cover open levers on the both sides with both hands to open the top cover upward. 2.Take out the paper holder. Rev.1.0... - Page 12 3.Load the paper roll to the paper holder according to the following appropriate size. 4.Load the paper holder back to the printer. Note: When using the 1-inch paper roll, the font of "1-CORE" should be upward; when using the 1.5-inch paper roll, the axis should be turned 180 degrees and the font of "1.5-CORE"...
- Page 13 5.Pull out the paper roll, open the paper movable guides to the max-width and pass the paper through the paper movable guides, then adjust the paper movable guides to suit the paper width. 6.Press down the printer cover. Rev.1.0...
-
Page 14: Power/Usb Connection
3.2 Power/USB Connection 1. Make sure the printer’s power switch is in the “off” position. 2. Connect the power cord to the printer. 3. Connect the other end of power cord to the outlet. 4. Connect the USB cable to the printer and PC. Rev.1.0... -
Page 15: Operation Panel
3.3 Operation Panel 3.3.1 Button Operation Power On When power off, turn on the power switch at the back of printer, then the indicator will light on. Power Off When power on, turn off the power switch at the back of printer, then the indicator will light off. -
Page 16: Basic Operation
3.4 Basic Operation 3.4.1 Power on/power off Press “O” to power off the printer. Press “l” to power on the printer. 3.4.2 Feed Button ● Switch mode When the printer is in the ready status, press and hold the feed button until the blue indicator light or orange indicator light flashes twice, then release the button and the printer will start the black mark label learning. -
Page 17: Chapter 4 Usb Interface
Chapter 4 USB Interface Signal Name VBUS Rev.1.0... -
Page 18: Chapter 5 Clean The Printer
Chapter 5 Clean the Printer Adhesives and coatings of the media can transfer onto the printer parts over time along the media path including the thermal print head and media sensor. This build-up can accumulate dust and debris. Failure to clean the print head, media path, and media sensor could result in print quality, worst more of inadvertent loss off...
Need help?
Do you have a question about the SP320 and is the answer not in the manual?
Questions and answers