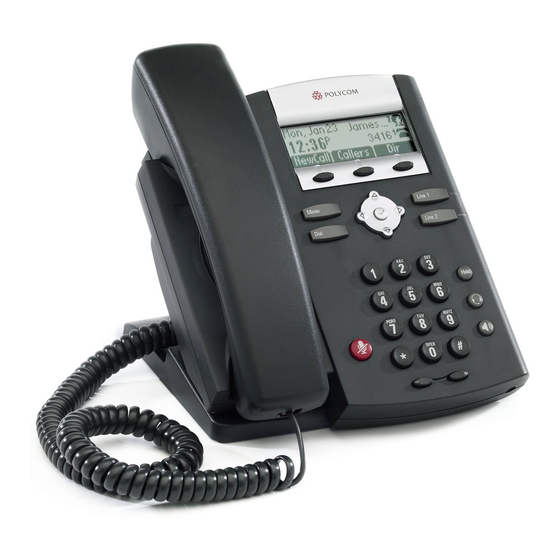
Polycom IP331 Quick Reference Manual
2-line desk phone
Hide thumbs
Also See for IP331:
- Owner's manual (75 pages) ,
- User manual (31 pages) ,
- Configuration manual (19 pages)

Subscribe to Our Youtube Channel
Related Manuals for Polycom IP331


Summary of Contents for Polycom IP331
- Page 1 Polycom 2-Line Desk Phone Quick Reference Guide IP331 / IP335 Updated October 30, 2014...
-
Page 2: Table Of Contents
Table of Contents 1. Getting Started ..........................3 1.1 Installing / Hooking Up Your Device ....................3 1.2 Activating Your Device and Line of Service ..................4 1.3 Setting Up Your Voicemail Box ......................4 2. The Basics ............................4 2.1 Changing Your PIN .......................... -
Page 3: Getting Started
1. Getting Started Your Polycom 2-Line Desk Phone (IP331/IP335) is a full-featured, Voice-Over-IP (VoIP) phone with unique features accessible both on the device itself, and online. We have developed proprietary software that your phone will download when you plug it in to your local network with access to the Internet. -
Page 4: Activating Your Device And Line Of Service
1.2 Activating Your Device and Line of Service NOTE: Activating a Line of Service will immediately begin the billing for that Line of Service. Activating Lines 1. Log in to your Control Panel, and select Manage Voice Services. 2. Click on the “Activation” tab. 3. -
Page 5: Changing Your Pin
This section provides quick, step-by-step instructions for many of the most-used features of the phone, including placing and receiving calls, placing callers on hold, changing call volumes, and more. 2.1 Changing Your PIN Changing the PIN from the phone Note that this PIN is used for checking voicemail, logging into Command Mode, and logging into the Teleweb for your phone. -
Page 6: Handling Inbound Calls
2.3 Handling Inbound Calls When an inbound call rings on a Polycom 2-Line Desk Phone, the screen will display soft keys with the options to "Answer", "Reject", or “Ignore” the call. If the phone is currently idle, the phone will ring at the set volume. If the phone is currently in use, then a second incoming call will be indicated by a call waiting beep. -
Page 7: Volume And Mute Controls
6. Press 1 to listen to Voicemails. 2.6 Handling Call Waiting When an inbound call rings on a Polycom 2-Line Desk Phone, the screen will display soft keys with the options to either "Answer" or "Reject" the call. You will also hear a single tone emitted by your phone, either through the handset, or through the speakerphone. -
Page 8: Utilizing Speakerphone
To Reject The Second Call Press the “Reject” soft key to immediately send the caller to the phone’s No • Answer Forwarding destination (default: voicemail). Your original call will continue uninterrupted. • To Ignore The Second Call Press the "Ignore" soft key to send the caller to the phone's No Answer Forwarding •... -
Page 9: More Features
3. Wait for the terminating party to answer, and tell the terminating party that you are transferring the call to them. 4. Hang up the phone to perform the transfer. 3. More Features 3.1 Placing / Retrieving Calls On Hold Placing Calls On Hold •... -
Page 10: Forwarding Calls
3.3 Forwarding Calls The Polycom 2-Line Desk Phone has three different settings that control call forwarding for different scenarios. They are: “Always Forward” – Forward all inbound calls without ringing the desk phone first • • “Forward On Busy” – Forward inbound calls when the desk phone is busy (on both lines) •... -
Page 11: Utilizing The Directory
How to Toggle the Settings On/Off Each of the three call forwarding settings can be toggled on or off. 1. From inside the Call Forward menu, select the appropriate settings (Always Forward, Forward On Busy, or Forward On No Answer). Use the Up and Down Arrow buttons and the Checkmark button to select. -
Page 12: Full List Of Features
First Name • • Last Name • Contact (the contact phone number)* Speed Dial Index • Label • Ring Type • Divert Contact (toggle) • • Auto Reject (toggle) • Auto Divert (toggle) * The only required field for a Contact is the “Contact”, or destination number, field. Navigating to the Directory 1. -
Page 13: Additional Support
4. Additional Support 4.1 Utilizing the Knowledge Base Our Knowledge Base is a valuable resource, full of helpful information. 1. In a web browser, navigate to http://controlpanel.msoutlookonline.net/KB/main/. 2. From the main index, navigate to “Voice Services -> Hosted PBX”.
Need help?
Do you have a question about the IP331 and is the answer not in the manual?
Questions and answers